10
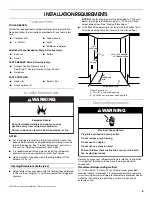
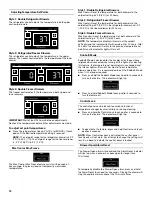
5. Remove the level and close the drawers. Recheck the gap
between the top of the drawer and the countertop. If the gap
measures less than
³⁄₈
" (9.5 mm), turn all four leveling bolts
equally to raise the leveling legs (this will lower the appliance).
Recheck the level.
NOTE: Be sure to recheck the horizontal level of the top
drawer.
6. Be sure all four levelers are on the floor and supporting the
full weight of the refrigerator drawers.
Install Custom Overlay Panel
IMPORTANT:
■
Create custom overlay panel according to the specifications
in the “Custom Overlay Panel” section.
■
Jenn-Air is not responsible for the removal or addition of
molding or decorative panels that would not allow access to
the refrigerator for service.
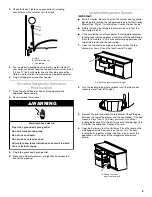
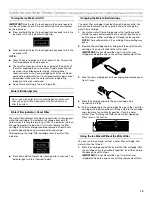
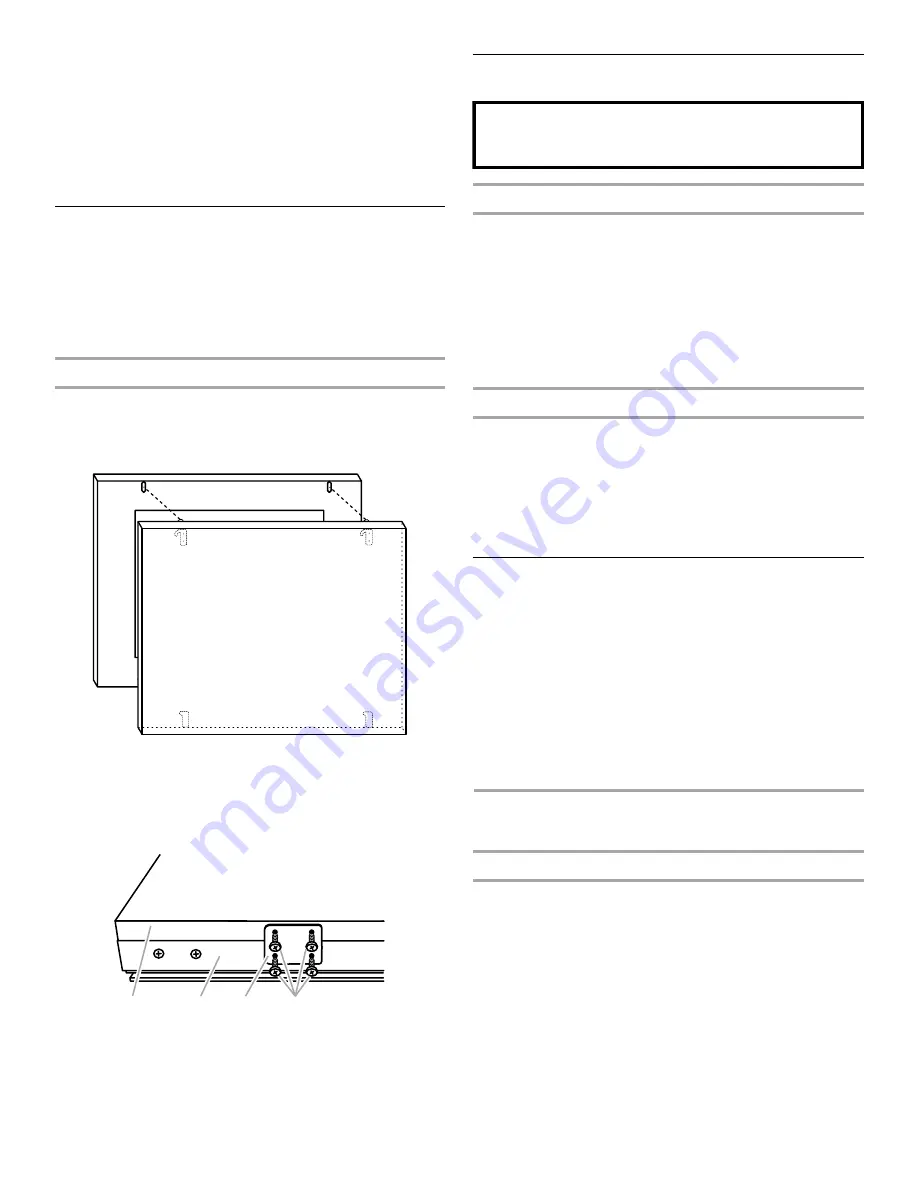
Attach the Overlay Panel
NOTE: If the overlay hooks are not installed, see “Custom
Overlay Panel” for overlay hook locations.
1. Position the overlay panel
¹⁄₂
" (1.27 cm) higher than the door.
Be sure to position the overlay hooks to the pilot holes.
2. Insert the overlay hooks into the top of the holes in the door.
Push against the overlay panel to force the overlay hooks
deeper into the door. Pull the overlay panel straight down to
secure the overlay hooks to the door.
3. Using a Phillips screwdriver, attach the overlay plates to the
bottom of the overlay panel and door as shown.
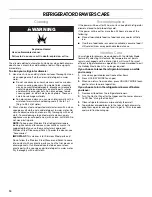
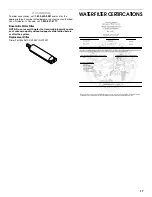
Water Filtration System
Water Filter Status Light (on some models)
The water filter status light will help you know when to change
your water filter. The light will change from dark to yellow. This
tells you that it is almost time to change the filter. It is
recommended that you replace the water filter when the status
light changes to red OR water flow to your ice maker decreases
noticeably. The filter should be replaced at least every 6 months
depending on your water quality and usage.
After changing the water filter, reset the water filter status light.
The status light will change from red to dark when the system is
reset.
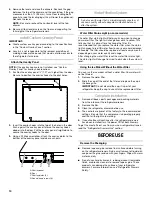
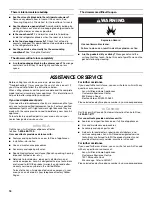
Using the Ice Maker Without the Water Filter
You can run the ice maker without a water filter. Your water will
not be filtered.
1. Remove the water filter.
2. Slide the cap off the end of the filter and replace the cap in
the base grille.
IMPORTANT: Do not discard the cap. It is part of your
refrigerator. Keep the cap to use with the replacement filter.
Complete Installation
1. Remove all boxes, parts packages and packing materials
from the interior of the refrigerator drawers.
2. Remove the film.
3. Clean the refrigerator drawers before use.
4. The controls are preset at the factory to the recommended
settings. Be sure that the compressor is operating properly
and that all the lights are working.
5. If construction will continue after the refrigerator drawers
have been installed, turn the power Off for both Drawers.
To get the most efficient use from your new refrigerator drawers,
read the “Refrigerator Drawers Use” section.
BEFORE USE
Remove the Packaging
■
Remove tape and glue residue from surfaces before turning
on the refrigerator drawers. Rub a small amount of liquid dish
soap over the glue residue with your fingers. Wipe with warm
water and dry.
■
Do not use sharp instruments, rubbing alcohol, flammable
fluids, or abrasive cleaners to remove tape or glue. These
products can damage the surface of your refrigerator
drawers. For more information, see “Refrigerator Drawers
Safety.”
A. Overlay panel
B. Door
C. Overlay plates (2)
D. Round-head screws (8)
A
C
D
B
Do not use with water that is microbiologically unsafe or of
unknown quality without adequate disinfection before or
after the system.

