background image

15.  This appliance shall not be exposed to dripping or splashing water and that no object filled 

with liquids such as vases shall be placed on the apparatus.  

16.  Do not overload wall outlet. Use only power source as indicated. 

17.  Use replacement part as specified by the manufacturer. 

18.  Upon completion of any service or repairs to this product, ask the service technician to 

perform safety checks. 

19.  Power  Sources  -  This  product  should  be  operated  only  from  the  type  of  power  source 

indicated  on  the  marking  label.  If  you  are  not  sure  of  the  type  of  power  supply  to  your 

home,  consult  your  product  dealer  or  local  power  company.  For  products  intended  to 

operate from battery power, or other sources, refer to the operating instruction.  

20.  Object  and  Liquid  Entry  -  Never  push  objects  of  any  kind  into  this  product  through 

openings as they may touch dangerous voltage points or short-out parts that could result 

in a fire or electric shock. Never spill liquid of any kind on the product.  

21.  Damage Requiring Service - Unplug this product from the wall outlet and refer servicing to 

qualified service personnel under the following conditions:  

a)  When the power-supply cord or plug is damaged,  

b)  If liquid has been spilled, or objects have fallen into the product,  

c)  If the product has been exposed to rain or water,  

d)  If the product does not operate normally by following the operating instructions. Adjust 

only  those  controls  that  are  covered  by  the  operating  instructions  as  an  improper 

adjustment  of  other  controls  may  result  in  damage  and  will  often  require  extensive 

work by a qualified technician to restore the product to its normal operation.  

e)  If the product has been dropped or damaged in any way, and  

f) When the product exhibits a distinct change in performance - this indicates a need for 

service.  

22.  Mains  plug  is  used  as  disconnect  device  and  it  should  remain  readily  operable  during 

intended use. In order to disconnect the apparatus from the mains completely, the mains 

plug should be disconnected from the mains socket outlet completely.  

23.  Battery shall not be exposed to excessive heat such as sunshine, fire or the like. 

24.  Excessive sound pressure from earphones and headphone can cause hearing loss. 

25.  Minimum distances of 4 inches around the apparatus for sufficient ventilation. 

26.  The ventilation should not be impeded by covering the ventilation openings with items, 

such as newspapers, table-cloths, curtains, etc. 

27.  No naked flame sources, such as lighted candles, should be placed on the apparatus. 

28.  The use of apparatus in moderate climates. 

29.  Attention should be drawn to the environmental aspects of battery disposal. 


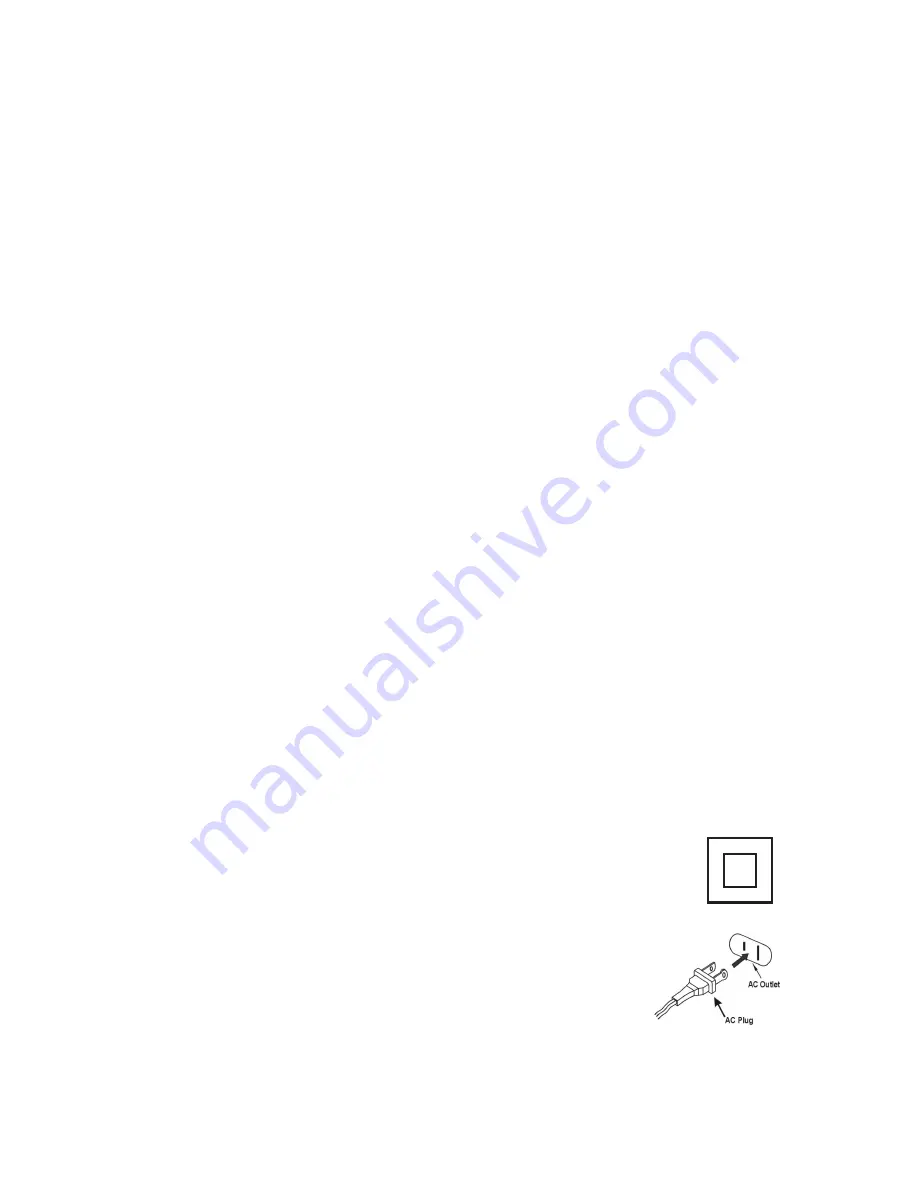
This symbol indicates that this product incorporates  double insulation 

between  hazardous  mains voltage and user accessible  parts. 


CAUTION:  

TO PREVENT ELECTRIC SHOCK, MATCH WIDE BLADE OF 

PLUG TO WIDE SLOT. FULLY INSERT THE PLUG TO MAIN 

POWER SOCKET.  


SAVE THESE INSTRUCTIONS


Summary of Contents for CD-575

Page 1: ...Portable Stereo MP3 CD Player with AM FM Radio MODEL CD 575 USER MANUAL PLEASE READ THIS USER MANUAL COMPLETELY BEFORE OPERATING THIS UNIT AND RETAIN THIS BOOKLET FOR FUTURE REFERENCE ...

Page 2: ...blades with one wider than the other A grounding type plug has two blades and a third grounding prong The wide blade or the third prong is provided for your safety If the provided plug does not fit into your outlet consult an electrician for replacement of the obsolete outlet 10 Protect the power cord from being walked on or pinched particularly at plugs convenience receptacles and the point where...

Page 3: ...following the operating instructions Adjust only those controls that are covered by the operating instructions as an improper adjustment of other controls may result in damage and will often require extensive work by a qualified technician to restore the product to its normal operation e If the product has been dropped or damaged in any way and f When the product exhibits a distinct change in perf...

Page 4: ...he separation between the equipment and receiver Connect the equipment into an outlet on a circuit different from that to which the receiver is connected Consult the dealer or an experienced radio TV technician for help WARNING Changes or modifications to this unit not expressly approved by the party responsible for compliance could void the user s authority to operate the equipment CAUTION Follow...

Page 5: ... and clear without annoying blaring or distortion and most importantly without affecting your sensitive hearing Sound can be deceiving Over time your hearing comfort level adapts to higher volumes of sound So what sounds normal can actually be loud and harmful to your hearing Guard against this by setting your equipment at a safe level BEFORE your hearing adapts To establish a safe level Start you...

Page 6: ... CD DOOR 13 PROG MEM BUTTON 4 FM ANTENNA 14 STOP BUTTON 5 CARRYING HANDLE 15 PLAY PAUSE BUTTON 6 TUN TUN 16 SPEAKER 7 BAND SELECTOR SWITCH 17 EARPHONES JACK 8 FOLDER 10 M BUTTON 18 AUX IN JACK 9 FOLDER 10 M BUTTON 19 AC IN JACK 10 REPEAT BUTTON 1 2 8 9 10 11 17 18 12 13 1415 19 3 4 5 6 7 16 16 ...

Page 7: ...D display 3 Rotate and tap the TUN TUN dial 6 to tune the radio manually Rotate and hold the TUN TUN dial 6 to search to previous next available station 4 Adjust the VOLUME CONTROL 2 to obtain the desired sound level Setting the Radio Station Presets The unit allows you to store up to 20 FM stations and 20 AM stations for easy recall at any time 1 Slide the FUNCTION SWITCH 1 to RADIO position 2 Sl...

Page 8: ...UME CONTROL 2 to obtain the desired sound 7 To suspend playing tap the PLAY PAUSE BUTTON 15 again To resume playing tap the PLAY PAUSE BUTTON 15 again 8 You can choose to play your favorite track directly by rotate and tap the TUN TUN dial 6 The LCD Display 12 will indicate the correct track number selected 9 To locate a particular section within a track rotate and hold the TUN TUN dial 6 until th...

Page 9: ... your CD 575 and the external device until you reach a comfortable listening level Notes If you connect the CD 575 to the Line Out Jack of your external device you only need to adjust the VOLUME CONTROL 2 of your CD 575 If you connect to the Headphone Jack of your external device you may need to adjust both the volume controls of your external device and the CD 575 to obtain the desirable listenin...

Page 10: ...or AM or FM FM Telescopic antenna is not fully extended AM Internal antenna is not positioned correctly Fine tune the AM or FM broadcast station FM Fully extend the FM Telescopic antenna AM Reposition the unit until the best reception is obtained AM or FM no sound Unit not in Tuner mode AM or FM band Volume at minimum Slide function switch to select RADIO Increase Volume level CD player will not p...

Page 11: ...esponsibility is a core value of our business We are dedicated to continuous implementation of responsible initiatives with an aim to conserve and maintain the environment through responsible recycling Please visit us at http www spectraintl com green htm for more information on Spectra s green initiatives or to find a recycler in your area ...

Page 12: ...ure to provide reasonable care and necessary maintenance as outlined in the user manual 3 Warranty of all SPECTRA products applies to residential use only and is void when products are used in nonresidential environment or installed outside the United States This warranty gives you specific legal rights and you may also have other rights which vary from state to state TO OBTAIN SERVICE please remo...

Reviews: