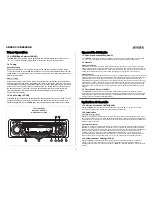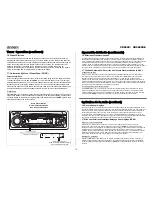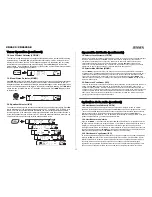
background image

B

B L

E

T

A

A

AD

F

R

SUB-W

SUB-W

MONO

MONO

AS/PS

DISP

DISP

LOC/DX

1

2

3

INT

4

5

6

BAND

SCAN

EQ

MUTE

MODE

MODE

RPT

SHF

CD2620

DN

UP

i

i

X-BASS

CHAN

GER

40 WA

TTSx4

JPTH

CD-R/R

W

AUX IN

EQ

i

4

AUX

AUX

CD RECEIVER

EL

R

E

S

S

B

VOL

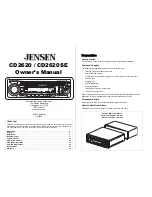
CD2620 / CD2620SE

Owner’s Manual

Thank You!

Thank you for choosing a Jensen product. We hope you will find the instructions in this owner’s 
manual clear and easy to follow. If you take a few minutes to look through it, you’ll learn how to 
use all the features of your new Jensen receiver for maximum enjoyment.

Preparation. . . . . . . . . . . . . . . . . . . . . . . . . . . . . . . . . . . . . . . . . . . . . . . . . . . . . . . . . . . . . . .  1
Wiring . . . . . . . . . . . . . . . . . . . . . . . . . . . . . . . . . . . . . . . . . . . . . . . . . . . . . . . . . . . . . . . . . . .  3
Installation . . . . . . . . . . . . . . . . . . . . . . . . . . . . . . . . . . . . . . . . . . . . . . . . . . . . . . . . . . . . . . .  5
Basic Operation . . . . . . . . . . . . . . . . . . . . . . . . . . . . . . . . . . . . . . . . . . . . . . . . . . . . . . . . . . .  8
Tuner Operation. . . . . . . . . . . . . . . . . . . . . . . . . . . . . . . . . . . . . . . . . . . . . . . . . . . . . . . . . . . 13
CD Player Operation . . . . . . . . . . . . . . . . . . . . . . . . . . . . . . . . . . . . . . . . . . . . . . . . . . . . . .  . 16
CD Changer Operation . . . . . . . . . . . . . . . . . . . . . . . . . . . . . . . . . . . . . . . . . . . . . . . . . . . . . 19
Care and Maintenance  . . . . . . . . . . . . . . . . . . . . . . . . . . . . . . . . . . . . . . . . . . . . . . . . . . . . . 20
Specifications  . . . . . . . . . . . . . . . . . . . . . . . . . . . . . . . . . . . . . . . . . . . . . . . . . . . . . . . . . . . . 21
Warranty . . . . . . . . . . . . . . . . . . . . . . . . . . . . . . . . . . . . . . . . . . . . . . . . . . . . . . . . . . . . . . . . . 23

Preparation

Getting Started

It’s a good idea to read all of the instructions before beginning the installation.

Tools and Supplies

The following tools and supplies are needed to install the radio.

Torx type, Flat and Phillips screwdrivers

Wire cutters and strippers

Tools to remove existing radio (screwdriver, socket wrench set or other tools)

Electrical  tape

Crimping tool

Volt meter/test light

Crimp connections

18 gauge wire for power connections

16-18 gauge speaker wire

Speaker Requirements: Only connect speakers rated in the load impedance of 4 ohms. 
Speakers with a load impedance less than 4 ohms could damage the unit.

Disconnect Battery

Before you begin, always disconnect the battery negative terminal.

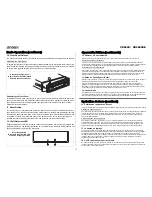
Remove Radio from Sleeve

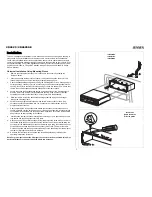
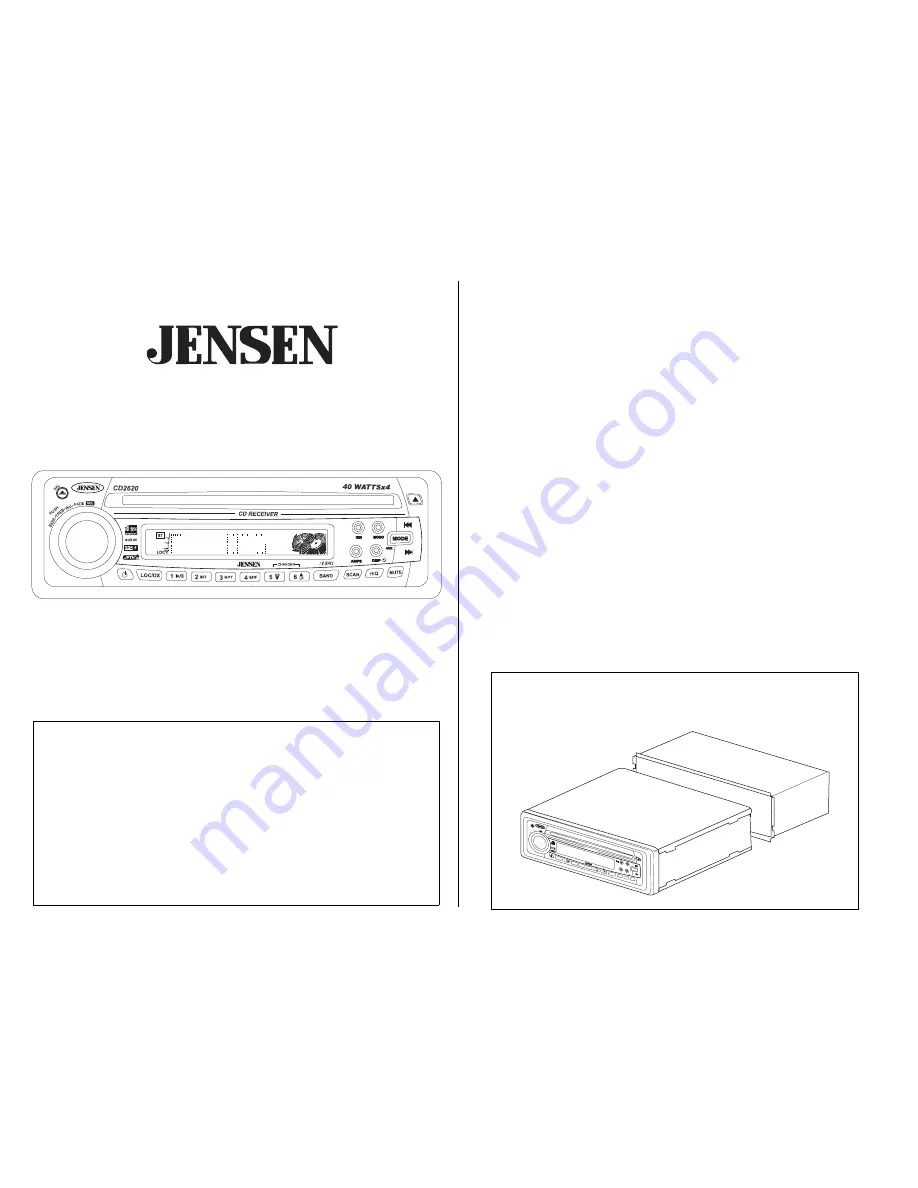
Lift latches on both sides of sleeve to remove half-sleeve from radio.

Audiovox Electronics Corporation

150 Marcus Boulevard

 Hauppauge, NY 11788

1-800-323-4815

www.jensen.com

 © 2003 Audiovox

v.022504

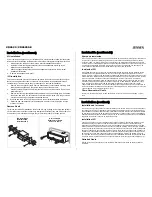
Remove Radio from Sleeve

Remueva el Radio de la Manga

Enlever la radio du manchon

Summary of Contents for CD2620

Page 1: ...o read all of the instructions before beginning the installation Tools and Supplies The following tools and supplies are needed to install the radio Torx type Flat and Phillips screwdrivers Wire cutte...

Page 2: ...nillador equipo de llave de casquillo y otras herramientas Cinta aisladora Enganchador Volt metro luz de prueba Conexiones para enganchar Cable de calibre 18 para conexiones el ctricas cable de altopa...

Page 3: ...et provides the connection to the optional CD Changer 7 Yellow RCA Cables RCA line in jacks for use with auxiliary input devices CD player etc 8 Grey RCA Cables RCA line out jacks for use with optiona...

Page 4: ...l radio Asistencia T cnica Si requiere asistencia contacte al Soporte T cnico al 1 800 323 4815 de 8 30 AM a 7 30 PM tiempo del este de lunes a viernes y de 9 00 AM a 5 00 PM tiempo del este los s bad...

Page 5: ...ve is firmly secured to the dashboard 5 Place the radio in front of the dashboard opening so that the wiring can be brought through the mounting sleeve 6 Follow the wiring diagram carefully and make c...

Page 6: ...uipo de CD el chasis debe estar montado dentro de los 20 de horizontalidad Aseg rese que la unidad est montada dentro de esta limitaci n Installation Cet appareil est dessin pour tre install dans des...

Page 7: ...ara motar el radio al tablero Por favor consulte en su tienda local de est reos de autom viles si necesita asistencia en este tipo de instalaci n Quite del tablero el radio existente de f brica o cent...

Page 8: ...CD est conectado con la unidad el cambiador del CD CDC el modo no puede ser alcanzado Para ingresar al modo auxiliar presione MODE hasta AUX aparece en la pantalla 3 Volumen Para incrementar el volum...

Page 9: ...ro veces hasta que aparezca BAL en la pantalla En los cinco segundos siguientes rote el control de volumen 3 hacia el lado de las agujas del reloj o al rev s para ajustar el balance entre los altavoce...

Page 10: ...Presione DIM 7 para amortiguar la exhibici n a la mitad de su intensidad normal Presione DIM otra vez para volver la exhibici n al brillo completo 8 Pantalla de Cristal L quido LCD El panel de Pantall...

Page 11: ...en hora el reloj encienda el veh culo y el radio 2 Presione DISP por un momento y la hora aparecer en la pantalla 3 Presione y mantenga presionado DISP hasta que la hora empieza a destellar 4 Mientra...

Page 12: ...nel hasta que el mecanismo se trabe en su lugar 11 Bot n de Reconfigurar Reset El bot n para reconfigurar reset 11 est ubicado en el frente del chasis y solamente se puede acceder a l quitando el pane...

Page 13: ...hacia arriba o hacia abajo para mover la frecuencia de a dos d gitos por vez Presione y mantenga presionado los botones de sinton a hacia arriba o hacia abajo Up o Down para avanzar r pido a determina...

Page 14: ...Para habilitar esta funci n presione y mantenga presionado AS PS 17 por m s de dos segundos El radio autom ticamente buscar en la banda en uso y guardar en las posiciones de preselecci n de la memori...

Page 15: ...erza de se al asociada que aparece en la pantalla cuando se sintoniza una se al est reo FM Si la se al posee mucho ruido para escuchar confortablemente presione MONO para cambiar a recepci n monoaural...

Page 16: ...nci n de selecci n de pista se utiliza para acceder r pidamente al inicio de una pieza determinada cuando se pasa un disco Presione el bot n de sinton a hacia arriba Up Tuning 22a para adelantar o el...

Page 17: ...mezclar 25 Repetici n RPT Presione RPT 25 durante la ejecuci n del disco para continuamente repetir la misma pista S RPT aparecer en la pantalla Presione RPT nuevamente para detener la repetici n S RP...

Page 18: ...el equipo de CD un c digo de error ER 1 ER 2 etc puede aparecer en la pantalla Esto puede indicar problemas con la unidad incluyendo un error mec nico o un error de control del microprocesador del eq...

Page 19: ...talaci n carga y uso del dep sito de CD 29 Modo de Cambiador de CD Presione MODE 29 durante la ejecuci n de la radio o de un CD para seleccionar la operaci n de cambiador de CD CDC aparecer en la pant...

Page 20: ...nterior del veh culo no utilice agua o l quidos de limpieza en la unidad 2 El equipo de CD no operar adecuadamente en condiciones de temperaturas extremas como caliente o fr o o en condiciones de hume...

Page 21: ...ion sur les lentilles de platine CD ait vapor avant d utiliser la platine 4 N ins rez que des CDs de taille standardis e de cinq pouces Tout autre taille utilis e m me avec un adaptateur peut causer d...

Page 22: ...x 2 po 178mm x 178mm x 51mm Sp cifications sujettes modifications sans pr avis Especificaciones Grados de energ a de CEA Potencia 13 Vatios RMS X 4 canales a 4 ohms 1 THD N Se al a ruido 70dBA debajo...

Page 23: ...araci n o reemplazo descriptos arriba y en ning n caso la responsabilidad de la compa a exceder el precio de compra pagado por el comprador del producto Garant a continuado Esta Garant a est en lugar...

Reviews: