background image

CDH4110

3

Jensen Connector

1

2

4

1

2

3

Gray/Black (-)

Gris / Negro (-)

Gris / Noir (-)

Gray / Gris / Gris (+)

8

White/Black (-)

Blanco/Negro (-)

Blanc/Noir (-)

White / Blanco / Blanc (+)

Violet / Violeta / Violet (+)

3

4

6

+

5

7

9

10

Green / Verde / Vert (+)

Green/Black (-)
Verde/Negro (-)

Vert/Noir (-)

Violet/Black (-)

Violeta/Negro (-)

Violet/Noir (-)

10A

1

2

Gray

Gris / Gris

Black

Negro / Noir

Front
Frente
Avant

Rear

Posterior

Arrière

11

Preparation (continued)

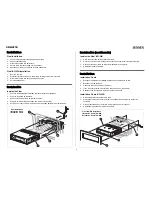
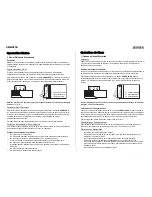
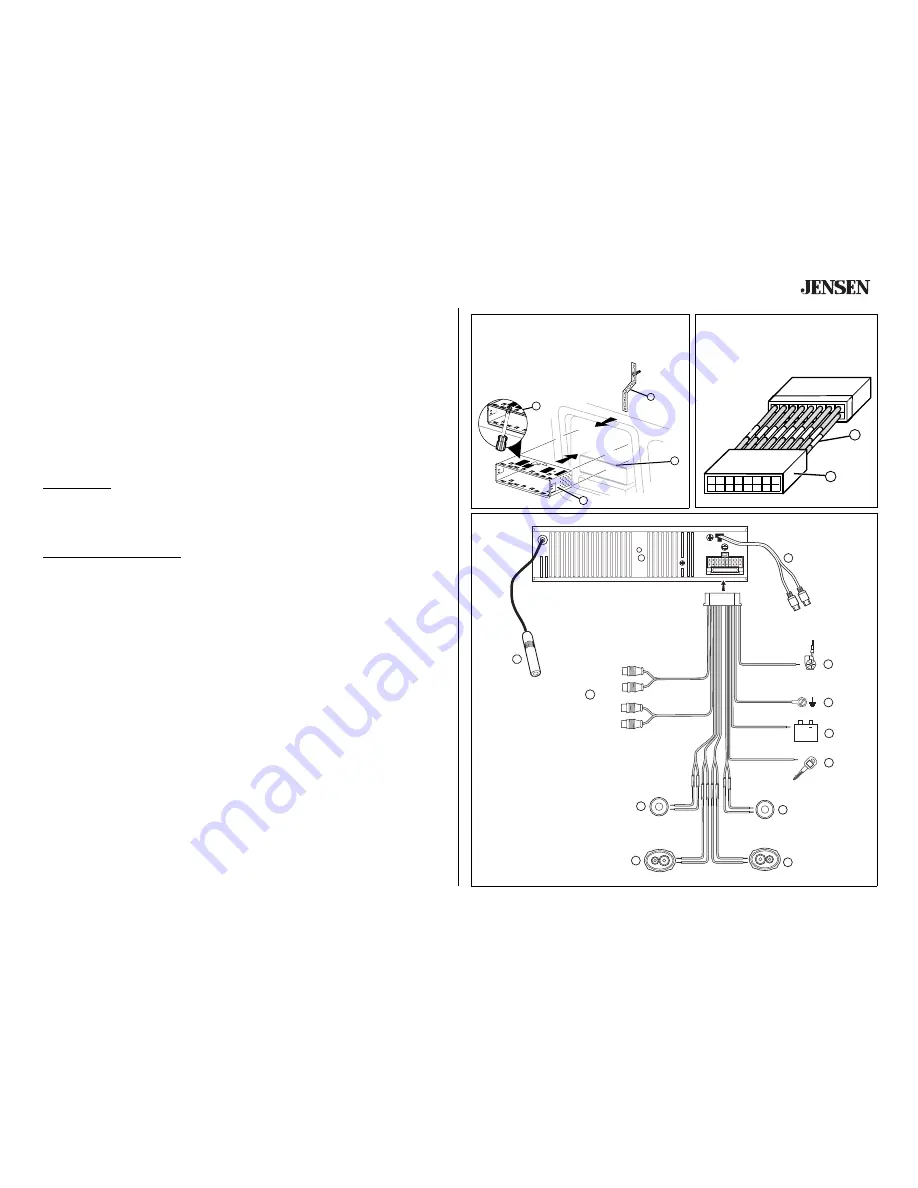
Install Half-Sleeve

1.

Install adapter if necessary (optional).

2.

Install half-sleeve into adapter or dashboard.

3.

Push tabs out to secure half-sleeve in the radio opening.

4.

Install support strap to make unit more stable.

Wiring

Wiring with a Wiring Adapter (Purchased Separately)

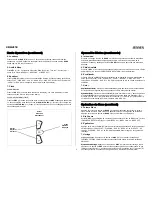
Connect Wires

You can make all these connections without even being in the car.

1.

Splice or crimp wires.

2.

Attach wiring adapter to car wiring harness.

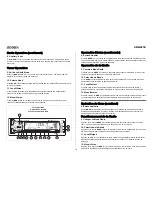
Wiring Diagram / Color Codes

1.

Auxilliary input

2.

Antenna

3.

Power Antenna (dark blue wire) – Connect to power antenna or amplifier. If not used, 
tape bare end of wire.

4.

Ground (black wire) – Connect to ground terminal or clean, unpainted part of chassis.

5.

Memory/Battery (yellow wire) – Connect to battery or 12 volt power source that is always 
alive. The radio will not work if this wire is not connected.

6.

Accessory/Ignition (red wire) – Connect to existing radio wire or radio fuse.

7.

Left front speaker

8.

Right front speaker

9.

Left rear speaker

10. Right rear speaker

11.

Amplifier wiring (see amplifier instructions)

Fuses

When replacing a fuse, make sure the new fuse is the correct type and amperage. Using an 
incorrect fuse could damage the radio. The CDH4110 uses one 15 amp fuse located below the 
wiring connector: 15 amp AGC.

Reconnect Battery

When wiring is complete, reconnect the battery negative terminal.

Install Half-Sleeve

Instalación de la Camisa

Installation du Demi-manchon

Connect Wires

Conecte los Cables

Raccordement des Fils

Wiring

Cableado

Câblage

Summary of Contents for CDH4110

Page 1: ...a to read all of the instructions before beginning the installation Tools and Supplies The following tools and supplies are needed to install the radio Torx type flat head and Phillips screwdrivers Wi...

Page 2: ...luz de prueba Conexiones para enganchar Cable de calibre 18 para conexiones el ctricas cable de altoparlante de calibre 16 a 18 Requerimientos del altavoz Solamente conecte los altavoces de carga de i...

Page 3: ...Codes 1 Auxilliary input 2 Antenna 3 Power Antenna dark blue wire Connect to power antenna or amplifier If not used tape bare end of wire 4 Ground black wire Connect to ground terminal or clean unpai...

Page 4: ...s cables podr hacer la reconexi n de la bater a a la terminal negativa de la misma Pr paration continu Installation du Demi manchon 1 Installez l adaptateur si n cessaire facultatif 2 Installez le dem...

Page 5: ...D REC EIV ER MOD E BAN D DISP MUT E MONO SCAN MO SFE T 50 WAT TS X 4 AUX IN AS P S CDH 411 0 5 2 1 3 4 CD REC EIVE R MOD E BAND DISP MUT E MONO SCAN MO SFE T 50 WAT TS X 4 AUX IN AS PS CDH 4110 Final...

Page 6: ...n push the right side in until your hear a click Handling Precautions Do not drop the front panel Do not put pressure on the display or control buttons when handling the front panel Do not touch the c...

Page 7: ...sassemble the front panel 0 1 2 1 2 0 0 Posici n normal 1 ngulo m ximo 2 ngulo m nimo Op ration de Base 1 Panneau d avant Motoris Puissance Appuyez sur le coin sup rieur gauche du panneau d avant pour...

Page 8: ...ajo hasta 10 lo m s alto 00 representa un sonido neutro Balance derecho izquierdo Balance Presione SEL 3 cuatro veces luego utilice el bot n 4 imagen aqu o el bot n 5 imagen aqu para ajustar el balanc...

Page 9: ...POP M ROCK M o DISP OFF Una selecci n de CLASSICS POP M o ROCK M aparecer en rojo en el lado izquierdo de la exhibici n 7 Reloj Exhibici n del Reloj Presione el bot n de DISP 16 para demostrar el relo...

Page 10: ...selecci n de hasta seis emisoras 11 Local Distant Presione el LOC 6 para abotonar el interruptor entre estaciones locales m s fuertes y estaciones distantes m s d biles Este ajuste es eficaz al usar...

Page 11: ...isora de se al fuerte Presione de nuevo SCN para escuchar la emisora actual 15 Preselecci n de Emisoras Seis bot ns numerados de preselecci n para almacenar o llamar emisoras de cada banda C mo Almace...

Page 12: ...e con el esc ner las emisoras almacenadas en la banda actual 1 Seleccione una banda si fuera necesario 2 Pulse el bot n AS PS 14 por menos de 3 segundos La radio har una pausa de 5 segundos en cada em...

Page 13: ...25 Ejecutar un CD Insertado Anteriormente Si el disco ya est adentro de la unidad presione el bot n MODE 15 hasta que el modo CD aparezca en pantalla 18 Pausa Pulse el bot n de 8 para dar pausa a la r...

Page 14: ...errez SCN 9 pour jouer le premier plusieurs secondes de chaque song file sur le disque courant Serrez SCN encore pour arr ter la fonction de balayage 22 Lecutre Al atoire SHF Appuyez sur le bouton SHF...

Page 15: ...T insert disc and try again Error 2 CD Player Servo error Press RESET insert disc and try again CD skips too much Receiver mount is not solid or backstrap is not secure Check mounting and backstrap ti...

Page 16: ...propiado Error 1 Reproductor de CD Error del mecanismo Presione el bot n RESET Inserte el disco y vuelva a intentar Error 2 Reproductor de CD Error de servo Presione el bot n RESET Inserte el disco y...

Page 17: ...uissance appropri s Error 1 Lecteur CD Erreur de m canisme Appuyez sur RESET ins rez le disque et essayez Error 2 Lecteur CD Erreur de servo Appuyez sur RESET ins rez le disque et essayez Le CD saute...

Page 18: ...arcus Blvd Hauppauge NY 11788 1 800 323 4815 CANADA Composez le 1 800 323 4815 connaitre l adresse du poste de garantie de votre r gion 12 Month Limited Warranty AUDIOVOX CORPORATION the Company warra...

Reviews: