E-8
CD PLAYER OPERATION
Note:
This CD player will play not only commercial CDs, but also the self-compiled CD-R/RW discs. Do
not attempt to play CD-ROM, CDI, VCD, DVD or computer CDs.
Notes on CD-R/RW Discs
•
Because of non-standardized format definition/production of CD-R/RW, playback quality &
performance are not guaranteed.
•
Manufacturer is not responsible for the playability of CD-R/RW due to recording conditions such
as PC performance, writing software, media ability, etc.
•
Do not attach a label or seal to either side of the CD-R/RW disc. It may cause a malfunction.
1.
Set the Function Selector to the "CD" position.
2.
Press the
Button to turn on the unit, the POWER Indicator will light.
“- -” will appear and flash in the Display. After a few seconds, “no” will appear in
the display if no disc is loaded.
3.
Press the PUSH OPEN Button to open the CD Door.
4.
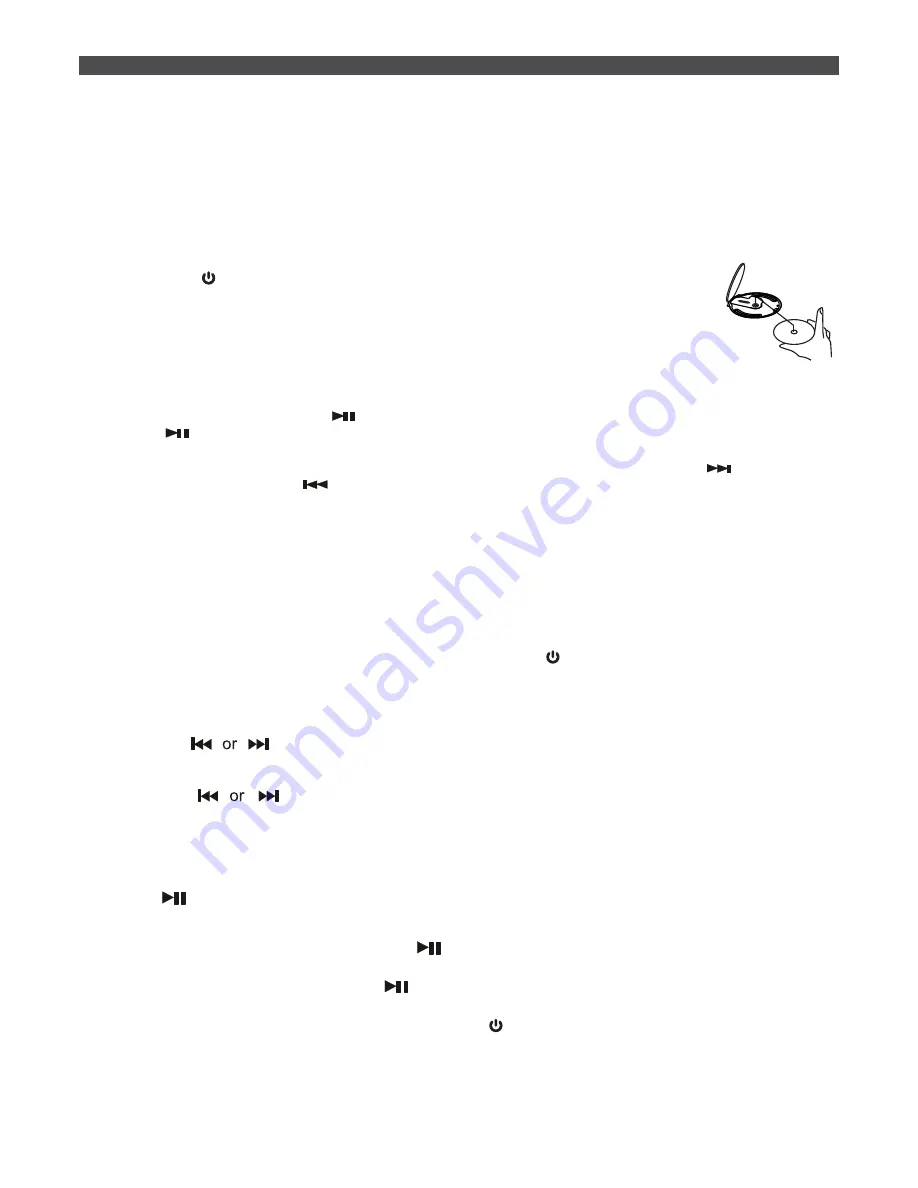
Load an audio CD with its label side facing out and close the CD Door. A click
sound will be heard indicating the CD Door is firmly locked.
5.
“- -” will appear and blink in the Display. After a few seconds, Track No. “01” will be shown steadily
in the Display and that CD will auto playback.
6.
To pause playback, press the Button. The Track No. “01” will flash. To resume playing, press the
Button
again.
7.
Adjust the VOLUME Control to obtain the desired sound level from the Speakers.
8.
You can choose to play your favorite track directly by pressing the Skip Forward Button to skip
forward or the Skip Back Button to skip backward. The track number of the selected track will
be shown in the Display.
9.
To repeat the current track that is playing, press the REPEAT Button until “REP
1
“ icon appears in
the
top right
corner of the Display.
10. To repeat the entire CD, press the REPEAT Button until “
REP ALL
” icon appears in the
top right
corner of the Display. Press the REPEAT Button again to resume normal playback.
11. To stop playing, press the STOP
■
Button.
CD PROGRAMMED PLAY
This function allows your favorite tracks to be played in a programmed sequence.
1.
Set the Function Selector to the “CD” position and press the
Button to turn the unit on.
2.
Open the CD Door, insert an audio CD and press the STOP button, total number of tracks on the CD
will be displayed.
3.
Press the PROG Button once. Program No, “P01”, will be shown briefly and then changes to Track
No. “00” and flash together with the Program Indicator, “PROG”, in the Display.
4.
Press the
Buttons to select the song to be programmed.
5.
Press the PROG Button again to store your selection. Program No. “P02” will be shown briefly and
resume to “00” and flash to prompt for another input.
6.
Press the
Buttons to select the next song to be programmed and press the Program
Button again to store your second selection.
7.
You may repeat above steps 3 - 5 to program as many as 20 tracks. If you attempt to program more
than 20 tracks, the Display will display flashing “FU”.
8.
To check the programmed tracks, press the PROG Button repeatedly. The Display will first show the
PROGRAM No. and then the programmed track number in the programmed sequence.
9.
Press Button to start programmed play.
After all the programmed tracks have been played the player stops but the program remains in
the memory.
Press the
PROG
Button and then the Button to begin programmed playback again.
10. To cancel the program play and resume to normal playback, press the STOP
■
button twice,
“PROG” icon disappeared. Press the Button to start normal play.
11. To stop playing, press the STOP
■
Button.
12. To turn the Player off, press the Power ON/Standby
Button, the POWER Indicator goes off.
IMPORTANT
Always turn off the power when the unit is not in use in order to extend the battery life.


