13
REPEAT and intro MODE (MP3 DISC)
1.
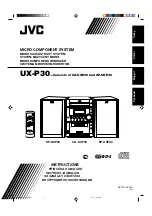
Repeat One:
In the MP3 play mode, press the
REPEAT/INTRO
button
once, the REPEAT indicator will show on the display. This
single track of music will be repeated.
2.
Repeat Album:
In the MP3 play mode, press the
REPEAT/INTRO
button
twice, the REPEAT ALBUM indicator will show on the
DISPLAY. The whole folder of the MP3 music will be
played continuously.
3.
Repeat ALL:
In the MP3 play mode, press the
REPEAT/INTRO
button
third time, the REPEAT ALL indicator will show on the
display. The whole disc will be played continuously.
4.
Intro
In the MP3 play mode, press the
REPEAT/INTRO
button
fouth time, the INTRO indicator will show on the display. It
will play the first 10 seconds of each track.
5.
To cancel the function
Press
REPEAT/INTRO
button repeatedly until all the play
mode indicators go off on the display. Standard playback mode will now resume.
RANDOM PLAY MODE
This feature allows the tracks on the disc to be played in random order.
1. Press the
RANDOM/ID3
button. The RANDOM indicator
will show on the display and all music will play in random
order.
2. To cancel the Random play function, press the
RANDOM
button again. The RANDOM indicator will disappear from
the display.
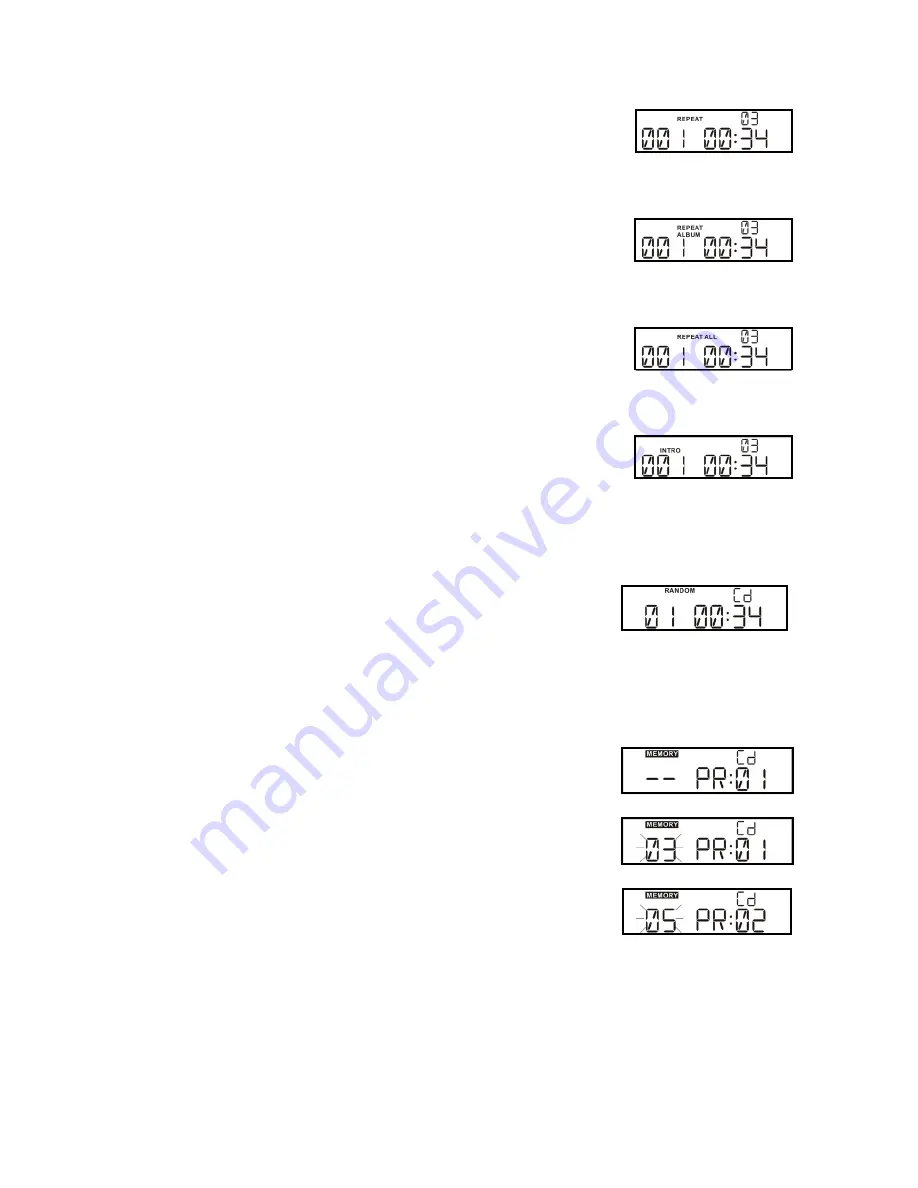
PROGRAM MODE
1. In stop mode, press the
PROG.
button on unit or remote
control. The first program “PR:01” will display.
2. Press the or button to choose your desired musical
track, the track number will flash. Press the
PROG.
button
again to store this track in memory.
3. Repeat
the
above procedure until all desired tracks have
been stored.
4.
A total of 20 tracks can be stored in memory for CD
playback while a total of 99 tracks can be stored for MP3
disc playback.
5. Press the
PLAY/PAUSE
button once to start the program playback.
6. Press the
PROG.
button to check the stored tracks. The display will show the first
programmed track number. Press the
PROG.
Button repeatedly to read the
consequent track numbers.
7. Cancel the programmed memory by pressing the
STOP
button twice or by opening
the CD door during the stop mode. The Program Indicator will disappear from the
display.