


2
WARNING
TO
PREVENT
FIRE
OR
SHOCK
HAZARD
,
DO
NOT
USE
THIS
PLUG
WITH
AN
EXTENSION
CORD
,
RECEPTACLE
OR
OTHER
OUTLET
UNLESS
THE
BLADES
CAN
BE
FULLY
INSERTED
TO PREVENT BLADE EXPOSURE. TO
PREVENT
FIRE
OR
SHOCK
HAZARD
,
DO
NOT
EXPOSE
THIS
APPLIANCE
TO
RAIN
OR
MOISTURE
.
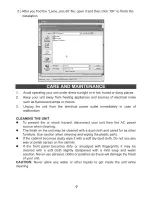
IMPORTANT
SAFETY
INSTRUCTIONS
1
.
Read
these
instructions
.
2
.
Keep
these
instructions
.
3
.
Heed
all
warnings
.
4
.
Follow
all
instructions
.
5
.
Do
not
use
this
apparatus
near
water
.
6
.
Clean
only
with
dry
cloth
.
7
.
Do
not
block
any
ventilation
openings
.
Install in accordance with these
instructions
.
8
.
Do
not
install
near
any
heat
sources
such
as
radiators
,
heat
registers
,
stoves
,
or
other
apparatus
(
including
amplifiers
)
that
produce
heat
.
9
.
Protect
the
power
cord
from
being
walked
on
or
pinched
particularly
at
plugs
,
convenience
receptacles
,
and
the
point
where
they
exit
from
the
apparatus
.
10
.
Only
use
attachments
/
accessories
specified
by
the
manufacturer
.
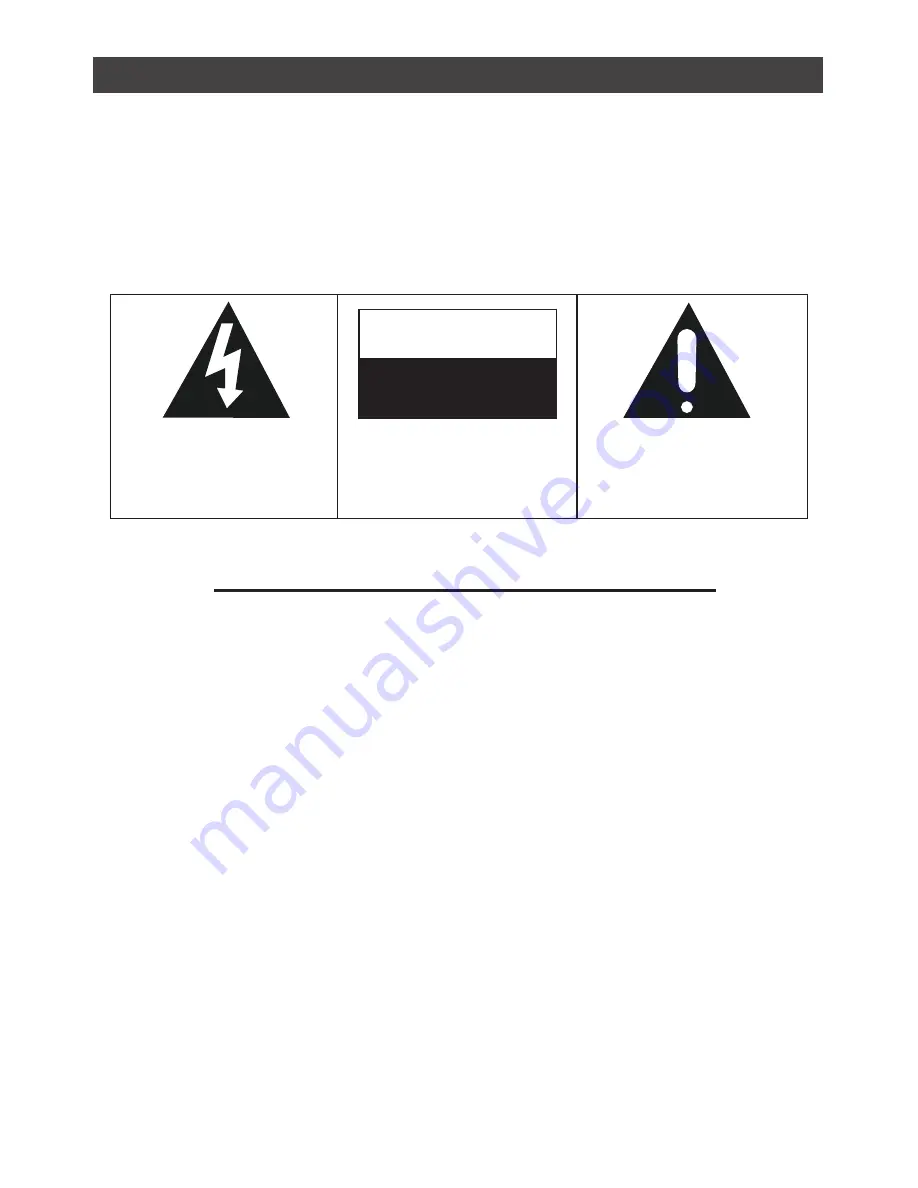
CAUTION
RISK OF ELECTRIC SHOCK
DO NOT OPEN
T h e l i g h t n i n g f l a s h w i t h a r r o w h e a d
symbol, within an equilateral triangel is
intended to alert the user to the presence
o f u n i n s u l a t e d d a n g e r o u s v o l t a g e
within the product is endosure that may
be of sufficient magnitude to constitute
risk of electric shock to persons
CAUTION: TO REDUCE THE RISK
OF ELECTRICSHOCK, DO NOT
REMOVE COVER (OR BACK). HO
U S E R - S E R V O C E A B L E PA R T S
INSIDE. REFERSERVICING TO
QUALIFIED SERVICE PERSONEL.
T h e e x c l a m a t i o n p o i n t w i t h i n a n
e q u i l a t e r a l t r i a n g e l i s i n t e n d e d t o
alert the user to the presence of
i m p o r t a n t o p e r a t i n g a n d
maintenance (servicing) instructions
in the literature accomoanying the
appliance


