background image


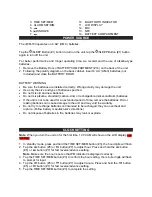
3. TIME SET/MEM 

10.  BLUETOOTH INDICATOR 

4.  ALARM SET/DIM 

11.  LCD DISPLAY 

5. 

 12. 

MIC 

6. 

/SNOOZE 13. 

NFC 

7. 

 14. 

BATTERY 

COMPARTMENT 

POWER SOURCE 

 
The JWM-160 operates on 4 ‘AA' (UM-3) batteries.  
 

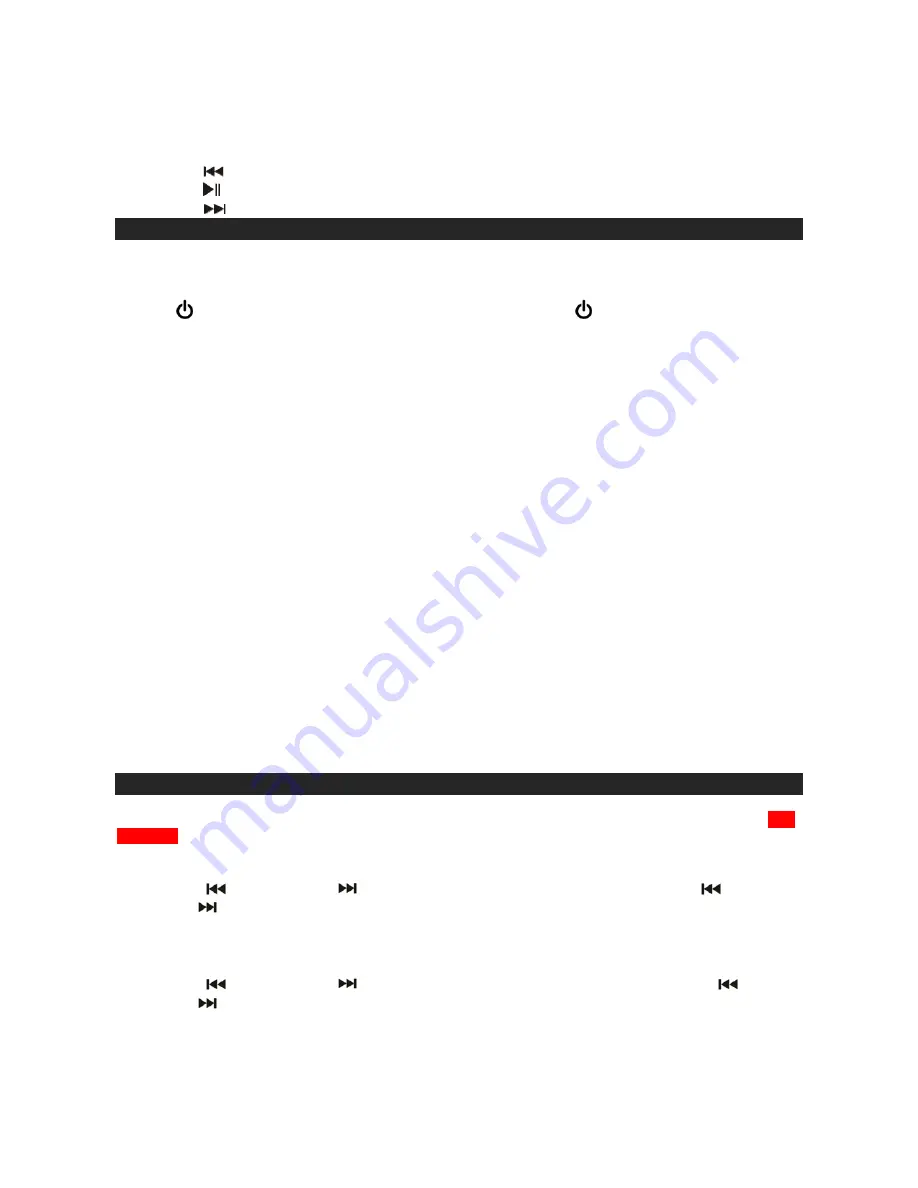
Tap the 

/SLEEP Button (#1) button to turn on the unit, tap the 

/SLEEP Button (#1) button 

again to turn off the unit. 
 
For better performance and longer operating time, we recommend the use of alkaline-type 
batteries. 
1.  Remove the Battery Door of BATTERY COMPARTMENT (#14) on the back of the unit.. 
2.  Following the polarity diagram on the back cabinet, insert 4 ‘AA' (UM-3) batteries (not 

included) and close the BATTERY DOOR. 


BATTERY WARNING 

  Be sure the batteries are installed correctly. Wrong polarity may damage the unit. 

  Use only the size and type of batteries specified. 

  Do not mix old and new batteries. 

  Do not mix alkaline, standard (carbon-zinc) or rechargeable (nickel-cadmium) batteries. 

  If the unit is not to be used for an extended period of time, remove the batteries. Old or 

leaking batteries can cause damage to the unit and may void the warranty. 

  Do not try to recharge batteries not intended to be recharged; they can overheat and 

rupture. (Follow battery manufacturer’s directions). 

  Do not dispose of batteries in fire, batteries may leak or explode. 


CLOCK SETTING 


Note

: When you turn the unit on for the first time, 12:00 AM will show on the LCD display and 

flashing. 
 
1.  In standby mode, press and hold the TIME SET/MEM button (#3), the hour digits will flash. 
2. Tap the 

 button (#5) or 

 button (#7) to adjust hour. Press and hold the 

 button 

(#5) or 

 button (#7) for fast reverse/advance setting. 

 Note

: Make sure the hour is set so that PM indicator is displayed correctly.  

3.  Tap the TIME SET/MEM button (#3) to confirm the hour setting, the minute digits will flash 

to prompt for input. 

4. Tap the 

 button (#5) or 

 button (#7) to adjust minute. Press and hold the 

 button 

(#5) or 

 button (#7) for fast reverse/advance setting. 

5.  Tap the TIME SET/MEM button (#3) to complete the setting. 
 

Summary of Contents for JWM-160

Page 1: ...Water Resistant AM FM Bluetooth Shower Clock Radio with Digital Tuning MODEL JWM 160 USER MANUAL PLEASE READ THIS USER MANUAL COMPLETELY BEFORE OPERATING THIS UNIT...

Page 2: ...r an experienced radio TV technician for help WARNING Changes or modifications to this unit not expressly approved by the party responsible for compliance could void the user s authority to operate th...

Page 3: ...this by setting your equipment at a safe level BEFORE your hearing adapts To establish a safe level Start your volume control at a low setting Slowly increase the sound until you can hear it comfortab...

Page 4: ...LOCATION OF CONTROLS 1 SLEEP 8 VOLUME 2 BAND BT 9 VOLUME...

Page 5: ...the unit is not to be used for an extended period of time remove the batteries Old or leaking batteries can cause damage to the unit and may void the warranty Do not try to recharge batteries not int...

Page 6: ...inside the cabinet of the unit If reception is weak change the position of the unit until the internal antenna picks up the strongest signal Setting the Radio Station Presets The JWM 160 allows you to...

Page 7: ...track 3 Press VOL buttons 9 8 of your JWM 160 and your Bluetooth device until you reach a comfortable listening level Notes 1 Refer to the manual of your cell phone tablet PC computer or other Bluetoo...

Page 8: ...device For example when your smartphone is connected to NFC compatible headphones just touch the smartphone to the system to change the Bluetooth connection to the system one touch connection switchin...

Page 9: ...timer shows OFF 5 To turn the unit Off before the selected length of time tap the SLEEP button 1 at any time Note To check the remaining sleep time tap the SLEEP BUTTON 2 once DIMMER CONTROL Tap ALARM...

Page 10: ...WARRANTY AND SERVICE VALID IN THE U S A ONLY SPECTRA MERCHANDISING INTERNATIONAL INC warrants this unit to be free from defective materials or factory workmanship for a period of 90 days from the dat...

Page 11: ...IOD shown above please include a proof of purchase dated cash register receipt so that we may establish your eligibility for warranty service and repair of the unit without cost Also include a note wi...

Reviews: