Note:
If the battery is completely drained (LCD clock display and LED
light do not work), it may require very long exposure to direct sunlight
in order to charge the battery using the solar panel. You should use one
of the other power modes available if you need to use the radio
immediately.
4) USB Power
The unit has a mini USB jack on the back of the unit under the Rubber
Dust Cover.
1
(not included), and connect it to the USB port on the back of the unit.
.
Use the mini USB plug side of a 5V DC, 500mA output AC adaptor
2
the AC adaptor into an 120V AC, 60Hz household outlet.
.
Set the Power Source Selector to
"Li-ion Battery"
position and plug
Li-ion
2
More power is
generated the longer you leave the unit in direct sunlight, and the
Radio listening time will be extended (Radio reception only).
.
Put the unit in direct sunlight, making sure the solar panel of the unit is
facing towards the sun. If the sunlight is strong enough, the charging
Indicator will light indicating the unit is charging.
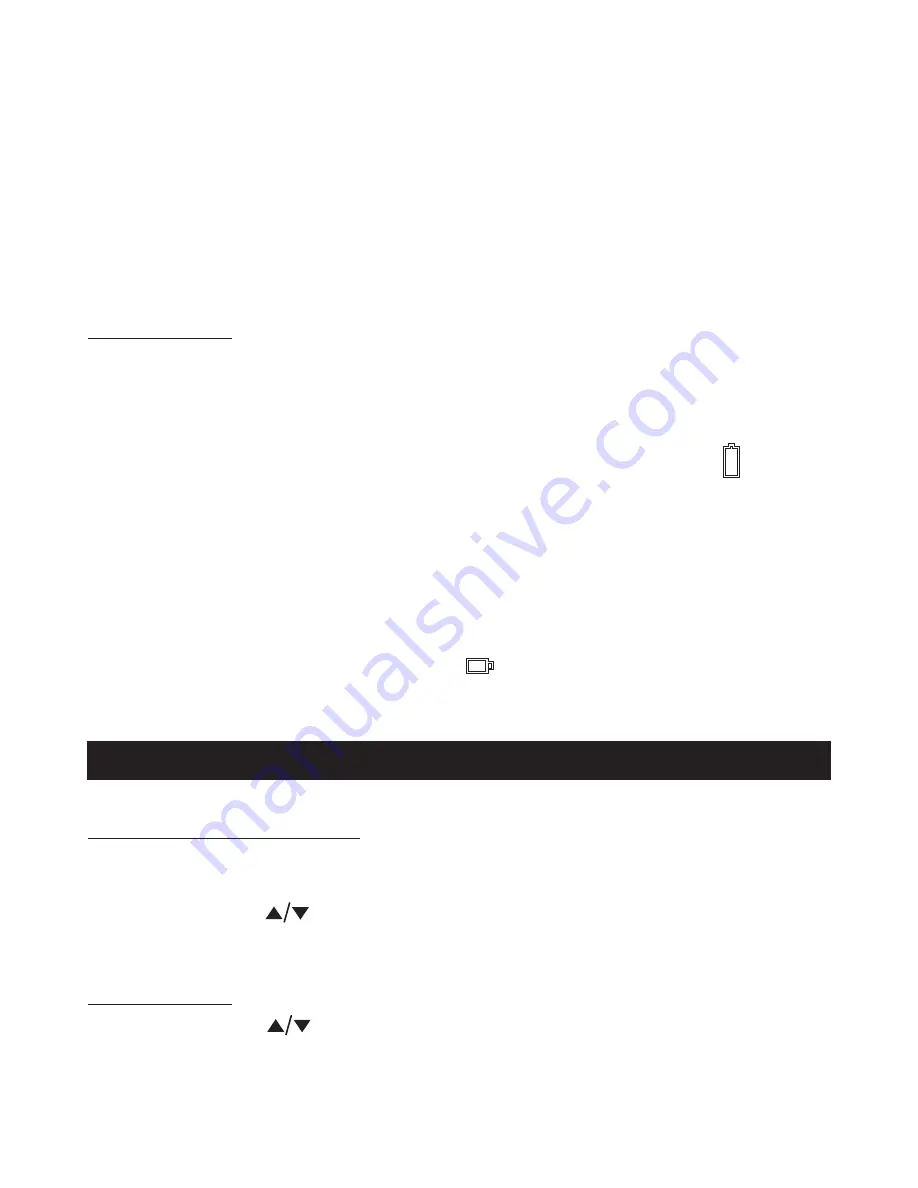
LOW BATTERY INDICATOR
When using battery power to operate this unit and the battery power
becomes weak, the low battery icon will appear & flashing on LCD
display. You are recommended to charge the rechargeable battery or
replace the exhausted dry cell batteries immediately.
Note:
The USB power adaptor (not included) described above is the same
type commonly used with smartphones. A USB to mini USB cord
(not included) is also required for charging the unit via the mini USB jack
located on the back of the unit.
CLOCK SETTING
When the unit is in standby mode:
Setting 12/24 Hour format
1
mode, 12 hour format (12 Hr) flashing.
.
Press and hold the MODE button for 2 seconds to enter clock setting
2
format, then press MODE button to confirm. Hour digits flashing to
prompt for input.
.
Tap the TUNE button to select 12 hour (12Hr) or 24 hour (24Hr)
Setting Clock
3
hold the buttons to speed up the forward or reverse scanning of the digits.
.
Tap the TUNE button repeatedly to set the hour value. Press and
Note
: Make sure the hour is set so that the
AM
or
PM
indicators are
displayed correctly.
8


