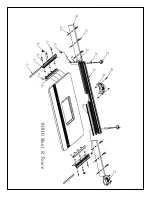
For JessEm Table Top
Leveling the Fence Track
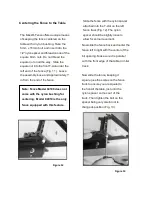
If you are mounting the fence to a JessEm
table top the top is already pre- drilled for
the fence mounting angle brackets. With
the table upside down position the left and
right fence track assemblies and attach to
the table with the 6mm x45mm socket head
cap screws for phenolic tables and 4.8mm x
25mm wood screws for MDF tables and
proceed to the next step.
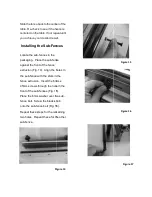
Figure 7
Move the fence back and use it to position the
rear end of the bracket in the same way and
tighten the rear bolt. Then tighten the center bolt
to complete the leveling of the fence track.
Repeat this process for the fence track on the
other side of the table.
When tightening the fence track mounting bolt on
Model 04010, the T-nut will tighten in the T-track
and hold the fence track securely. When
tightening the fence track mounting bolt on Model
04100 you will need a 10mm wrench to hold the
hex nut while tightening the hex bolt securely.
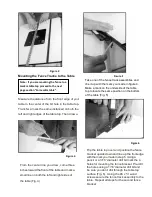
Mounting the Fence to the Tracks
Figure 8
Place the fence on the table top in its upright
position and allow it to hang over the table
edge and lie across the front end of the fence
track. Raise the fence track assembly so that
it is positioned flush to the bottom of the fence
as it rests on the table top. With a 10mm
wrench or socket tighten the front bolt of the
fence assembly (Fig. 7).
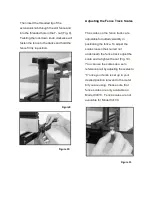
Slide the ¾” hex T-nut for the extension
knob into the T- slot next to the scales on
the fence track (Fig. 8). The extension
knobs will thread into these nuts to hold the
fence in position. To do so, position the end
of the fence over the track and look directly
down through the open slot in the base of
the fence frame and visually line up the hole
in the rectangular T-nut.

