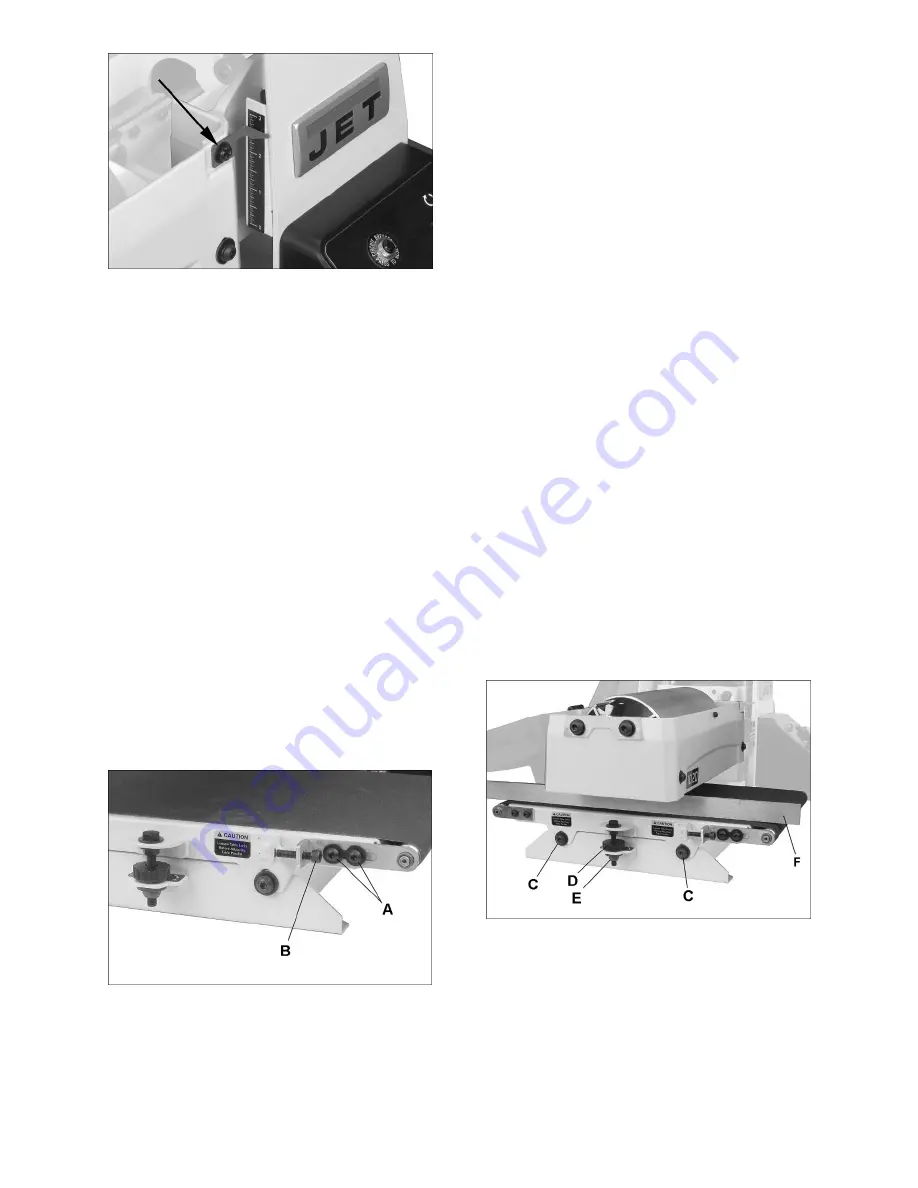
11
Figure 7-1: depth scale adjustment
7.3
Conveyor belt tension/tracking
Conveyor belt tension adjustment may be
necessary during the break-in period to compensate
for belt stretching, and also after long-term use.
7.3.1
Belt tension adjustment
NOTE: Insufficient belt tension will cause slippage
of conveyor belt on drive roller during sanding
operation. The conveyor belt is too loose if it can be
stopped by hand pressure applied directly to top of
moving conveyor belt. Excessive belt tension can
result in bent rollers, bent brackets, and/or
premature wearing of bushings or conveyor belt.
To adjust conveyor belt tension:
1. Slightly loosen four screws (A, Figure 7-2) on
infeed side of conveyor, with 4mm hex wrench
(two screws on each side).
2. Turn take-up screw (B, Figure 7-2) with 5mm
hex wrench. Do this on
both sides
of conveyor
to obtain approximately equal tension on both
sides of sanding belt when taut.
3. Tighten four screws (A, Figure 7-2).
4. Check conveyor belt tracking before operating
machine. Proceed to
sect. 7.3.2
.
Figure 7-2: belt tension adjustment
7.3.2
Tracking adjustment
A belt tracks correctly when it moves centrally on the
conveyor rollers without drifting to either side.
Tracking adjustments are made while conveyor belt
is running.
1. Make sure proper belt tension has been
achieved (
sect. 7.3.1
).
2. Turn on conveyor and set to maximum speed.
Watch for tendency of conveyor belt to drift to
one side of conveyor.
3. If conveyor drifts, slightly loosen two screws (A,
Figure 7-2) and turn take-up screw (B, Figure 7-
2) on
one side
of conveyor as needed.
Note:
Adjust take-up screw only 1/4-turn at a
time. Allow time for belt to react to adjustments
before proceeding further.
4. When adjustment is satisfactory, tighten two
screws (A, Figure 7-2).
Avoid over-adjusting, as this may affect belt tension.
If tension is affected, if may become necessary to
use both take-up screws to accomplish tensioning
and tracking.
7.4
Inspecting drum alignment
The sanding drum must be parallel to conveyor table
for proper machine operation. The sanding drum
comes pre-aligned from the manufacturer. If a
problem with drum alignment should occur, follow
the instructions below.
First, inspect the alignment with a gauge of some
kind. The following procedure uses a steel straight-
edge as a gauge.
1. Unplug sander from power source.
2. Open hood and remove abrasive strip from
drum.
3. Position gauge (F, Figure 7-3) between drum
and conveyor table at
outboard
side of drum.
Figure 7-3: drum alignment
4. With hood open, lower sanding drum while
slowly rotating drum by hand, until drum lightly
contacts gauge. NOTE: Make sure gauge is
contacted by the drum, not just the tension
rollers. Make a note of the measurement on the
sander’s depth scale.
5. Remove gauge and place under drum at
inboard
side.


