14
Abrasive Belt
1. Disconnect machine from power source.
2. Raise the belt arm to vertical position.
3. Loosen lock screw and open left side panel.
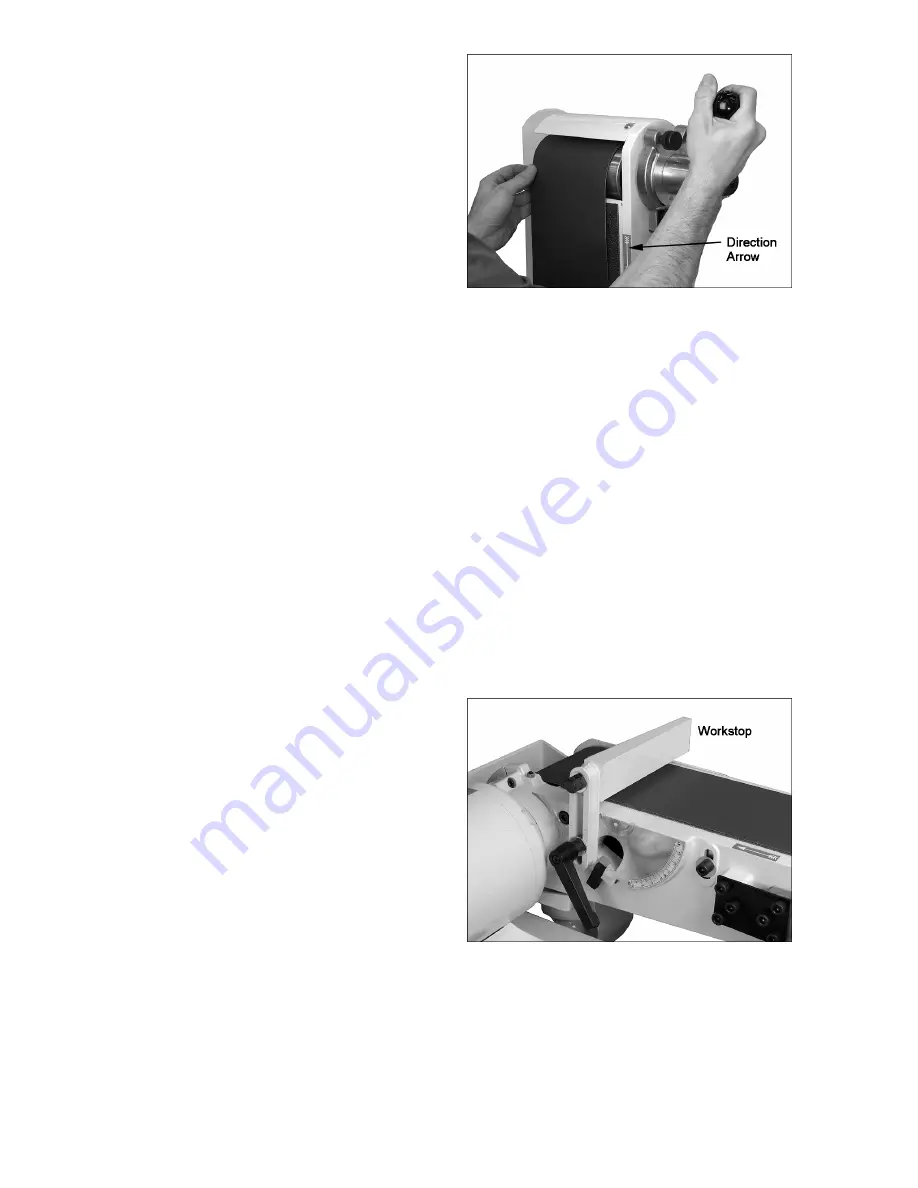
4. Most brands of replacement abrasives are
directional, and must be installed in the proper
direction. Directional belts are so indicated on
the backing material by arrows. The direction
of the abrasive should match that of the arrow
on the platen assembly (Figure 17).
NOTE:
Failure to comply with abrasive belt
directional instructions may result in premature
belt breakage.
5. Once the belt direction has been determined,
pull the belt tensioning handle toward you with
one hand, while using the other hand to slide
the belt onto both drums and over the platen
pad. See Figure 17.
6. Center the belt on the platen and release the
belt tensioning handle.
7. Before operating, the belt should be tracked.
See “Belt Tracking Adjustment.”
Workstop Assembly
When the sanding belt is to be used in the
horizontal position, the table may be used as a
fence; or the table may be removed and the
workstop assembly installed.
Refer to Figure 18.
1. Remove table and trunnion assembly by
removing the table lock handle and washer.
2. Slide workstop bracket onto stud and fasten
with the washer and lock handle.
3. Adjust workstop to clear belt before starting
machine.
Dust Collection
It is strongly recommended that a dust collection
system (not included) be connected to the sander.
Mount a 4-inch hose to the sander’s dust port and
secure with a hose clamp. (Note: Dryer vent hose
is not suitable for such use).
The dust collector should have sufficient capacity
for this size machine; a minimum rating of 450
CFM (cubic feet per minute) is recommended.
A variety of JET dust collectors is available; see
our website at www.jettools.com.
Figure 17
Figure 18


