5
Operation and Setup
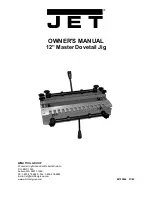
The 12” Master Dovetail Jig comes with a 1/2"
template. It should be used with a 1/2" dovetail
router bit (1/4" shank, 14°), and a 7/16” guide
bushing.
Always set up and practice on a test piece.
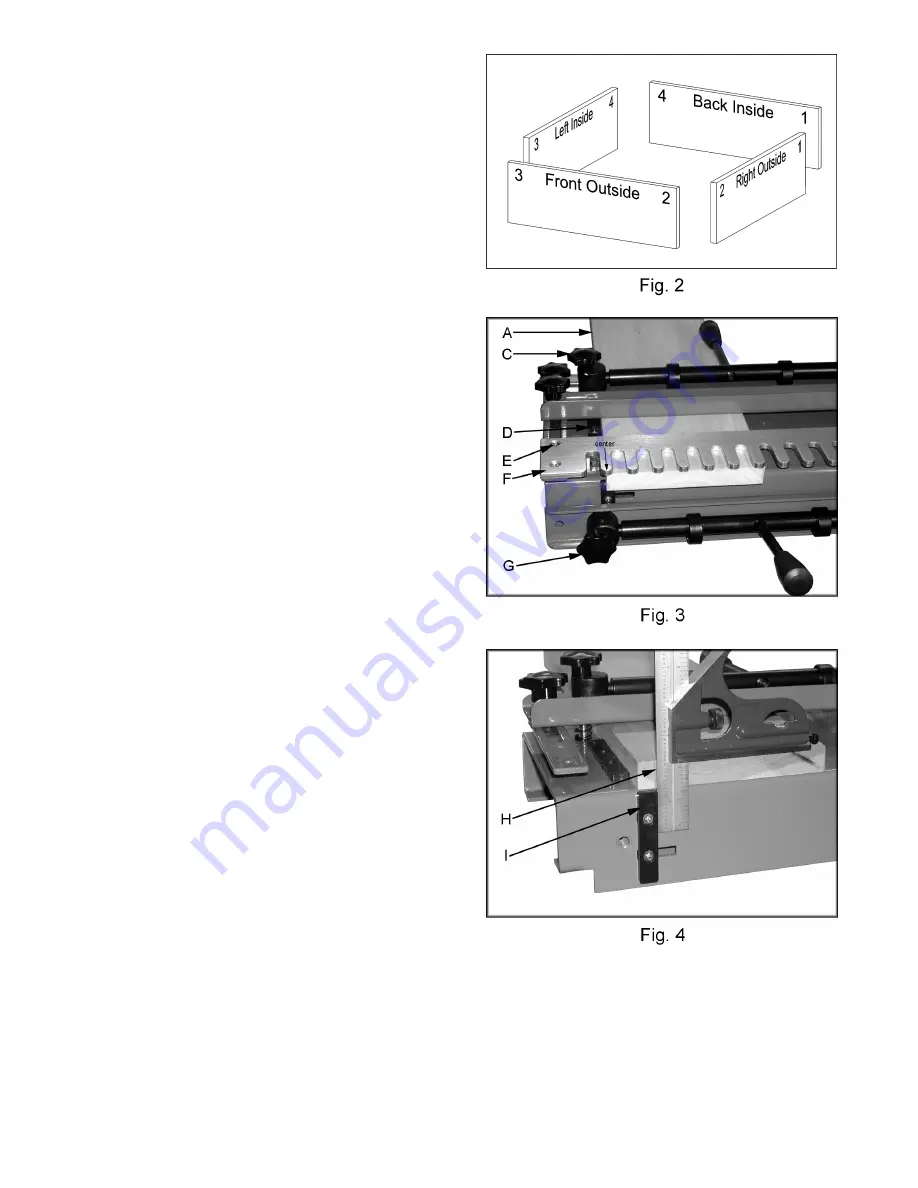
1. Lay out the workpieces and mark according
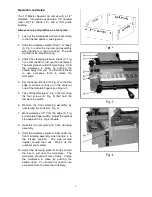
to the finished position, see Figure 2.
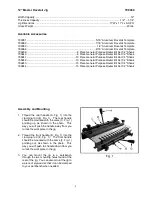
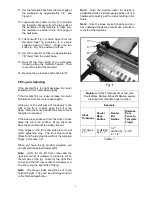
2. Slide the workpiece marked “front,” or “back”
(A, Fig. 3) under the top clamping assembly
when handle is in the up position. The side
marked inside should face up.
3. Adjust the clamping pressure knobs (C, Fig.
3) so that the bar is just over the workpiece.
The workpiece should still move freely. Hold
the workpiece in place by pushing the
handle away from you. You should not need
to use excessive force to clamp the
workpiece.
4. Set the horizontal stop (D, Fig. 3) so that the
edge of workpiece lines up in the center of
one of the template fingers, see Figure 3.
5. Take off the template (F, Fig. 3) by removing
the four screws (E, Fig. 3) that hold the
template in position.
6. Remove the front clamping assembly by
unscrewing two knobs (G, Fig. 3).
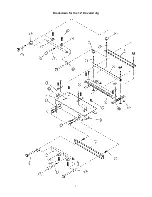
7. Mark workpiece 1/2" from the edge (H, Fig.
4) (template finger width). Adjust the vertical
stop against the (I, Fig. 4) square.
8. Reinstall the template and front clamping
assembly.
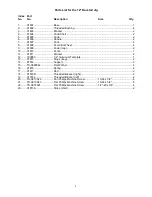
9. Slide the workpiece marked “side” under the
front clamping assembly when handle is in
the release position. The side marked
“inside” should face out. Match up the
numbers you marked.
10. Adjust the clamping pressure knobs so that
the bar is just over the workpiece. The
workpiece should still move freely. Clamp
the workpiece in place by pushing the
handle down. You should not need to use
excessive force to clamp the workpiece.

