

7
4. The lock nut needs to be threaded almost all
the way up the eyebolt. Screw the eye bolt into
the hole and tighten lock nut against the
cabinet top. You will need to hold the eyebolt
so it does not spin while tightening the lock
nut.
5. Repeat steps for remaining three eyebolts.
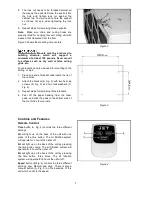
Note:
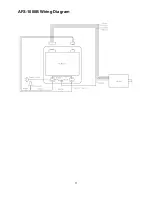
Make sure chain and ceiling hooks are
properly rated for hanging this unit. Hang unit with
a seven-foot clearance from the floor.
Figure 3 shows the mounting hole centers.
Mounts must be anchored to
building structure, which will support a
minimum of at least 100 pounds. Never mount
to surfaces such as dry wall or false ceiling
grids, etc.
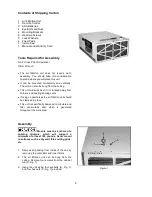
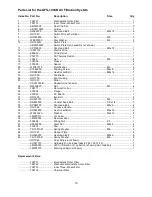
Four brackets can also be used for mounting to the
ceiling, or wall:
1. Place one end of bracket underneath the lip of
the cabinet.
2. Attach the bracket (A, Fig. 2) with two hex cap
screws (B, Fig. 2) and two lock washers (C,
Fig. 2).
3. Repeat steps for remaining three brackets.
4. Peel off the paper backing from the foam
pads, and stick the pads to the bottom side of
the machine’s four corners.
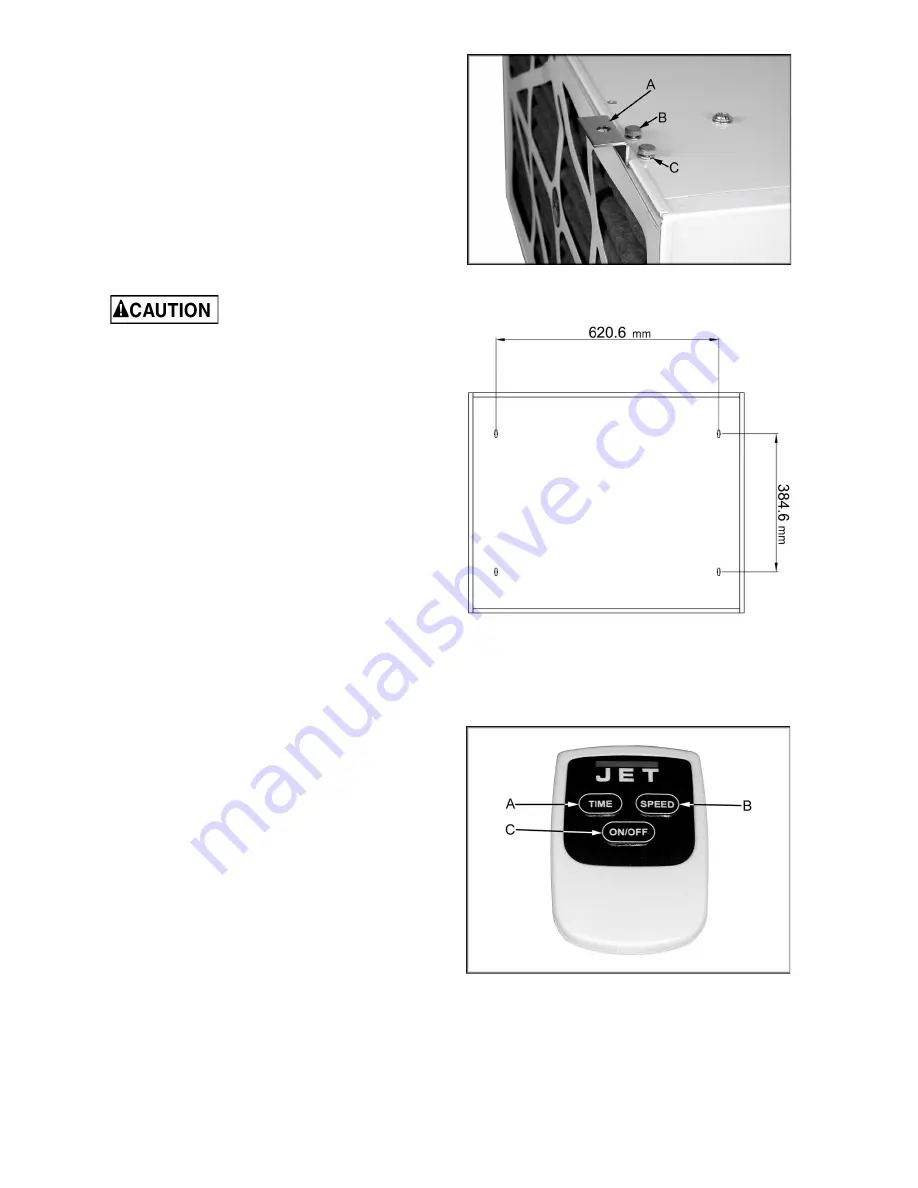
Controls and Features
Remote Control:
Time
button (A, Fig. 4) controls the three different
settings.
2H
will light up on the back of the unit with one
press of the time button. The air filtration system
will operate for 2 hours then shut off.
4H
will light up on the back of the unit by pressing
the time button twice. The air filtration system will
operate for 4 hours then shut off.
8H
will light up on the back of the unit by pressing
the time button three times. The air filtration
system will operate for 8 hours then shut off.
Speed
button (B, Fig. 4) controls the three different
settings, Low, Medium and High. There is also a
manual button (A, Fig. 5) on the backside of this
unit which controls the speed.
Figure 2
Figure 3
Figure 4
Summary of Contents for AFS-1000B
Page 11: ...11 AFS 1000B Wiring Diagram ...


