10
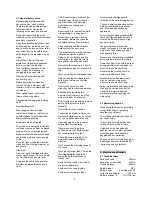
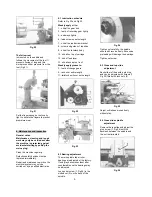
8.5 Top slide spindle adjustment
Remove the spindle bracket as
shown.
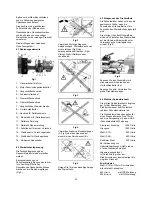
Adjust the screw ring (1, Fig 27)
until all backlash has been
eliminated.
Fig 27
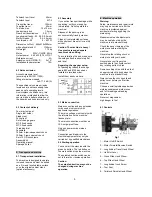
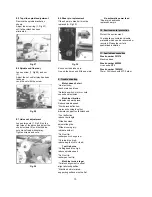
8.6 Spindle end float adj.
Loosen screw (1, Fig 28) and nut
(2).
Adjust the nut until all play has been
taken up.
Lock the nut with the screw.
Fig 28
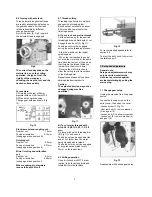
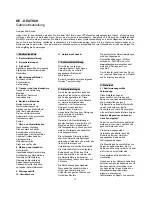
8.7 Halve nut adjustment
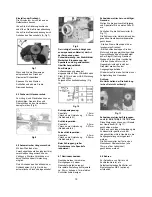
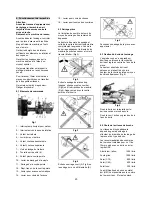
Loosen two nuts (1, Fig 29) on the
right side of the apron and adjust the
control screws (2) until both halve
nuts move freely without play.
Tighten screws and nuts.
Fig 29
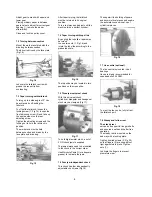
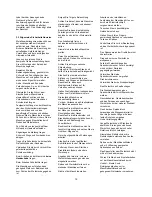
8.8 Shear pin replacement
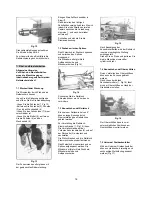
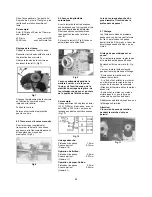
If the shear pin breaks it must be
replaced (A, Fig 30).
Fig 30
Knock out the broken pin.
Line up the holes and fit the new pin.
9. Trouble shooting
Motor doesn’t start
*No electricity-
check mains and fuse.
*Defective switch, motor or cord-
consult an electrician.
Machine vibration
*Unbalanced work piece-
Reduce spindle speed.
*Work piece deflection-
improve chucking length or
diameter, support on tailstock end.
*Tool deflection-
reduce tool length.
*Slide backlash-
adjust slide gibs.
*Slides running dry-
lubricate with oil.
*Dull tool tip-
resharpen or change tool.
*Chip load too high-
reduce depth of cut or feed-
Tool tip burns
*Cutting speed too high-
reduce spindle speed.
*Dull tool tip-
resharpen tool tip.
Machine turns a taper
*Tailstock alignment is offset-
align tailstock position.
*Machine bed is twisted-
supporting surface must be flat.
No automatic power feed
*Shear pin has broken-
replace shear pin
10. Environmental protection
Protect the environment.
Your appliance contains valuable
materials which can be recovered or
recycled. Please leave it at a
specialized institution.
11. Available accessories
Stock number 321374
Machine base
Stock number 465302
Live centre MT-2
Stock number 708343K
13mm Drill chuck with MT-2 arbor


