background image

JAT-500 HVLP Spray Gun 


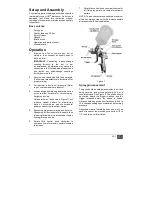
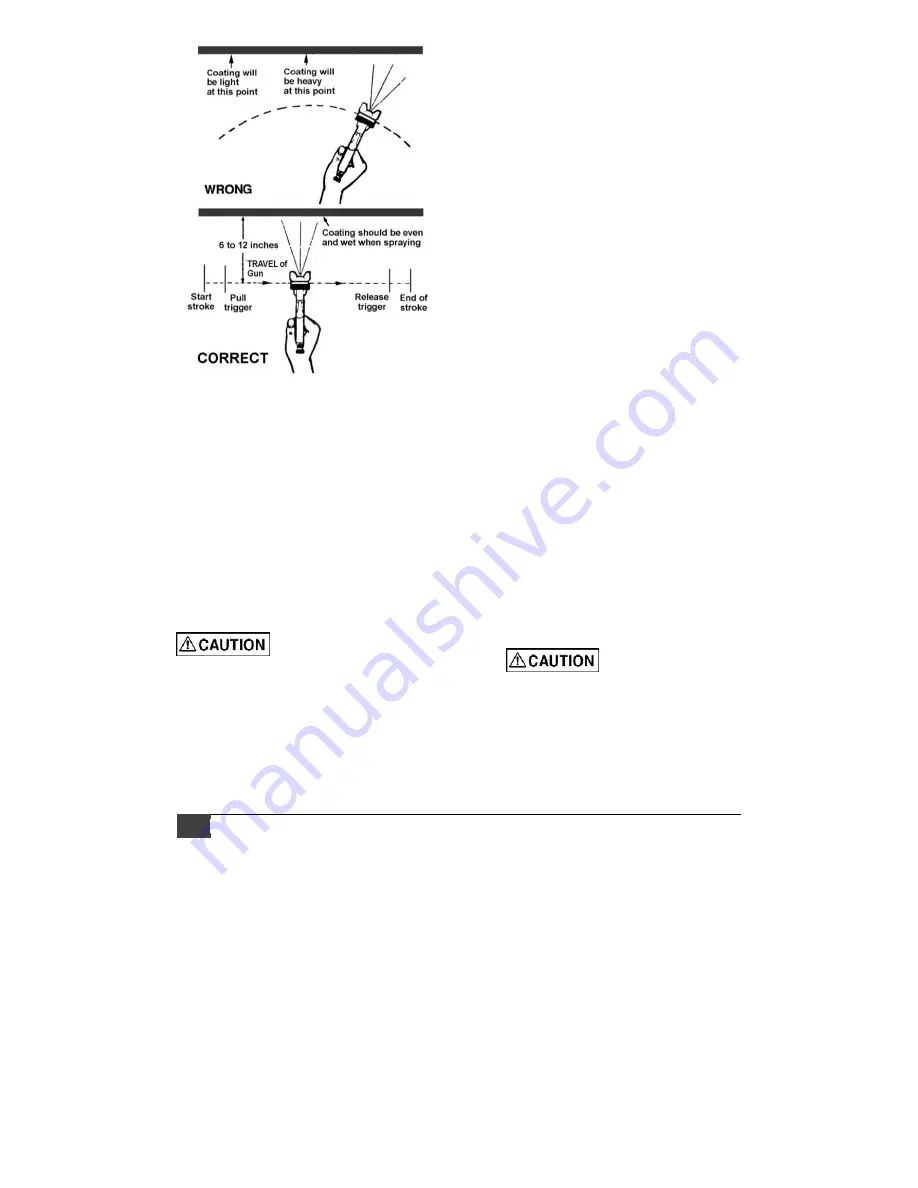
Figure 2 

Maintenance 

Note: All parts on a spray gun should be screwed 
in hand tight at first; this will avoid the possibility 
of cross threading the parts. If parts cannot be 
turned by hand easily, make sure you have the 
correct parts, unscrew, realign and try again. 
Never use undue force in mating parts. 

All nozzles and needles are precision made – they 
should be handled carefully. When changing to a 
different nozzle size, make sure that complete 
nozzle set is exchanged (air cap/nozzle/needle). 

Adjust fluid control knob so that when gun is 
triggered, air-flow occurs before fluid-flow. 


Do not probe any holes in 

nozzle with metal instruments, as damage to 
spray gun can affect proper operation. 


Cleaning 

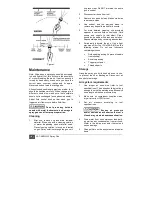
1.  After use, remove cup and drain residual 

material. Rinse cup with a cleaning solution 
or water, depending upon material used. 
Place cleaning solution into cup and install 
on gun. Spray solution through the gun until 

it sprays clear. Do NOT immerse the entire 
gun in solvent. 

2. 

Disconnect air hose from tool.  

3. 

Remove air cap and clean. Make sure holes 
in horns are clean. 

4.  Use solvent and the provided brush to 

remove any deposits around fluid nozzle. 

5.  For more detailed cleaning, use provided 

spanner to remove fluid control knob, fluid 
nozzle, and needle (in that order). Clean 
nozzle and needle with brush and solution. 
Reassemble parts by reversing above order.  

6.  Periodically lubricate the gun. Use a light 

machine oil (Air Tool Oil or SAE #10) on the 
following areas. Do not


use lubricants 

containing silicone. 


Fluid needle packing (to prevent needle 
from sticking) 


Air valve packing 

 Trigger 

pivot 

point 

 Threaded 

parts 

Storage  

Hang the spray gun by its hook when not in use, 
to prevent leaks or blockages. Disconnect air 
hose before storage. 

Air system requirements 

1.  Use proper air hose size (refer to tool 

specifications). The hose should be just long 
enough to serve the working area. Excessive 
hose length will cause pressure drop.  

2.  Make sure air compressor supplies clean, 

dry air at correct CFM for tool. 

3.  Set air pressure according to tool 

specifications. 


Excess air pressure 

and/or unclean air will shorten the tool’s 
life and may create a hazardous situation. 

4. 

Drain water from air compressor tank daily, 
as well as any condensation from air lines. 
Water in the air line may enter the tool and 
cause damage. 

5. 

Change filters on the air system on a regular 
basis. 

Summary of Contents for JAT-500

Page 1: ...Pneumatic HVLP Spray Gun 505500 JAT 500 Operation Parts Manual M 505500 Edition 2 10 2015 JET 427 New Sanford Road LaVergne TN 37086 Ph 800 274 6848 www jettools com Copyright 2015 JET...

Page 2: ...ded JET has Authorized Service Centers located throughout the United States For the name of an Authorized Service Center in your area call 1 800 274 6846 or use the Service Center Locator on the JET w...

Page 3: ...romium from chemically treated lumber Your risk of exposure varies depending on how often you do this type of work To reduce your exposure to these chemicals work in a well ventilated area and work wi...

Page 4: ...particles caught in the air stream Exercise proper caution 30 Use only recommended accessories improper accessories may be hazardous 31 Maintain tools with care Keep air tool clean and oiled for best...

Page 5: ...his document The instructions and warnings in this manual may not encompass all possible workplace environments The operator is expected to take appropriate precautions and exercise common sense As wi...

Page 6: ...y material Die casting Fluid tip and needle material Stainless steel Net weight gun body 1 01 lb 0 46 kg Net weight accessories 0 59 lb 0 27 kg Shipping weight 2 05 lb 0 93 kg 1 The specified values a...

Page 7: ...y Retighten air cap Horizontal horns as shown in Figure 1 will produce vertical pattern for side to side motion Vertical horns produce horizontal pattern used for top to bottom motion 5 Squeezing trig...

Page 8: ...n 4 Use solvent and the provided brush to remove any deposits around fluid nozzle 5 For more detailed cleaning use provided spanner to remove fluid control knob fluid nozzle and needle in that order C...

Page 9: ...r intake with a replaceable air filter that can be easily cleaned Use safety shut off valves so air flow can be stopped quickly in case of a line break When using multiple hoses air hoses should be la...

Page 10: ...acement is necessary Pressure too high for material viscosity being sprayed Reduce air pressure Increase material viscosity Pattern may also be corrected by narrowing fan size with spray width adjuste...

Page 11: ...icular to work surface Spray nozzle applications Below are general applications for accessory nozzles available for this spray gun This is only a general guide consult the fluid material manufacturer...

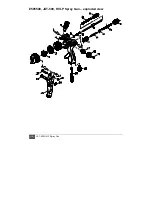
Page 12: ...12 JAT 500 HVLP Spray Gun 505500 JAT 500 HVLP Spray Gun exploded view...

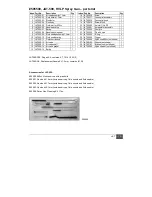
Page 13: ...ssembly 1 18 JAT500 18 Fan control knob 1 19 JAT500 19 Screw M4x8 1 20 JAT500 20 Air inlet 1 4in PS 1 21 JAT500 21 Air regulator assembly 1 22 JAT500 22 Pivot pin 1 23 JAT500 23 Pin with hole 1 24 JAT...

Page 14: ...14 JAT 500 HVLP Spray Gun This page intentionally left blank...

Page 15: ...JET 15 This page intentionally left blank...

Page 16: ...16 JAT 500 HVLP Spray Gun 427 New Sanford Road LaVergne Tennessee 37086 Phone 800 274 6848 www jettools com...

Reviews: