7.1 Table tilt stop adjustments
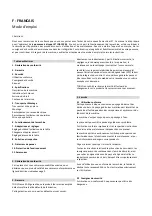
The table stops at 0°, 22,5° and 45°
The table tilt stops have been pre‐set at the factory.
If adjustment is needed, loosen the two screws (L, Fig 8) and
slide the stop bar left or right as needed.
The latching ball spring force is adjustable (N).
Fig 8
7.2 Abrasive disc replacement
Disconnect the machine from the power source.
Pull the mains plug.
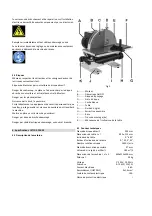
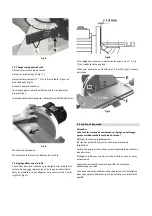
Remove the disc safety guard (E, Fig 11).
Loosen the four bolts (1~4, Fig 11) and remove the table (F) for
adequate access (Fig 9).
Remove the old abrasive disc.
Make sure the disc plate is clean before you attach the new
abrasive disc.
Abrasive discs must be the specified diameter 305mm.
Align the abrasive disc with the backing plate and press it firmly
into position (Fig 9).
Fig 9
Reattach the disc safety guard.
Reattach the machine table and adjust the table gap.
Table gap adjustment:
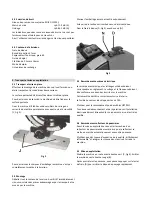
To avoid jamming the workpiece or fingers between the table
and sanding surface, adjust the clearance between the sanding
disc and table, not exceeding a 1.5mm maximum clearance (Fig
10 & Fig 11).
Fig 10
If adjustment is necessary loosen the four bolts (1~4, Fig 11) and
move the table into position.
Use e.g. a 1.5mm Allen wrench (M) as spacer gauge.
Fig 11
8. Maintenance and inspection
General notes:
Maintenance, cleaning and repair work may only be carried out
after the machine is protected against accidental starting by
pulling the mains plug.
Clean the machine regularly (wear eye and dust protection)
Inspect the proper function of the dust collection.
Protect table from rust, by applying thin coat of oil or rust
protectant.
Defective safety devices must be replaced immediately.
Repair and maintenance work on the electrical system may only
be carried out by a qualified electrician
Summary of Contents for JDS-12X-M
Page 24: ...JDS 12X M Parts Explosion...


