10
Step 8 is optional:
Further secure the dust chute by reinstalling the hex nut
(B1) and flat washer (B2) from underneath the planer infeed
table (F1).
Remove handle (S).
Important:
Dust chute (B) must be properly installed in both jointer-
planer and thicknesser setup.
If improper installation fails to activate a micro-switch, the
machine will not start.
Adjustments:
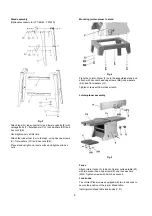
Loosen the clamping knobs (F) for infeed table adjustment.
Adjust depth of cut with knob (E).
Retighten the clamping knobs.
Fig 9
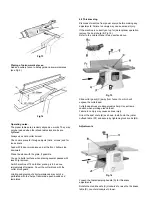
Loosen clamping handle (J) for fence adjustment. Retighten
clamping handle.
Correct operating position:
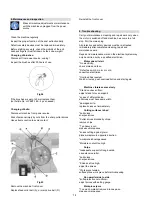
Position yourselves offset to the infeed table (Fig 10.
Fig 10
Work piece handling:
Feed the work piece straight across the infeed table, holding
your fingers close together, guiding the work piece with the
palm of your hands.
Never put your hands under the cutter block cover.
Always keep your hands well clear of the cutter block
Do not pull the work piece back over the unguarded cutter
block
Always plane the work piece over its entire length.
Support long work pieces (longer than jointer tables) with
helping roller stands or table extensions.
Planing the face of a work piece up to 75mm thick:
Place the work piece against the jointer fence. Adjust the
cutter block guard to the height of the work piece. When
guiding the work piece, the hands slide over the cutter block
guard (Fig 11)
Fig 11
Planing the edge of a work piece (jointing) or planning
work pieces more than 75mm thick:
Place the work piece against the jointer fence.
Adapt the cutter block guard to the width of the work piece
(Fig 12).
Fig 12
Chamfering a work piece:
Place the work piece against the jointer fence.
Adapt the cutter block guard to the width of the work piece
(Fig 13).


