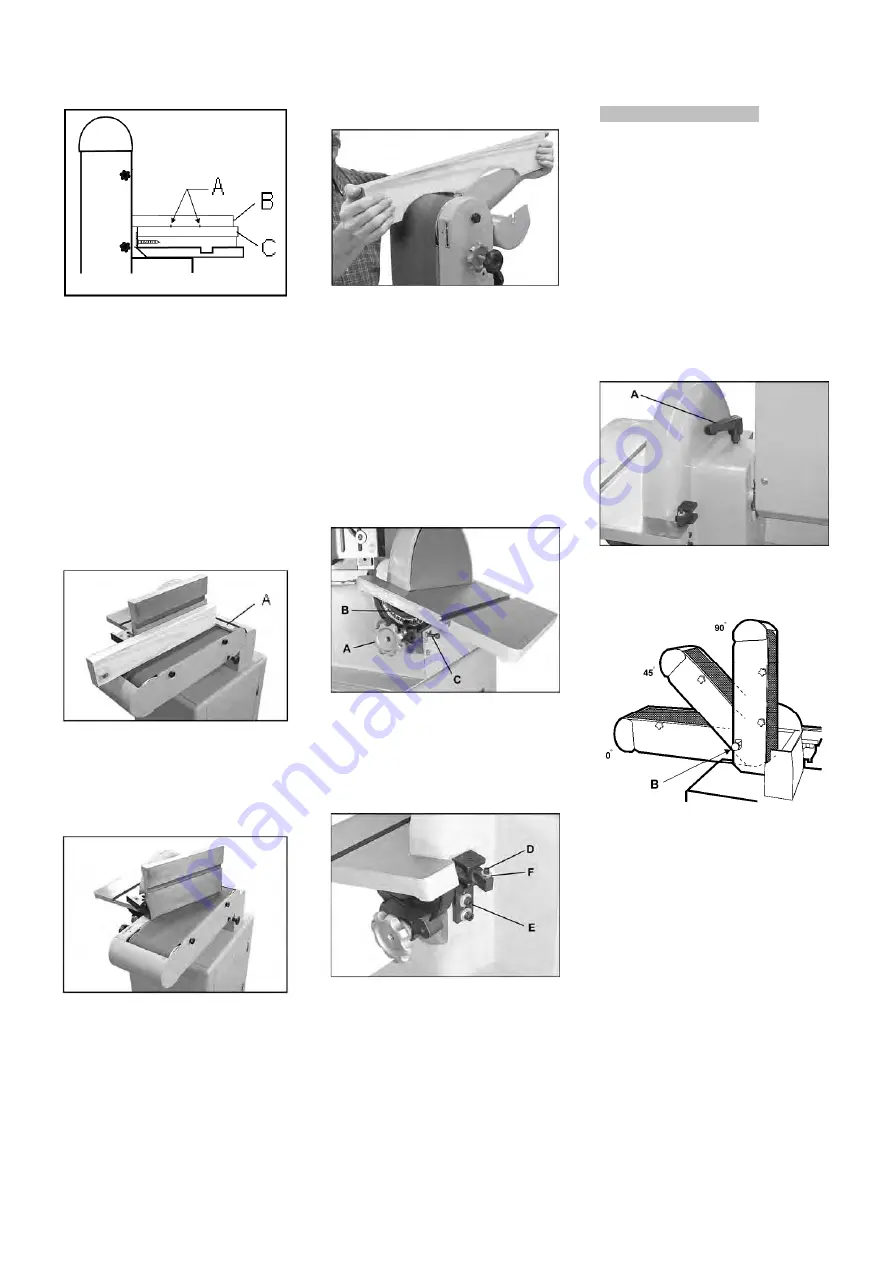
Fig 3
For pattern sanding the workpiece (B,
Fig 3) is mounted to a sanding
template (C) with nails (A).
6.2 Horizontal belt sanding:
When sanding in the horizontal
position, the table attachment may be
positioned as sanding fence (see
chapter 7.2).
The fence can be tilted at any angle
between 90° and 45°.
The work stop (A, Fig 4) must be
installed to stop the workpiece.
Fig 4
The fence can be angled across the
sanding belt for scew sanding (Fig 5).
Fig 5
6.3 Contour belt sanding:
Can be done with the idler pulley end
cover swung open (Fig 6).
Fig 6
Caution:
Bring the end cover back in
protecting position immediately
after contouring operation.
6.4 Disc sanding:
The sanding table may be adjusted at
any angle from 15° up to 45° down.
An adjustable 45° stop (C, Fig 7) is
located under the table.
Fig 7
An adjustable 0° stop (F, Fig 8) is
located on the back of the machine
and must be swung out of position for
the table to be tilted down.
Fig 8
7. Setup and adjustments
General note:
Setup and adjustment work may
only be carried out after the
machine is protected against
accidental starting by pulling the
mains plug.
7.1 Belt arm positioning
Loosen the indexable knob (A, Fig 9)
and pull out the lock pin (B, Fig 10) so
that the sanding belt can be rotated to
the desired working position.
Fig 9
The lock pin can index at 0°, 45° and
90° (Fig 10).
Fig 10
7.2 Belt table/ fence setup
To angle the table across the sanding
belt loosen the two socket head
screws (B, Fig 11).
Rotate the table attachment by sliding
it around the screws using the curved
slot (C).


