12
Assembly
Tools required for assembly:
4mm Hex Key
6mm Hex Key (provided)
13mm open-end wrench
(2) 11/16” wrenches or sockets
Machine is heavy! Use
caution when lifting out of the shipping
carton and moving to a final location. Stand
or bench must be stable enough to support
heavy weight.
1. Use a hoist with straps to remove the
Sander from the carton. Prevent straps from
contacting any levers or switches while
lifting.
2. Carefully position the machine on a
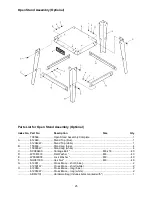
workbench or one of the optional JET
stands. (Consult the assembly instructions
that accompanied the stand.)
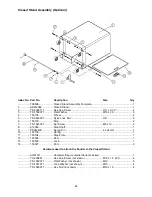
3. Bolt the unit firmly to secure it in position.
Figure 11 shows it being bolted to the
optional closed stand. Use the four M10x80
hex cap screws, with M10 lock washers, flat
washers and hex nuts. Tighten hex nut
while holding the screw head stationary,
using two 11/16” wrenches. Remove lifting
straps.
4. Exposed metal surfaces have been factory-
coated with a protectant. Remove this using
a soft cloth and a solvent or cleaner/
degreaser. (Note: Keep solvents away from
painted surfaces and plastic parts, and do
not use an abrasive pad, as it may scratch
the polished metal surfaces.)
Machine should be dis-
connected from power during all assembly
procedures.
Disc Table
1. Remove the left and right trunnion brackets
(A, Figure12) from the trunnion holder (B).
2. Make sure the stop block (shown in Figure
23) is flipped out of the way.
3. Place the disc table on top of the trunnion
assemblies and position each trunnion
bracket (A) so that it slips onto the threaded
stud and two pins of the trunnion holder (B),
while engaging the lip of the table trunnion
(C).
Figure 11
(closed stand optional)
Figure 12
Figure 13
Summary of Contents for JSG-6DC
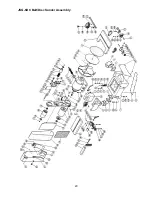
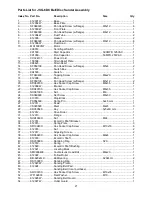
Page 20: ...20 JSG 6DC Belt Disc Sander Assembly...
Page 26: ...26 Electrical Connections...
Page 27: ...27...


