8
6.3
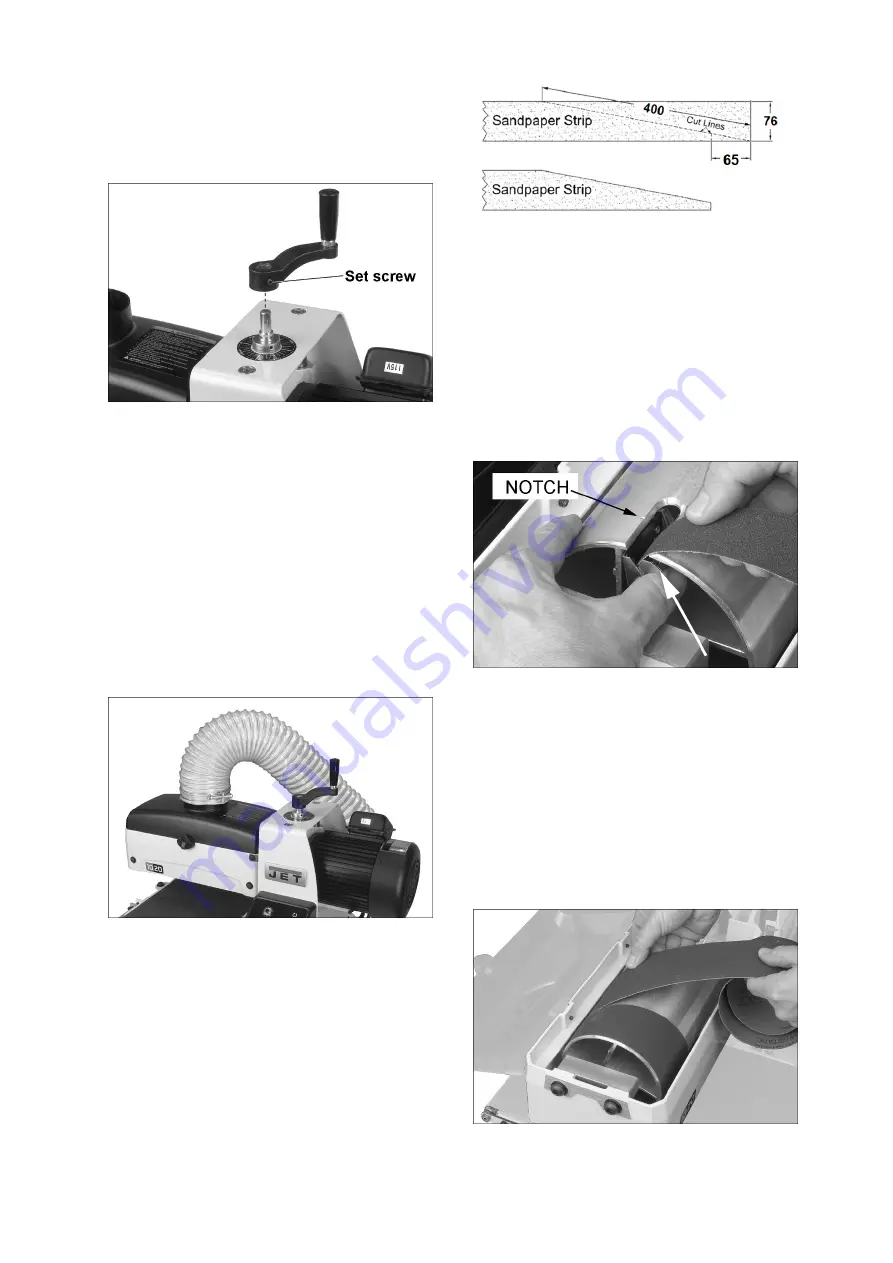
Handle
Install handle onto elevating screw, aligning flat in
handle shaft with flat on elevating screw. Tighten set
screw with 3mm hex wrench to secure handle.
Figure 6‐1: installing handle
6.4
Mounting to workbench
The sander should be bolted to a workbench or table
to avoid any tendency to creep or slide during
sanding operations. Use appropriate fasteners (not
provided) through the 4 slots in the machine base.
6.5
Dust collection
Dust collection is mandatory for a safe work
environment and extended abrasive life. The JWDS‐
1020 is equipped with a 100mm dust collection port.
Secure a 100mm dust collection hose (not provided)
to the port with a hose clamp (see Figure 6‐2).
Connect to a high volume dust collector, minimum
560m
3
/h.
Figure 6‐2 (hose and clamp not included)
6.6
Installing abrasives
Proper attachment of the abrasive strip to the drum
is critical to achieving top performance from your
drum sander.
An 80‐grit, 76mm wide abrasive strip is pre‐installed
on the drum.
(TIP: If you are using an after‐market abrasive, use a
new JET‐supplied abrasive as a template to quickly
cut a new strip.
Figure 6‐3: abrasive trimming
1.
Rotate hood latch counter clockwise to open.
2.
Press fastener lever (Figure 6‐4) on outboard
(left) end of drum, and insert tapered end of
abrasive through slit in fastener, as shown. Align
tapered edge of abrasive strip with left edge of
drum. Insert enough strip so that the right edge
aligns with the reference notch; this will ensure
the proper length of strip to be secured at the
opposite end of the drum.
Figure 6‐4
3.
Release fastener lever to secure end of strip.
4.
Begin wrapping abrasive around drum. The
tapered edge of strip end should follow as
closely as possible to edge of drum.
5.
Continue to wrap abrasive in spiral fashion by
rotating drum with one hand and guiding strip
with the other. See Figure 6‐5.
Successive windings of strip must
not have any
overlap.
They should be flush with previous
windings or with a slight gap between.
Figure 6‐5


