17
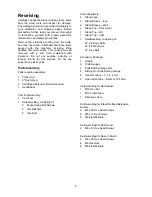
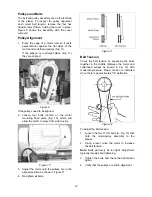
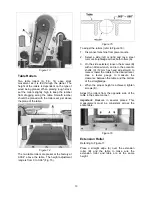
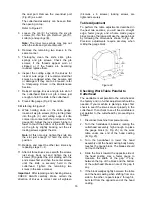
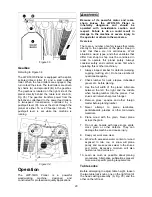
Figure 25
If the gap difference from one side to the other is
equal to or less than 0.004", no further
adjustment is necessary
If the gap difference from one side to the other
side is grater than 0.004", but less than 0.016",
go to the
Adjusting Work Table Parallel to
Cutterhead (Fine Adjustment)
section.
It the gap difference from one side to the other is
grater than 0.016", the cutterhead assembly
raising chain under the planer base needs to be
adjusted – see the
Adjusting Work Table Parallel
to Cutterhead (Major Adjustment)
section.
Adjusting Work Table Parallel to
Cutterhead (Fine Adjustment)
If the gap difference determined in the previous
section is greater than 0.004" and less than
0.016", perform the adjustment procedure as
follows:
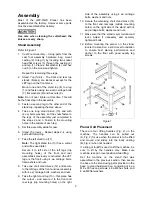
1. Determine which side of the table must be
raised to correct the gap.
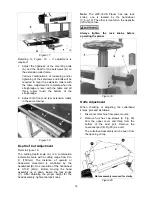
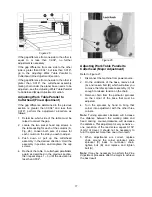
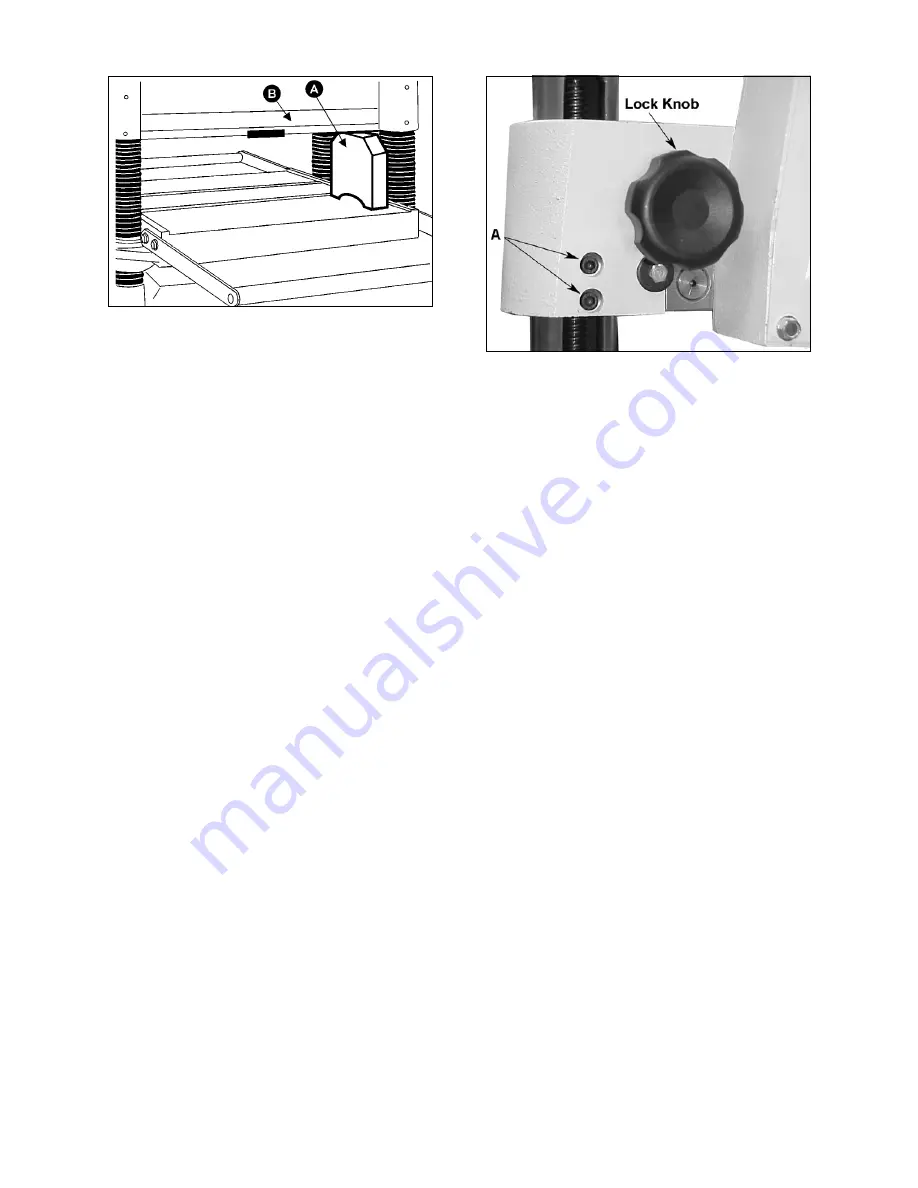
2. Locate the two socket head cap screws in
the table casting for each of the columns (A,
Fig. 26). Loosen both sets of screws for
each column on the side you wish to adjust.
3. Push down or pull up the cutterhead
assembly in the desired direction. Hold the
assembly in position and retighten the cap
screws.
4. Recheck the table to cutterhead parallelism
again as described in the previous section,
then repeat steps 1 – 3 until the deviation is
less than 0.004".
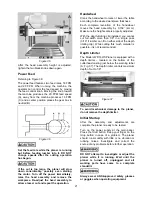
Figure 26
Adjusting Work Table Parallel to
Cutterhead (Major Adjustment)
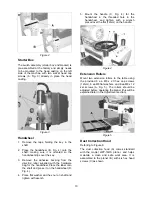
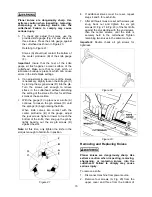
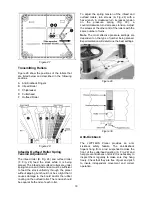
Refer to Figure 27.
1. Disconnect the machine from power source.
2. On the underside of the base, remove bolt
(A) and loosen bolt (B) which will allow you
to move the idler sprocket assembly (C) far
enough to release tension on the chain.
3. Remove chain from the particular sprocket
on the corner of the base that must be
adjusted.
4. Turn the sprocket by hand to bring that
corner into adjustment with the other three
corners.
Note:
Turning sprocket clockwise will increase
the distance between the working table and
head casting; counter-clockwise will decrease
the distance. This adjustment is very sensitive –
one revolution of the lead screw equals 0.158”
(4mm) of travel. It should not be necessary to
turn the sprocket more than one or two teeth.
5. When adjustments are correct, replace
chain around the corner sprocket, slide
sprocket (C) back to re-tension chain,
tighten bolt (B) and replace and tighten
bolt (A).
Note:
It may be necessary to perform the
Fine
Adjustment
procedure after the major to achieve
the best result.

