

Page 3
D. Tools And Supplies Needed
Before beginning the installation be sure the following tools
and building supplies are available:
Reciprocating saw
Hand saw
Framing material pliers
High temp caulking material
Hammer
Gloves
Phillips screwdriver
Framing square 1/2-3/4 in.
length, #6 or #8 self-drilling screws
Touch up paint - Stove bright satin black
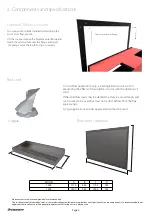
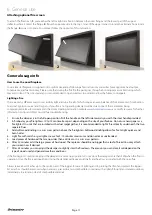
E. Inspection of Appliance and Components
•
Remove appliance and components from packaging and inspect for damage.
•
Report to your dealer any parts damaged in shipment.
Due to the nature of thick welded steel, it is normal and expected for some imperfections and slightly out of square components.
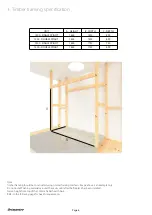
It is recommended to not begin construction of cavity or flue penetration points until after the unit is in place on site.
Surface scratches can and will occur during installation - it is normal to expect to touch these visible surfaces up with Stove Bright
Satin black. Deep scoring may require a light sand and respray. This is normal and not covered by warranty.
•
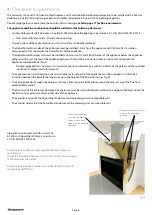
Read all the instructions before starting the installation. Follow these instructions carefully during the
installation to ensure maximum safety and benefit.
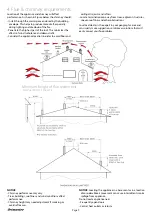
To minimize the effects of negative air pressure:
•
Ensure adequate flow of outdoor air for all
combustion appliances and exhaust equipment
•
Ensure cental heating and air conditioning return
vents are not located in the vicinity of the appliance
•
Avoid installing the appliance near doors, walkways
or small isolated spaces
•
Recessed lighting should be a “sealed can” design
•
Attic hatches weather stripped or sealed
•
Attic mounted duct work and air handler joints and
seams taped or sealed
•
Basement installations should be avoided
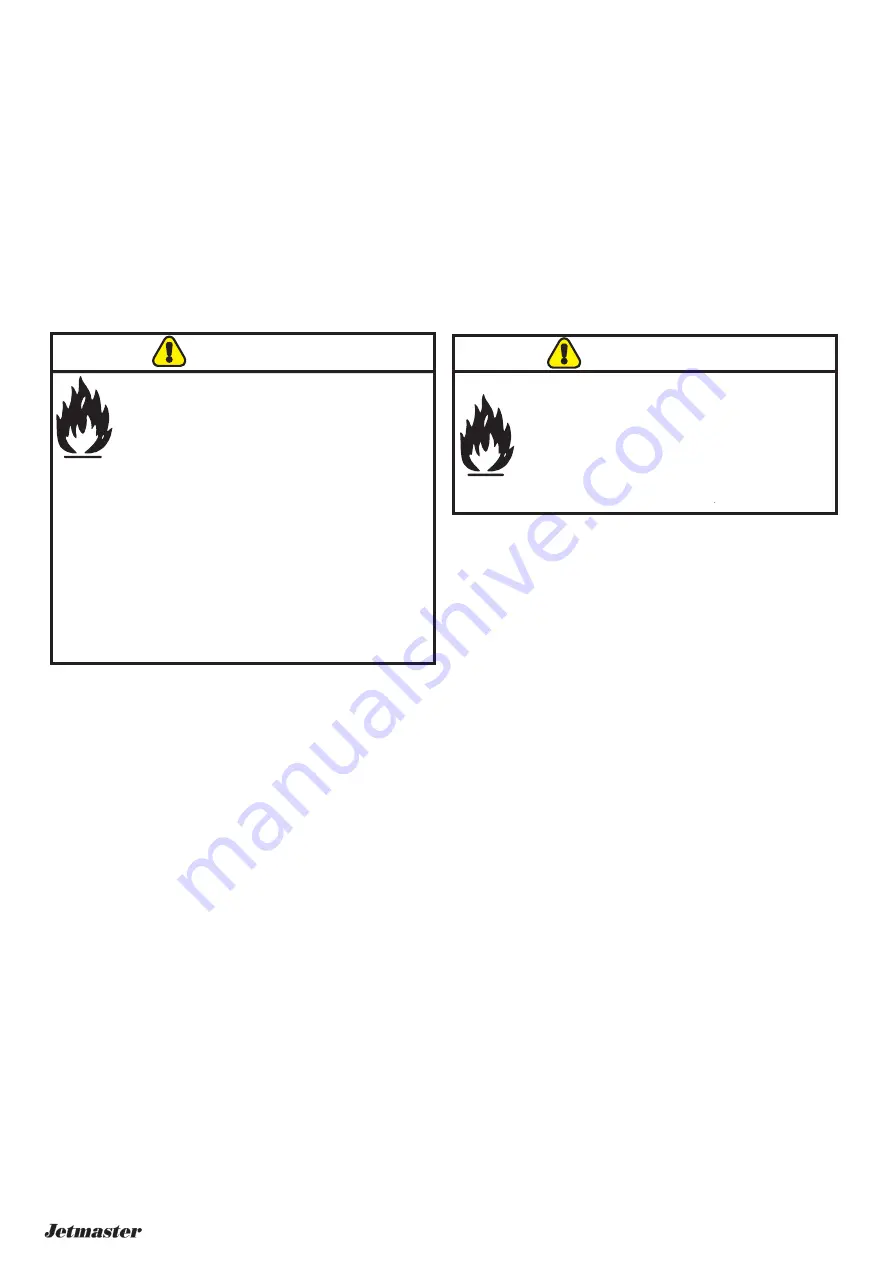
WARNING
Fire Risk.
JETMASTER VIC disclaims any responsibility
for, and the warranty will be voided by, the
following actions:
•
Installation and use of any damaged appliance.
•
Modification of the appliance.
•
Installation other than as instructed by
JETMASTER VIC.
•
Installation and/or use of any component part not
approved by JETMASTER VIC.
•
Operating appliance without fully assembling all
components.
•
Do NOT Over fire - If appliance or chimney
connector glows, you are over firing.
Any such action that may cause a fire hazard.
Flat blade screwdriver Electric drill and bits
Plumb line
Safety glasses
Level
Tape measure
Misc. screws and nails
10mm socket or wrench
R3.5 Fibreglass insulation (if required)
75mm Hebel Powerpanel (if required)
Fire Risk.
Inspect appliance and components for damage.
Damaged parts may impair safe operation.
•
Do NOT install damaged components.
•
Do NOT install incomplete components.
•
Do NOT install substitute components.
Report damaged parts to dealer.
WARNING


