background image


11

5 Using Your Tablet PC 

5-1 Turning on the Tablet PC 

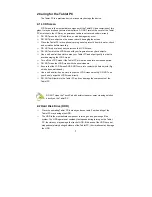
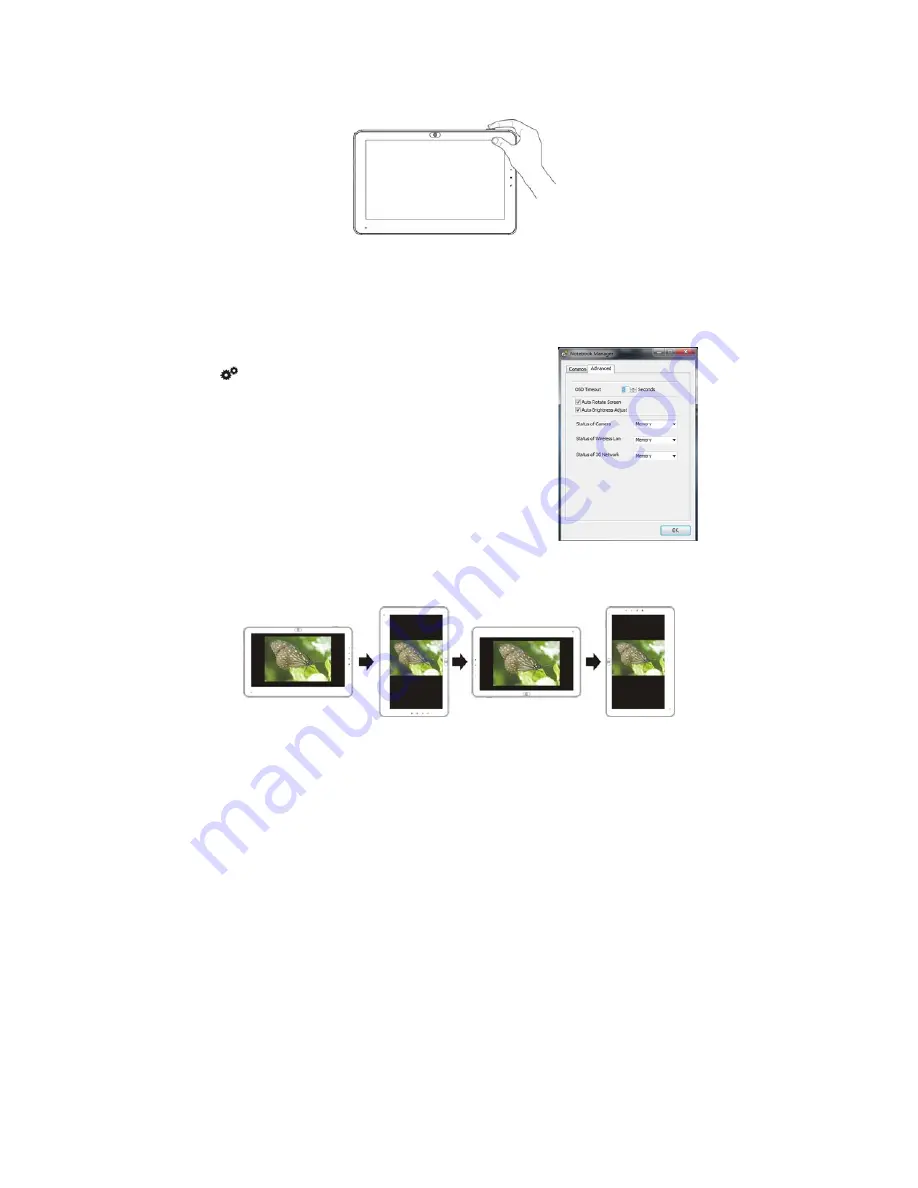
Press the POWER button to turn on the Tablet PC. 


5-2 Notebook Manager Setting 

5-2-1 Camera and Wifi setting 

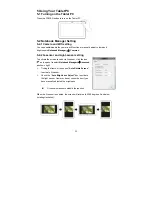
You can enable/disable the camera, wifi function or


manually adjust volume and 

brightness in 

Notebook Manager

-〉

Common


5-2-2 G-sensor and Light-sensor setting 

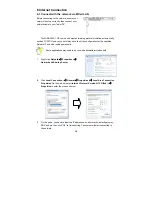
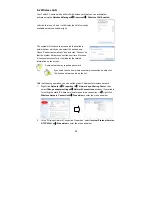
To activate the screen-revolve via G-sensor, click the icon 


on the panel to select 

Notebook Manager

-〉

Advanced

as shown right:   

¾


Ticking the frame of the option 

“Auto Rotate Screen”


to activate G-sensor; 

¾

 Check 

the 

“Auto Brightness Adjust”

 box to activate 

the light sensor; However, do not check the box if you 
have manually adjusted the brightness 
 

„


Or cancel selection to disable the function. 

 
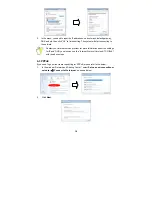
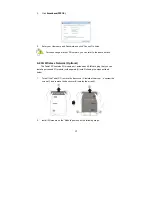
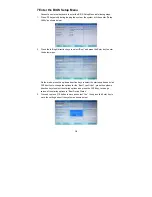
When the G-sensor is enabled, the screen will rotate a full 360 degrees. See below 
(rotating clockwise): 


Summary of Contents for 100

Page 1: ...1 JetPad 100 Owner s Manual ...

Page 2: ...tc Other trademarks and trade names may be used in this manual to refer to either the entities claiming the marks and names or their products The manufacture disclaims any proprietary interest in trademarks and trade names other than its own Information in this manual is subject to change without notice Reproduction in any manner whatsoever without the written permission from the manufacture is st...

Page 3: ...blet PC 11 5 1 Turning on the Tablet PC 11 5 2 Notebook Manager Setting 11 5 2 1 Camera and Wifi settings 11 5 2 2 G sensor and Light sensor setting 11 5 3 System Connection 12 5 3 1 Connecting the VGA equipped Device 12 5 3 2 Connecting Keyboard and Mouse 12 5 3 3 Connecting Audio Device 12 5 4 Keyboard Usage 13 5 5 Card Reader Usage 13 5 6 Memory Card 13 6 Internet Connection 14 6 1 Connect with...

Page 4: ...ycle the Battery Pack and check with your Local Authority or retailer for recycling advice 12 The Tablet PC and the Adapter may experience some heat during operating or charging This is a normal part of operation 13 INPUT RATING Refer to the rating label on the Tablet PC and be sure that the Power Adapter complies with the rating Only use attachments or accessories specified by the manufacturer 14...

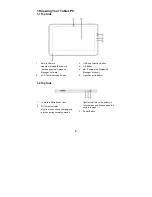
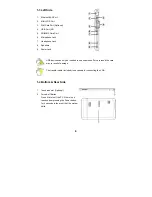
Page 5: ...nsitive Screen 3 Up Down Direction Button 4 OK Button 5 To open the Notebook Manager window 6 Light Sensor Indicator 1 2 Top Side 1 Bulit in Microphone Jack 2 Charge Indicator Light is orange during charging and is green during normal operation light turns off when the battery is fully charged and flashes when the battery is weak 3 Power Button ...

Page 6: ...ack USB devices can only be inserted in one orientation Force to insert the card may in result of damage The transfer cable included is necessary for connecting the VGA 1 4 Bottom Rear Side 1 Touch pen slot Optional 2 Forced off Button Press it to turn off the PC if there is no reaction from pressing the Power button for 4 seconds in the event that the system halts ...

Page 7: ...d damaging the LCD Screen Turn off the LCD Screen if the Tablet PC will not be used for an extended period DO NOT clean the LCD Screen with chemical cleaners Ensure that the LCD Screen DOES NOT come into contact with hard objects E g shirt buttons watchband Use a soft and lint free dry cloth to wipe the LCD Screen smoothly DO NOT use your hand to wipe the LCD Screen directly DO NOT spill liquid in...

Page 8: ...et PC DO NOT turn on the Tablet PC immediately Disconnect the outlet cable in order to turn off the Tablet PC instead of pressing the POWER button to turn off it Disconnect all external devices Spill out the water from the Tablet PC Use a soft and waterish paper or cloth to wipe the surface of the Tablet PC lightly Use a fan to dry the Tablet PC and accessories and then send it to the service cent...

Page 9: ... 6 Find out the voltage type in the countries you will visit Your Tablet PC comes with a universal AC DC adapter so you only need to buy the different power cords to connect the different outlets or the hotel may provide universal outlets to support your power cord as well as voltages If you drive your car with the Tablet PC DO NOT leave the Tablet PC facing the sun Place it in the shady and cool ...

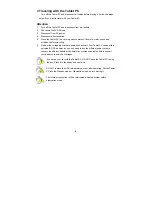
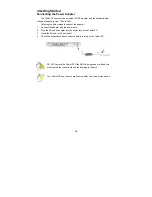
Page 10: ...1 Connect the adapter with the power cord 2 Plug the DC end of adapter into the power jack of the Tablet PC 3 Insert the AC end to the wall outlet 4 Check the connections above correctly before turning on the Tablet PC DO NOT remove the Tablet PC if the HDD is being read or written this may result in the loss of data and the damage to the disk Your Tablet PC and the accessories may differ from the...

Page 11: ...Light sensor setting To activate the screen revolve via G sensor click the icon on the panel to select Notebook Manager Advanced as shown right Ticking the frame of the option Auto Rotate Screen to activate G sensor Check the Auto Brightness Adjust box to activate the light sensor However do not check the box if you have manually adjusted the brightness Or cancel selection to disable the function ...

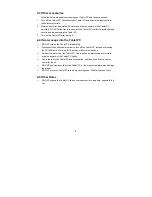
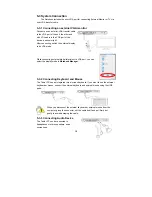
Page 12: ...ing external digital television via VGA port you can select the display mode in Notebook Manager 5 3 2 Connecting Keyboard and Mouse The Tablet PC has an integrated virtual screen keyboard If you want to use the external keyboard or mouse connect the external keyboard and external mouse using the USB ports When you disconnect the external keyboard or external mouse from the computer grasp the conn...

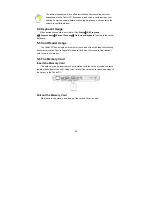
Page 13: ...o activate the virtual keyboard 5 5 Card Reader Usage The Tablet PC has a single built in memory card reader that can read the following flash memory cards Secure Digital Multimedia Card See the manual of the relevant card for more information 5 6 The Memory Card Insert she Memory Card The card only can be inserted in one orientation with the card s electrical contacts towards the bottom of the un...

Page 14: ...ation for the specified Network IP and other settings manually Some applications may need to be run with administrator credentials 1 Right click Network Properties Network and Sharing Center 2 Click Local Connection General Properties Local Area Connection Properties On the window select Internet Protocol Version4 TCP IPv4 Properties to enter the menu as below 3 On the menu you need to input the I...

Page 15: ...essfully it will display the related information on the screen Some networks may require a password If you need to set a new wireless network connection double click the desired network name on the list With the following operation you can set the static IP address for wireless network 1 Right click Network Properties Network and Sharing Center then select Change adapter settings Network Connectio...

Page 16: ...Internet service provider for more information about the settings for IP and DNS you also can use the Internet Protocol Version 6 TCP IPv6 with the above steps 6 3 PPPoE If you need to go online via dial up setting for PPPoE please refer to the below 1 In the window Network and Sharing Center select Setup a new connection or network Connect to the Internet as shown below 2 Click Next ...

Page 17: ...Network Optional The Tablet PC contains 3G module port antenna and SIM card plug that you can install a purchased 3G module sold separately Install following the steps outlined below 1 Turn off the Tablet PC remove the back cover A towards the arrow unscrew the screws and remove the back cover B towards the arrow 2 Install 3G module on the Module position as the following steps ...

Page 18: ...ck the Notebook Manager icon on the panel to enable the 3G Network Pay attention to the orientation of the SIM card you would insert referring to the direction as showed on the above WARNING Damage caused to the unit during this procedure may void the warranty of the device Don t remove the SIM card when powered on be sure to install 3G module and SIM card when the unit is powered off To install t...

Page 19: ...d press the Enter key to enter the below menu On the menu press the up down direction keys to select the startup option and click F5 F6 button to change the options for the Boot Type Order press the up down direction keys to select the startup options and press the F5 F6 key to change values of the startup options in Boot Device Status 3 Proceed to press F10 button to save and select Yes then pres...

Page 20: ... t my Tablet PC turn on A 1 If the power is low connect it to an electrical outlet 2 Check that the video display system is not in the external monitor mode 3 Make sure the power indicator on the adapter turns on and the adapter functions properly 4 Remove USB and SD cards and unplug all accessories then try again Q3 My Tablet PC has gotten wet What do I do A 1 DO NOT turn on the Tablet PC 2 Disco...

Page 21: ...cian Q5 How do I maximize battery life A 1 Adjust the brightness of the LCD Screen to the lowest level 2 Turn down the volume 3 Disable Wifi 4 In the Power Management menu select the Power Saver profile Q7 The picture on my Tablet PC is blurry A Gently clean the screen of the Tablet PC with a clean soft microfiber cloth Do not use chemicals to clean the screen 8 2 Specifications Main Feature CPU I...

Page 22: ...mera Resolution 1 3M Pixels Video Audio Feature Video Card Type Intel GMA 3150 Video Card Capacity Share Dynamic EMS Memory 128MB Max Audio System Built in speaqker Sound Card Type HD Codec I O Device Mouse Touch Pad Condition Operating Temperature 5 35 Operating Humidity 35 85 Storage Temperature 20 55 Storage Humidity 20 93 Power ...

Page 23: ...2 11 b g n Audio Port Headphone Port Speaker Built in Microphone Microphone Port USB Port USB A Port x2 USB2 0 SD Card Port Support SD MMC Card VGA Port Mini VGA 3G module Port reserved Support 3G module Physical Features Weight About 1kg Dimension 264 169 18 5mm Design and specifications are subject to change without notice The symbol means that the item is optional ...

Reviews: