14
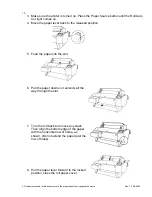
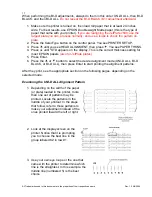
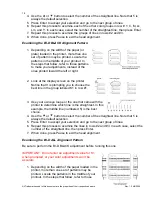
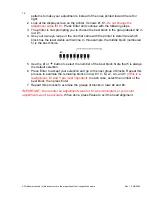
9. Press the Pause button (or wait for 5 seconds). The paper feeds into printing
position automatically and READY appears on the control panel.
Installing the JetPlate Rip 8.0.4
Now is the time to install the JetPlate Rip 8.0.4.
Follow the instructions in the JetPlate Rip Manual
(this must be done before connecting
the printers to the computer. The Rip installer also installs the printer drivers)
.
Connecting the Printer to Your Computer
Depending on your system, you can connect the printer to your computer using any of the
following:
USB interface for 2000 and XP.
Parallel interface-for Windows.
Optional IEEE 1394 FireWire
interface card-for Windows 2000 and XP. The optional
FireWire card allows multiple printers to be daisy-chained to your system, and can keep
them all running at the full speed of the print engine (see the EPSON 7600/9600 User
Manual for installation instructions).
Optional 10/100 BaseT
Ethernet interface card-network connectivity for all systems.
EPSON's
optional Ethernet card keeps your printer running at full speed, limited only by the
bandwidth of your network. To provide adequate bandwidth, you need a switched 100 Mbit
hub on your network (see the EPSON 7600/9600 User Manual for installation instructions).
In some cases, it may be to your advantage to use an optional interface card instead of the
built-in port. If you choose to purchase an optional interface card, see the EPSON
7600/9600 User Manual for ordering information.
Connecting to the USB
Port
To connect the printer to a USB
port, you need a standard shielded USB cable.
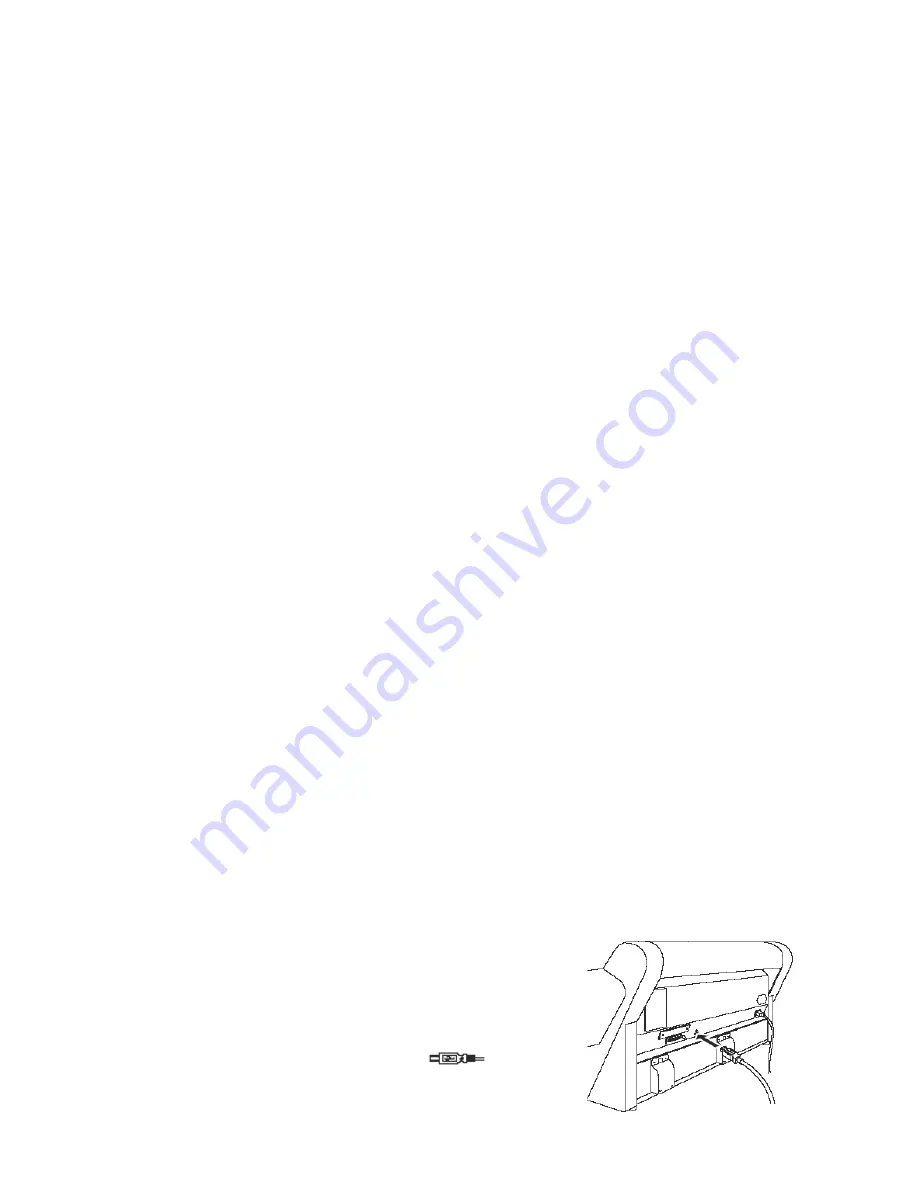
Follow the steps below to connect the printer to your computer:
1. Make sure both the printer and your computer
are turned off.
2. If the printer doesn't work when you attach it to
a first tier USB hub port, connect it directly to
the USB
port on your computer. Connect the
square end of the USB
cable
to the
USB
port on the back of your printer.
All Trademarks used in this document are the properties of their respective owners. Rev. 1.3 4/6/2004


