Advanced Computer & Network Corp.
Copyright 1993 – 2013 All Rights Reserved
3
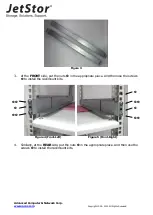
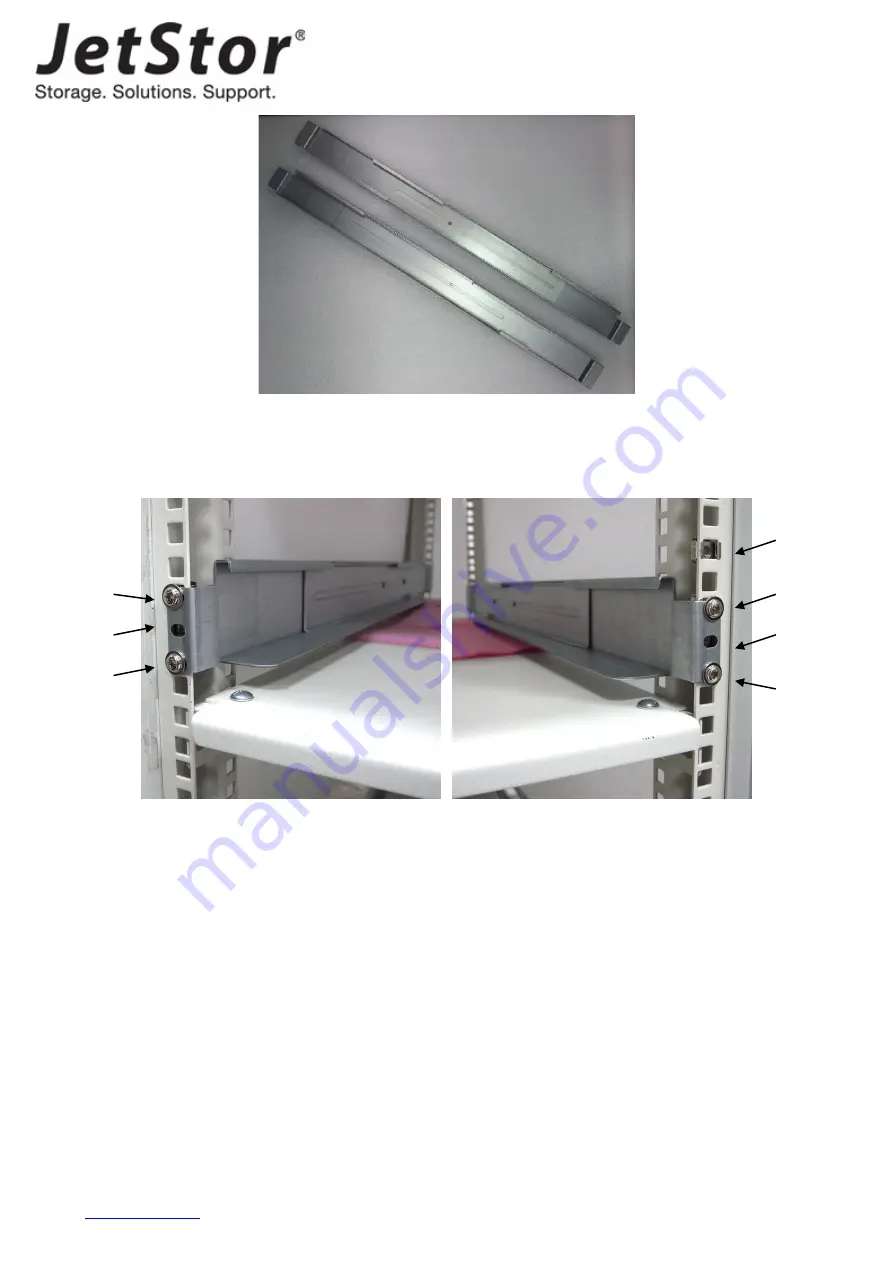
Figure 3
3.
At the FRONT side, put the
nuts
in the appropriate place.
And then use the screws
to install the rackmount kits.
Figure 4 (Front-Left) Figure 5 (Front-Right)
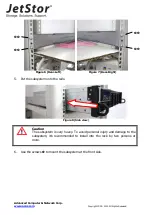
4.
Similarly, at the REAR side, put the
nuts
in the appropriate place.
And then use the
screws
to install the rackmount kits.


