© 2018 Jetta Corporation. All rights reserved. REV 03/2018
1(800) 288-7771
INSTALLATION INSTRUCTIONS | JETTA CORPORATION
PAGE | 7
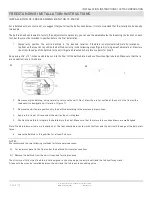
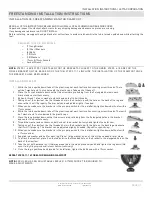
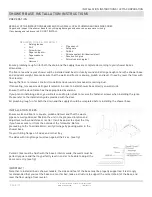
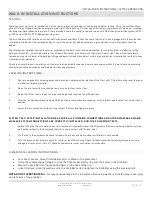
SKIRTED TUB INSTALLATION INSTRUCTIONS
6.
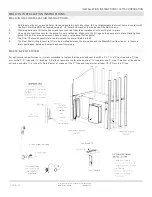
Apply a generous amount of construction adhesive to the bath feet or base.
7.
Lift the bath into place. Carefully level the unit, ensuring that uniform support is given to all areas of the base and that no
portion of the lip is bearing weight.
DO NOT SUPPORT THE WEIGHT OF THE BATH BY THE RIM! DO NOT REMOVE
the 1” x 1” drain board attached to the
bottom of the tub.
8. Apply the weight evenly to the bath basin until the mortar sets. Once the mortar dries, all the weight will be carried through
the floor of the tub, not suspended by its lip.
9. Connect the bath drain to the drain pipe. Position a protective liner in the bath basin.
10. Drill small holes through the flange at the studs. If there are gaps, fill them with a shim.
11. Secure the flange to the studs with galvanized nails or screws.
12. Secure ¼” furring strips to the studs to be flush with the bath flange.
13. Install water-resistant wallboard over the framing.
14. Apply a 1/8” bead of 100% silicone sealant along the seams.
15. Install the finished wall and deck to within 1/16” of the bath rim.
16. Apply 100% silicone sealant around the bath along the finished walls and deck.
IMPORTANT: MANUFACTURER WILL NOT BE LIABLE FOR THE REMOVAL OR RE-INSTALLATION OF THE BATHTUB IF THERE IS A
FAILURE TO FOLLOW THE MANU-FACTURERS RECOMMENDED PRE-INSTALLATION AND INSTALLATION PROCEDURES, FAILURE TO
FOLLOW THE MANUFACTURERS RECOMMENDATIONS COULD RESULT IN THE WARRANTY BEING VOIDED.
Summary of Contents for RAIN SHOWER BASES
Page 2: ......


