© 2018 Jetta Corporation. All rights reserved. REV 03/2018
1(800) 288-7771
INSTALLATION INSTRUCTIONS | JETTA CORPORATION
PAGE | 11
FREESTANDING INSTALLATION INSTRUCTIONS
INSTALLATION OF FREESTANDING BATHTUB CLAWFOOT
READ ALL OF THE INSTRUCTIONS BELOW AND FOLLOW ALL LOCAL PLUMBING AND BUILDING CODES.
Unpack and inspect the clawfoot attachments for any shipping damages and ensure no pieces are missing.
If any damages are discovered, DO NOT INSTALL.
Before installing, we suggest having a blanket or soft surface to avoid scratches while the tub is turned upside down while attaching the
feet.
REQUIRED TOOLS & MATERIALS
o
(1) Long Bracket
o
(2) Short Brackets
o
(4) Bolts
o
(10) Nuts
o
(10) Washers
o
17mm & 19mm Sockets
o
Socket Wrench
NOTE:
STEPS 1-5 ARE STPS TO BE TAKEN FOR THE BRACKETS CLOSEST TO THE DRAIN. STEPS 6-10 ARE FOR THE
SINGLE BRACKET ON THE BACK END OF THE TUB. STEPS 11-14 INCLUDE THE INSTALLATION OF THE CLAWFOOT ONCE
THE BRACKETS HAVE BEEN ADDED.
INSTALLATION STEPS
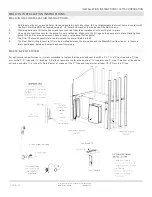
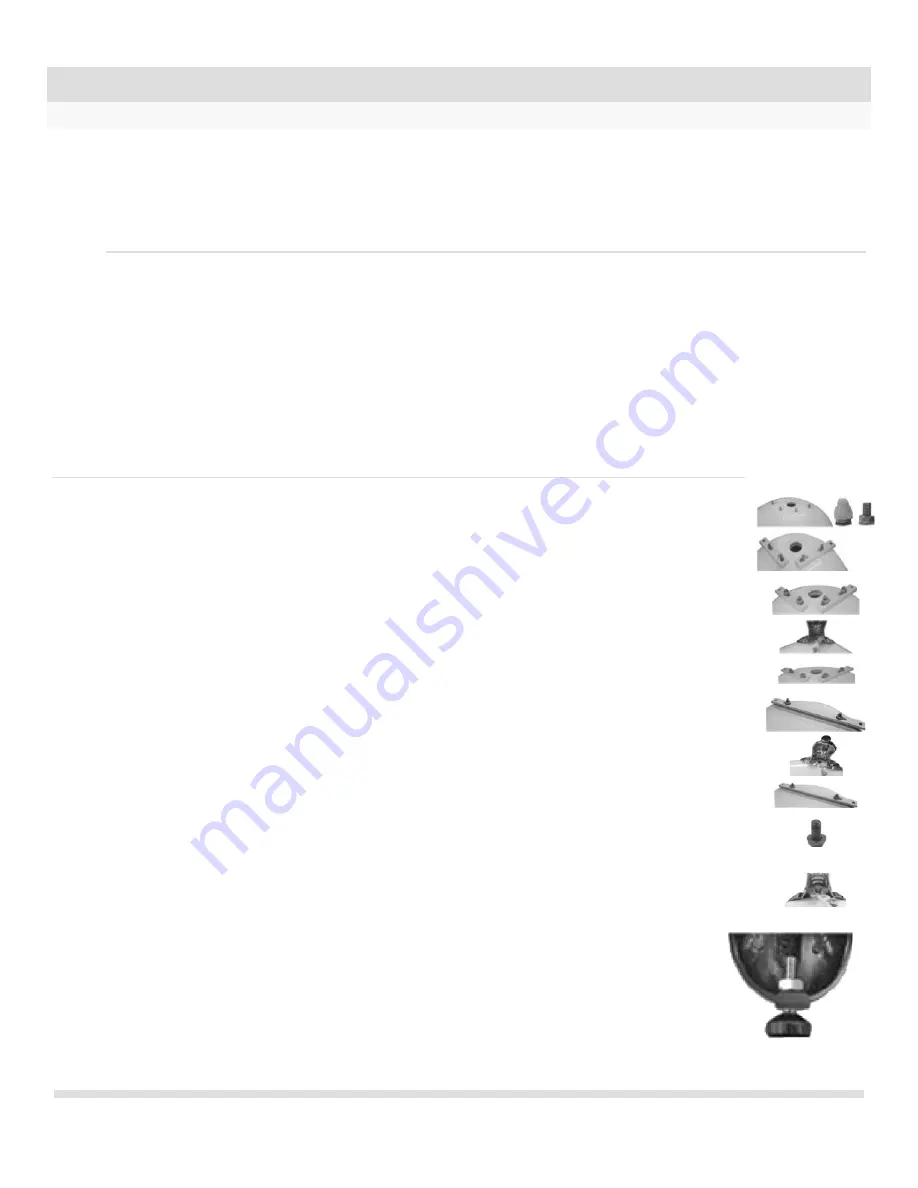
1. While the tub is upside down, take off the plastic caps at each foot location covering screw threads. There
will be 1 washer and 1 nut underneath the plastic caps. Take each of these off.
2. Place the 2 small brackets down so that the screws are protruding from the 2 elongated holes in each
bracket and center them evenly.
3. By hand, thread 1 of each washer and nut down onto all 4 bolt threads.
4. Taking one of the clawfeet, line the threaded hole in the bracket up with the hole on the back of the leg and
ensure that it will fit properly. The bracket can be adjusted slightly if needed.
5. When you’ve made sure the bracket is in the proper position for the installation, tighten down both nuts with a
17mm socket.
6. While the tub is upside down, take off the plastic caps at each foot location covering screw threads. There will
be 1 washer and 1 nut underneath the plastic caps.
7. Place the long bracket down so that two screws are protruding from the 2 elongated holes in the bracket
and center th e bracket evenly.
8. Thread the washer and nut down on both ends of the bracket, but only hand tighten these for now.
9. Taking one of the clawfeet, line the threaded hole in the bracket up with the hole on the back leg and ensure
that it will fit properly. The bracket can be adjusted slightly if needed.
Repeat for opposite leg.
10. When you’ve made sure the bracket is in the proper position for the installation, tighten down both nuts with
a 17mm s ocket.
11. Supplied is a washer and bolt for each leg. Place 1 large washer on a nut, this will be needed in later steps.
12. To attach the clawfoot, place it on the tub and line the threaded hole on the bracket to the elongated hole on the
back of the clawfoot.
13. Take the nut with a washer on it that was prepared in the steps previously and hand tighten the leg down.
(Be
sure the leg fits properly and is level before continuing)
14. Once the leg is positioned and leveled for installation, tighten the bolt down with a 19mm socket.
REPEAT STEPS 11-14 FOR EACH REMAINING CLAWFOOT
NOTE:
EACH LEG HAS AN ADJUSTABLE LEVELER
.
A 17MM SOCKET IS REQUIRED TO
MAKE ADJUSTMENTS.
Summary of Contents for RAIN SHOWER BASES
Page 2: ......


