
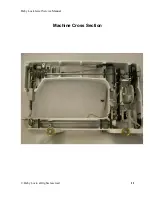

Baby Lock Jewel Service Manual
© Baby Lock, all rights reserved
12
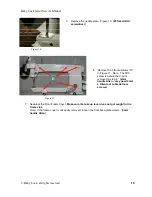
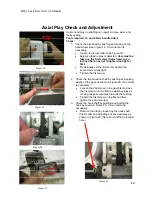
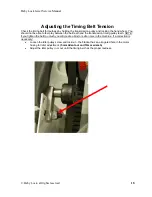
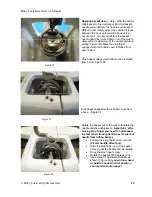
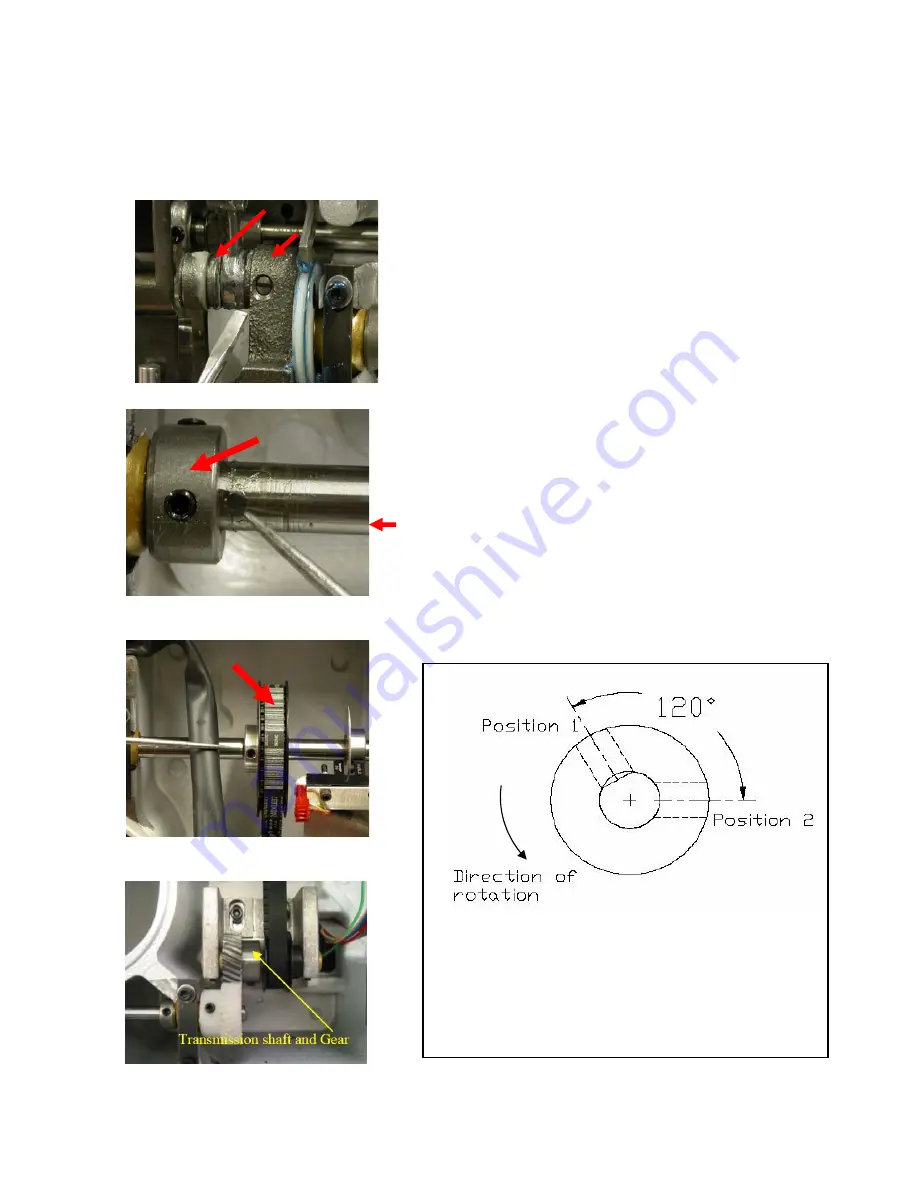
Figure 12
Pitman Crank
Pitman
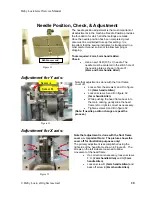
Checking and Securing Flats & Screws
This machine has been designed using flats and special screws so that loop lift timing cannot
slip.
Tools required: (2.0 and 2.5mm handle Allen)
Check the following locations, making sure that the first screw
of a timed component has been fixed firmly on the respective
flats on shafts.
Note: The screws are generally positioned 120 degrees
apart. When the first screw (Position 1) has been located
and tightened on a flat, the second screw is then
tightened, compounding the tightness of the first screw,
thus securing and assuring that timing will not change.
(See Figure 12)
Note: See torque specifications chart in the
specification section for torque values.
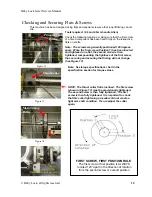
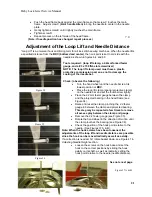
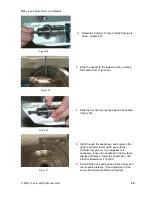
NOTE: The thrust collar flat is inclined. The first screw
(shown in Figure 13) must be provisionally tightened.
The second screw is then fully tightened. The first
screw is then fully tightened. It is important to check
that this collar tightening procedure did not create a
tight arm shaft condition. If so, readjust the collar
again.
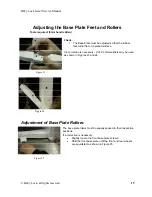
Figure 13
Thrust Collar
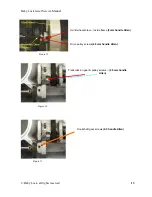
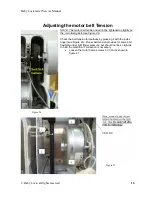
Figure 14
Main Timing
Pulley
FIRST SCREW, FIRST POSITION RULE
:
The first screw or first position is ALWAYS
located 120° apart in the direction of rotation
from the second screw or second position.


