

Baby Lock Jewel Service Manual
© Baby Lock, all rights reserved
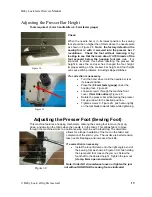
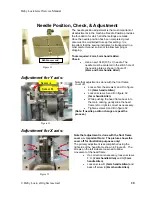
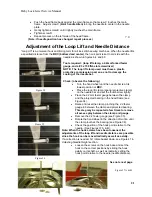
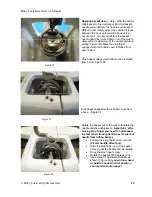
8
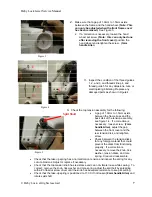
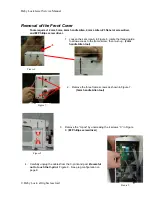
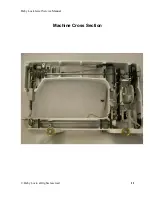
Replacement of cover
Replace the front cover in the reverse order that it was disassembled.
Note: See torque specifications chart in the specification section for torque values.
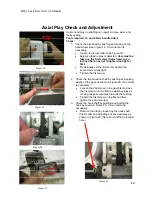
CAUTION:
DANGER OF ELECTRICAL SHOCK
–
DANGEROUS VOLTAGES
Do not plug main power or run the sewing machine with the p-pod off of the machine
and or open so that human body part comes in contact with electrical energy.
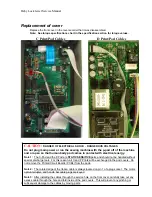
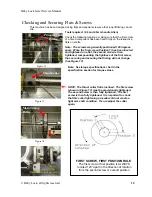
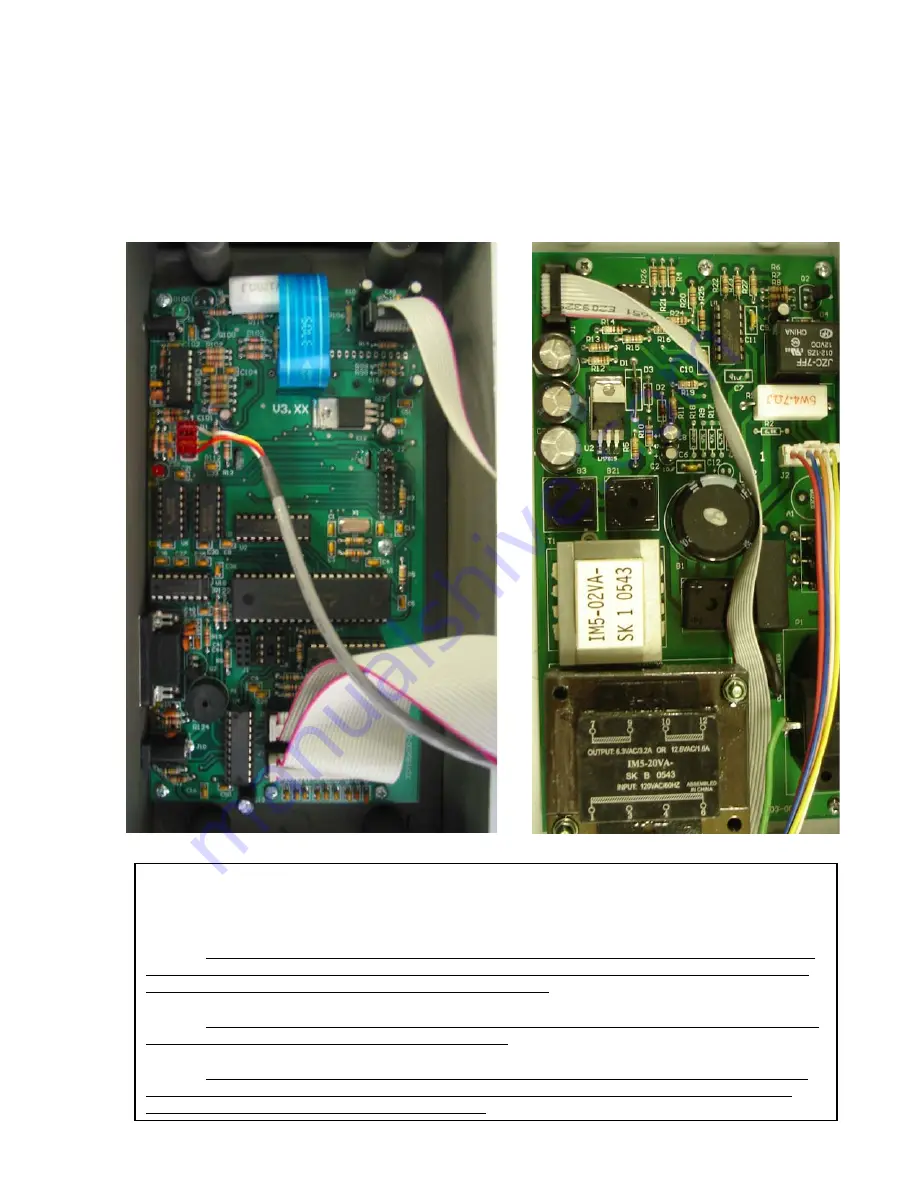
Note 1:
The C-Pod and the P-Pod are
STATIC SENSITIVE
parts and should not be handled without
special discharge tools. For this reason, all C and P Prints will be exchanged in the pod covers. Do
not remove the Printed Circuit Boards (PCBs) from the pods.
Note 2:
The colored edge of the ribbon cable is always located on pin 1 of a plug socket. The motor,
opto-interrupter, and handle bar cable plugs are keyed.
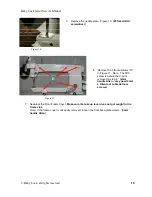
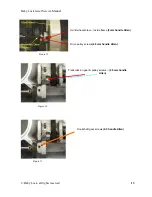
Note 3:
After installing the cables through the service hole on the front cover, carefully take out any
excess cable through the hole and fold inside of the pod covers. This will prevent any pinching or
subsequent damage to the cables by moving parts.
C Print/Pod Cables
D Print/Pod Cables


