background image


2.1. Install of battery pack   

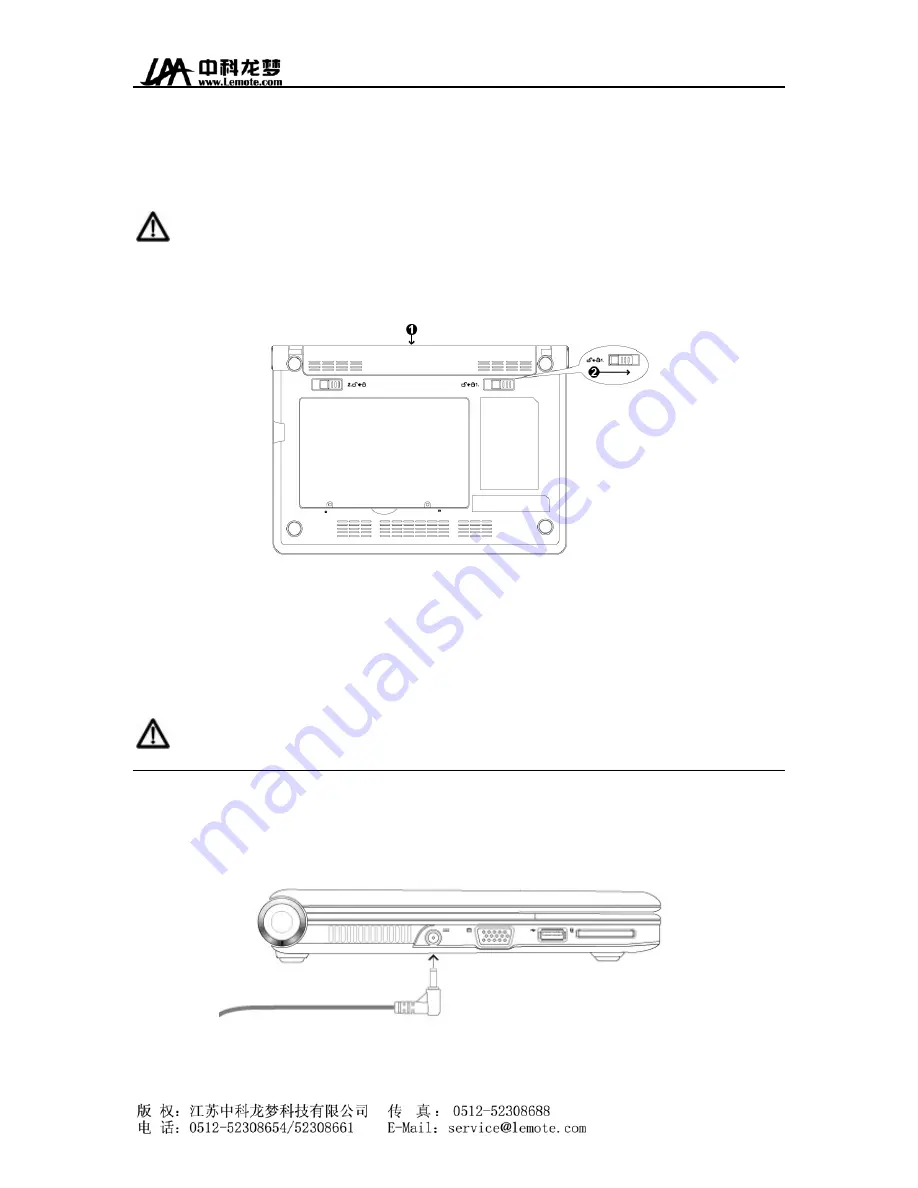
1. Push battery to the groove along the track at the bottom of the notebook computer. 
---------------------------------------------------------------------------------------------------------------------- 

  Note: Push the battery pack again along the track if not success. Do not force the battery pack into which may 

cause battery damage. 

---------------------------------------------------------------------------------------------------------------------- 
2. When the battery pack into, then its switch would be back into its position and lock the battery 
pack. 


2.2. Remove of battery pack 

1. Turn off the computer and disconnect all external peripherals. 
2. Push the spring switch when back side of computer is up on. 
3. Pull and remove the battery pack with holding the spring switch.     
---------------------------------------------------------------------------------------------------------------------- 

  Warning: Never attempt to remove the battery pack while the notebook is turn ON, as this may result in the loss 

of working data.


2.3. Using AC power 

1. Insert power adaptor into Power Jack in left side of notebook. 


2. Insert another side of power adaptor into electric socket. 


Summary of Contents for Yeeloong 8089

Page 1: ...Yeeloong 8089 Notebook Quick Guide V1 2 Jiangsu Lemote Technology Corporation Limited September 2008...

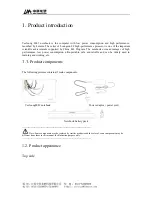
Page 2: ...s advantages of high performance low power consumption ultra portable safe and reliable and can be widely used in learning and working etc 1 1 Product components The following pictures contain all mai...

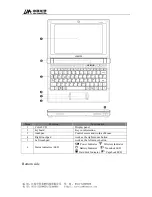
Page 3: ...ation 3 touchpad Control cursor and work as Mouse 4 Right touchpad work as the right mouse button 5 Left touchpad work as the left mouse button 6 Status indicators LED Power Indicator Wireless Indicat...

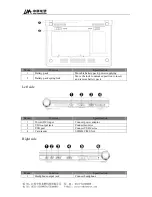
Page 4: ...he lock to unlocked position to insert and remove battery pack Left side Mum Function Specification 1 Power DC input Connect power adaptor 2 VGA output jack Connect monitor 3 USB port Connect USB devi...

Page 5: ...100Mbps RJ45 port Wireless 802 11b g Optional Camera 300K Pixels Optional Card reader SD MMC MS Audio 1 mircophone port 1 headphone port 1 built in double channel 2W speaker Power adaptor Output 20V A...

Page 6: ...on and lock the battery pack 2 2 Remove of battery pack 1 Turn off the computer and disconnect all external peripherals 2 Push the spring switch when back side of computer is up on 3 Pull and remove t...

Page 7: ...ad button works as left mouse button to click item or run program while right touchpad button works as right mouse button 2 Clicking Tapping With the cursor over an item press the left button or use y...

Page 8: ...ion Menu Start shutdown Start Menu Combination keys Button Function Fn F2 LCD backlighting ON OFF Fn F3 CRT display switch Fn F4 The speaker ON OFF Fn F5 Wireless LAN ON OFF Fn F6 Touchpad ON OFF Fn F...

Page 9: ...o product 3 The notebook computer runs into error Notes for clean of vent or fan Please clean fan regular to make sure system be in best cooling condition You can use soft clothe or suction to remove...

Page 10: ...uarantee that interference will not occur in a particular installation If this equipment does cause harmful interference to radio or television reception which can be determined by turning the equipme...

Page 11: ...firmware controlled in the USA RF exposure warning This equipment complies with FCC radiation exposure limits set forth for an uncontrolled environment The equipment must not be co located or operatin...

Reviews: