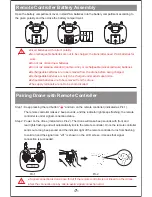
Open the battery compartment cover, install 4*AA batteries into the battery compartment according to
the given polarity and then close the battery compartment.
L1
L2
L1
L2
L1
L2
Remote Controller Battery Assembly
!
●Insert batteries with correct polarity.
●Non rechargeable batteries are not to be charged; the transmitter need 4*AA batteries for
work.
●Do not mix old and new batteries.
●Do not mix alkaline, standard (carbon-zinc), or rechargeable (nickel-cadmium) batteries.
●Rechargeable batteries are to be removed from the drone before being charged.
●Rechargeable batteries are only to be charged under adult supervision.
●Exhausted batteries are to be removed from the drone.
●The supply terminals are not to be short-circuited.
!
● Signal connection is done once for all if the remote controller is not linked to other drone.
● Set the connection one by one to avoid signal connection error.
Pairing Drone with Remote Controller
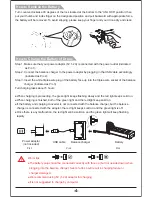
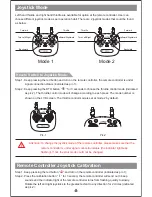
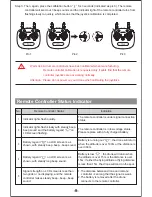
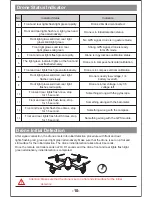
Step 1: Keep pressing the red button “ ” and turn on the remote controller (indicated as Pic.1).
The remote controller makes 2 beep sounds, and the indicator light keeps flashing; the remote
controller is under signal connection status.
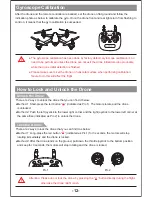
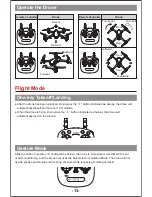
Step 2: Power on the drone (indicated as Pic.2). The drone will make beep sounds with front and
rear lights flashing and will automatically link to the remote controller. Once the remote controller
sends out a long beep sound and the indicator light of the remote controller turns from flashing
to solid on and the signal icon “ ” is shown on the LCD screen, it means that signal
connection is succeeded.
Pic.2
Pic.1
OFF ON
A B
A B
Model
-7-


