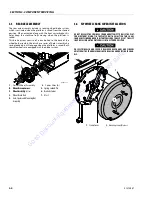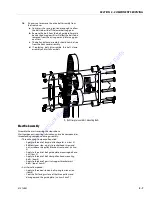
SECTION 3 - COMPONENT SERVICING
31215861
3-3
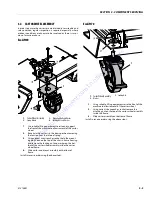
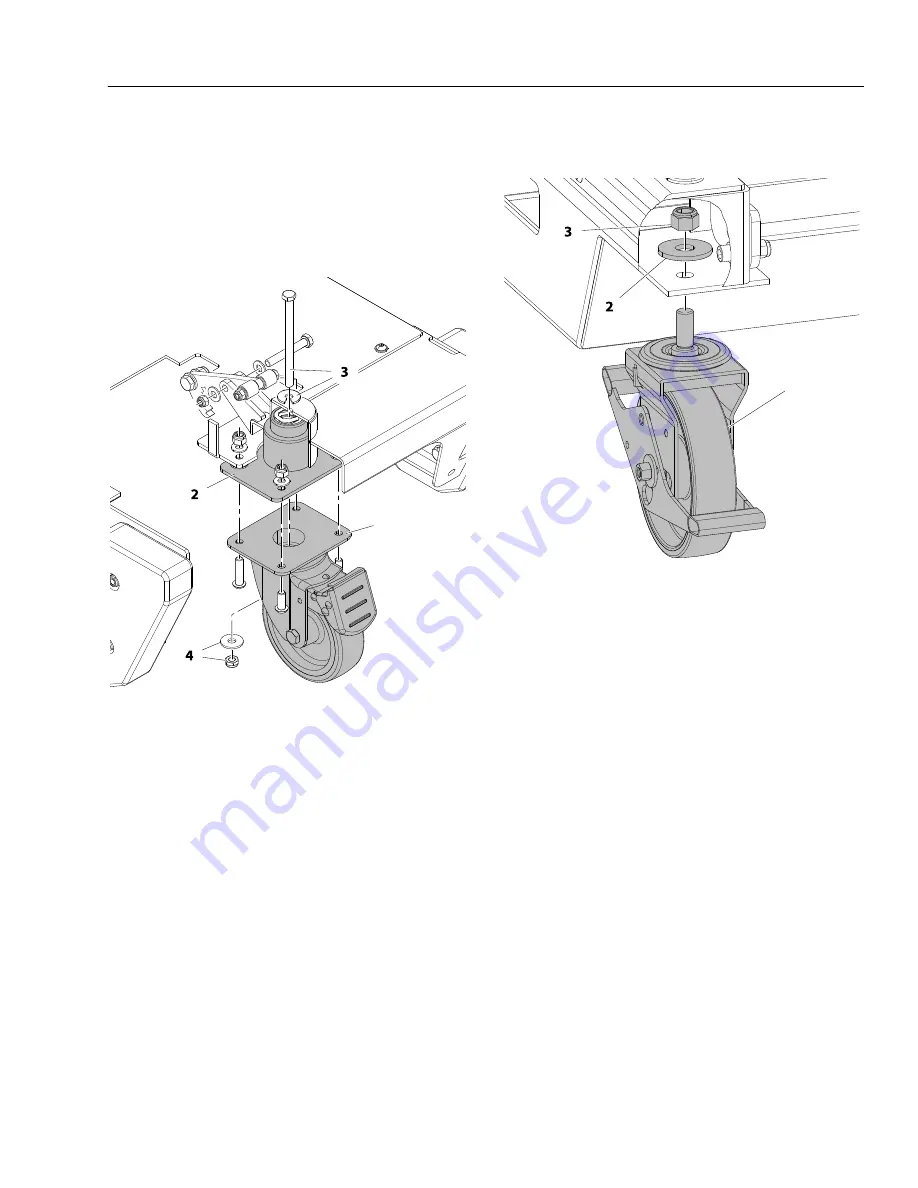
3.4 CASTOR WHEEL ASSEMBLY
In order to ensure the castors are maintained in serviceable and
safe condition, regular inspection is required, especially where
arduous conditions are known to be involved or there is suspi
-
cion of misuse or abuse.
EcoLift50
1.
Use suitable lifting equipment to raise and support
the front of the machine to allow removal of the castor
wheel.
2.
Be certain the castor is in the down position removing
the tension from the internal spring.
3.
Using correct size wrench or socket hold the mount
-
ing bolt head on the top of the chassis frame housing
and remove the locking nut and washer on the bot
-
tom of the castor wheel assembly inside the castor
wheel frame.
4.
Slide castor and mount assembly out bottom of
frame.
Install in reverse order using the above steps.
EcoLift70
1.
Using suitable lifting equipment raise the front of the
machine to allow removal of the castor wheel.
2.
Using correct size wrench or socket remove the
attaching nut on the top of the castor wheel assembly
inside the frame.
3.
Slide castor assembly out bottom of frame.
Install in reverse order using the above steps.
1.
Castor Wheel Assembly
2.
Spring Mount
3.
Mounting Bolt and Washer
4.
Locking Nut and Washer
1
1.
Castor Wheel Assembly
2.
Washer
3.
Locking Nut
1
Go
to
Discount-Equipment.com
to
order
your
parts

