SECTION 3 - CHASSIS & TURNTABLE
3121200
3-45
8.
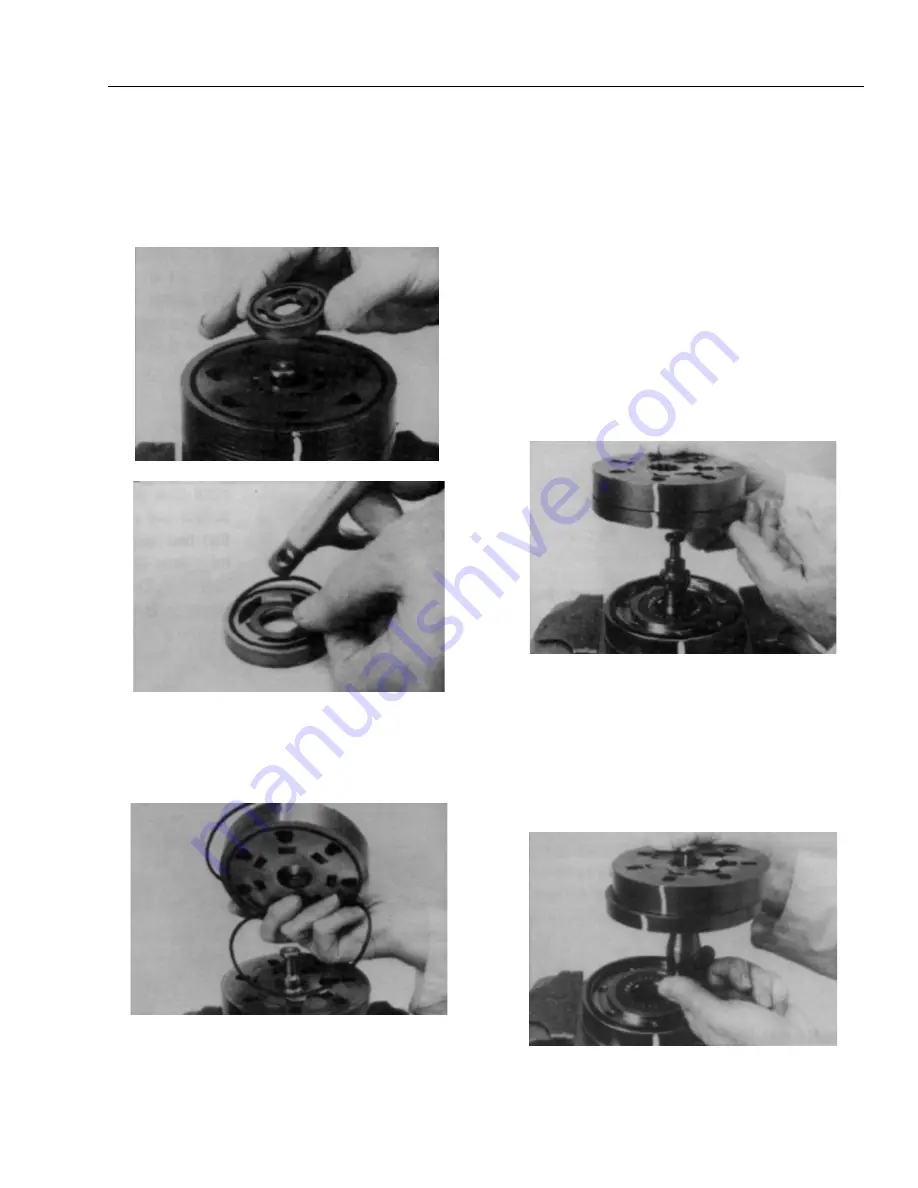
Remove commutator (5) and seal ring (3) Remove seal
ring from commutator, using an air hose to blow air into
ring groove until seal ring is lifted out and discard seal
ring. Inspect commutator for cracks or burrs, wear, scor-
ing, spalling or brinelling. If any of these conditions exist,
replace commutator and commutator ring as a matched
set.
9.
Remove manifold (7) and inspect for cracks surface scor-
ing, brinelling or spalling. Replace manifold if any of
these conditions exist. A polished pattern on the ground
surface from commutator or rotor rotation is normal.
Remove and discard the seal rings (4) that are on both
sides of the manifold.
NOTE:
The manifold is constructed of plates bonded together to
form an integral component not subject tofurtherdisas-
semblyforservice.Compare configuration of both sides oft
hem an if old to ensure that same surface is reassembled
against the rotor set.
10.
Remove rotor set (8) and warplane (9), together to retain
the rotor set in its assembled form, maintaining the
same rotor vane (8C) to stator (8B) contact surfaces. The
drive link (10) may come away from the coupling shaft
(12) with the rotor set, and wearplate.You may have to
shift the rotor set on the warplane to work the drive link
out of the rotor (8A) and warplane. Inspect the rotor set
in its assembled form for nicks, scoring, or spalling on
any surface and for broken or worn splines. If the rotor
set component requires replacement, the complete
rotor set must be replaced as it is a matched set. Inspect
the warplane for cracks, brinelling, or scoring. Discard
seal ring (4) that is between the rotor set and wear plate.
NOTE:
The rotor set (8) components may become disassembled
during service procedures. Marking the surface of the rotor
and stator that is facing UP, with etching ink or grease pen-
cil before removal from Torqlink™ will ensure correct reas-
sembly of rotor into stator and rotor set
intoTorqlink™.Marking all rotor components and mating
spline components for exact repositioning at assembly will
ensure maximum wear life and performance of rotor set
and Torqlink™.
Summary of Contents for T500J
Page 1: ...Service and Maintenance Manual Model T500J PN 3121200 July 25 2018 Rev I AS NZS...
Page 2: ......
Page 16: ...xii 3121200 LIST OF TABLES TABLE NO TITLE PAGE NO This page left blank intentionally...
Page 36: ...SECTION 2 GENERAL 2 8 3121200 NOTES...
Page 143: ...SECTION 3 CHASSIS TURNTABLE 3121200 3 107 Figure 3 45 Battery Charger Schematic...
Page 234: ...SECTION 5 BASIC HYDRAULIC INFORMATION SCHEMATICS 5 60 3121200 NOTES...
Page 246: ...SECTION 6 JLG CONTROL SYSTEM 6 12 3121200 Figure 6 5 System Test Flow Chart Platform Tests...
Page 304: ...SECTION 7 BASIC ELECTRICAL INFORMATION SCHEMATICS 7 32 3121200 NOTES...
Page 305: ......


