9
9
English
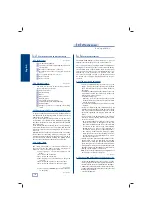
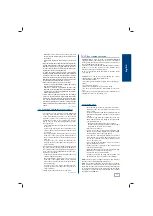
Cutter
Brush
Cutter guard
Motor guard
4-side clamp
Clamp handle
Slide
Slide handles
Positioners
Slide advance limiter
Feeler
Depth adjustment command of the feeler
Feeler blocking screw
Motor/brush start-up push-button
Motor start-up front push-button
Red ignition pilot light
Emergency switch for stopping the milling cutter
1
2
3
4
5
6
7
8
9
10
11
Head
Neck
Upper stop
Lower stop
Notching
Bit
Blade
Tip
1
2
3
4
5
6
7
8
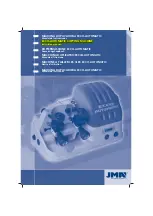
The ECCO-AUTOMATIC is an automatic copying machine
that is both robust and precise. It is designed to dupli-
cate flat keys of cylinder locks, car keys, and cruciform
(cross-shaped) and special keys.
See figure 2
General aspects
Presentation
and general aspects
1
Machine
Characteristcis
2
1.1
The ECCO-AUTOMATIC copying machine has been desig-
ned taking current EEC safety regulations into account.
The safety of the personnel involved in the handling
of this type of machines can only be achieved with a
well-designed personal safety programme. This involves
the introduction of a maintenance programme and the
following of certain recommendations, together with
compliance with the safety regulations mentioned in
this manual.
Although the installation of the machine is straig-
htforward, we recommend that you should not try to
install, adjust, or handle it without first reading this
manual.
The machine leaves the factory ready for use; it only
needs to be calibrated for the use that it will be given.
The ECCO-AUTOMATIC machine is presented in a tough
cardboard box, protected by packing foam, of the follo-
wing dimensions:
Width = 570 mm, length = 520 mm, height = 410 mm
Weight of the machine plus packaging = 22 Kg.
When you unpack the machine, inspect it carefully in
case it has been damaged in transit. If you find any
anomaly, notify the haulier immediately and do not
touch the machine until the haulier’s agent has carried
out the corresponding inspection.
To move the machine from one place to another, we
advise you to lift the machine only by its base.
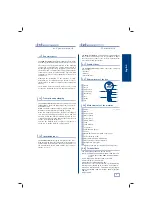
The ECCO-AUTOMATIC copying machine has the follo-
wing identifying label specifying the serial number or
number plate of the machine, the name and address of
the manufacturer, the EC mark, and the year of manu-
facture.
See figure 1
Identifying label
1.3
The main technical data are quoted below:
Motor:
Single-phase 220V, 50Hz, 0.18Kw, 1350 rpm, 1.7 A.
or Single-phase 110V, 60Hz, 0.18Kw, 1700 rpm,
3.14
A.
Cutter:
High speed steel (HSS) Δ63 x 16 x 5 mm.
Cutter turning speed:
1,350 rpm.
Clamps:
Of steel with 4 trunnion sides.
Displacement of the slide:
Automatic, on self-lubricating
bearings, and activated by an off-centre motor-reducer.
Actual run:
Axis X = 43 mm. = maximum copying length.
Dimensions:
Width = 470 mm, depth = 245 mm, height =
280 mm.
Weight:
22 Kg.
Technical data
2.4
Transport and packaging
1.2
Main elements of the machine
2.3
Nomenclature of the key
2.2
Family of keys
2.1
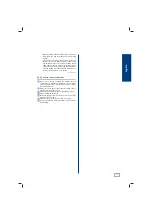
The ECCO-AUTOMATIC machine copies the following
types of keys:
- Flat keys.
- Car keys.
- Cruciform keys.
12
13
14
15
16
17

