6
✓
✗
5.
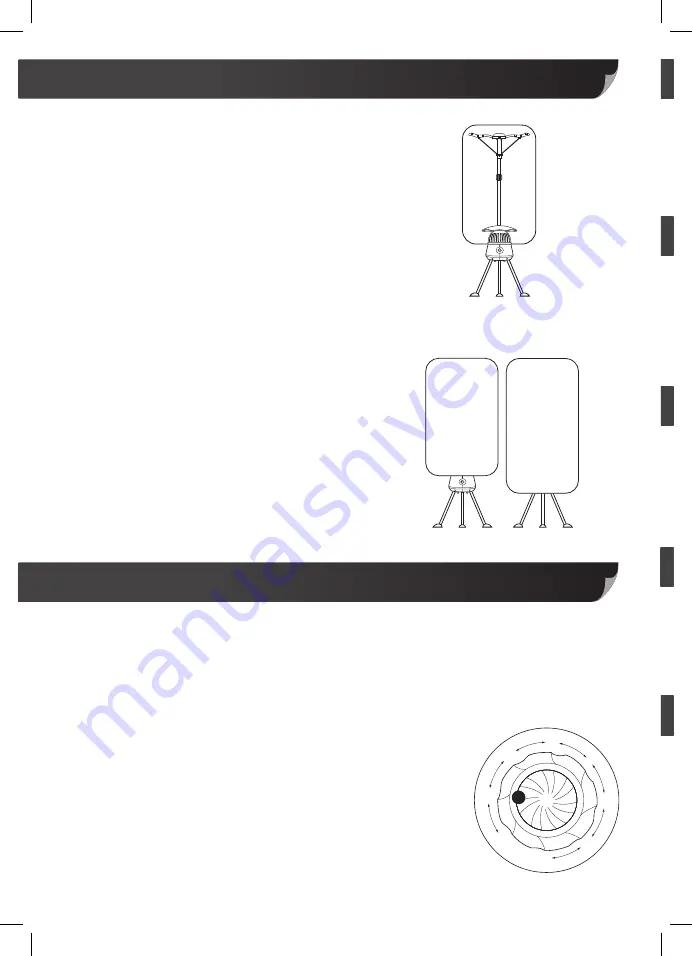
Open all the zips on the (D) Cover – the
top of the (D) Cover is above where the
three zips meet; the black ring is at the
bottom.
6.
Place the Cover around DriBuddi,
ensuring that it surrounds all your clothes
and that the black ring sits around the
metal grill on the (B) Motor Unit (Fig. 6).
Ensure the Cover is correctly positioned on,
not over, the Motor Unit.
DO NOT
PLACE THE (D) COVER ON THE
DRI BUDDI WHILE TURNED ON AND/OR
HOT. THIS MAY RESULT IN BURNING OR
THE (D) COVER MAY NOT BE PLACED ON
CORRECTLY. (FIG. 7).
Use caution when removing the (D) Cover
after use. The (B) Motor Unit may still be hot.
7.
Zip up all the zips and fold down the zip
cover at the top. DriBuddi is now ready
for use.
1.
Plug DriBuddi into a mains socket and switch on. A light should appear on the Timer Dial;
this indicates that DriBuddi is on.
2.
Undo all three zips. Pull down the Cover, but leave the black ring still resting above the
Motor Unit. Allow the rest of the Cover to fall to the floor.
3.
Place your wet clothes on coat hangers (plastic hangers are recommended) and hang on
DriBuddi. DriBuddi can fit up to 18 garments.
4.
Pull the Cover back over DriBuddi and fasten all the zips.
5.
You can use DriBuddi in two different ways:
•
Set the timer:
Turn the Dial clockwise to set the timer.
DriBuddi will automatically turn off when the timer reaches zero.
•
Set to Long On:
Turn the Dial anti-clockwise to turn DriBuddi
on. It will remain on until you turn it off.
Fig. 6
Fig. 7
Your DriBuddi
continued
Using your DriBuddi
60
30
OFF
ON
90
120
180min
150
Summary of Contents for DriBUDDI
Page 1: ......


