
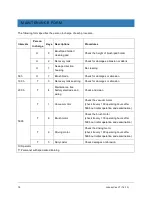


Johnny Vac V1 (14-10)
21
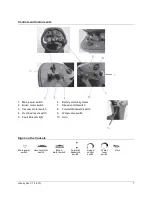
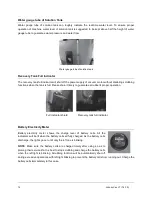
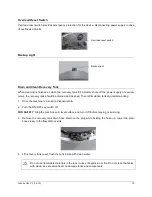
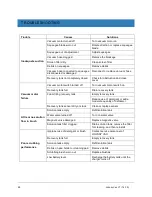
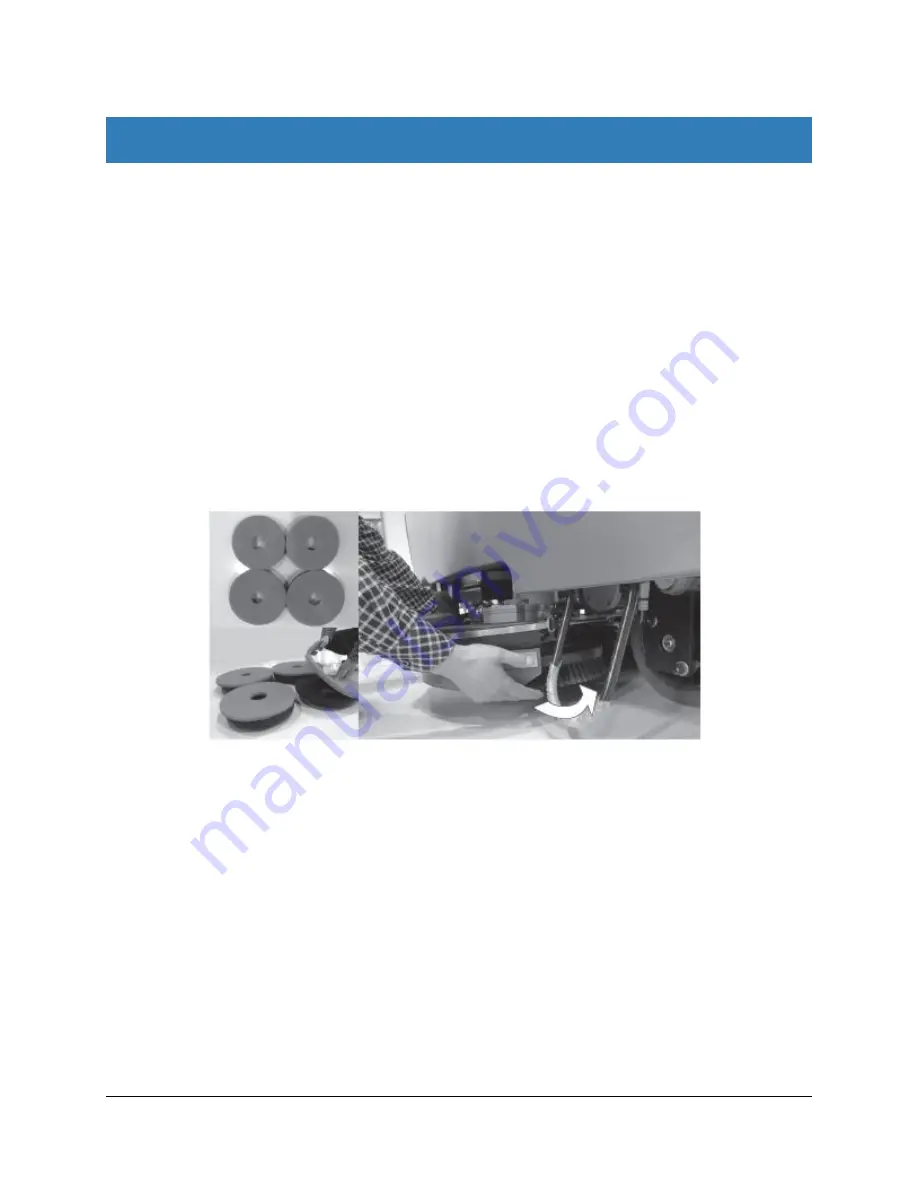
BRUSHES AND CLEANING PADS
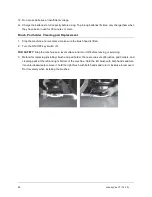
The machine is equipped with brushes and cleaning pads. Check scrub brushes every day for wire or
string wrapped around the brush or brush drive hub. Check for brush damage or wear.
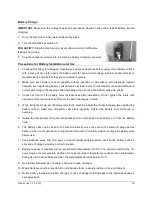
FOR SAFETY
: Stop the machine on a level surface; turn it off, and remove the key before leaving or
servicing.
Scrub brushes shall be replaced if a great number of bristles are missing or bristle length is less than
10 mm (0.38”).
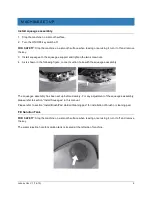
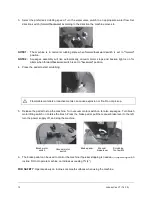
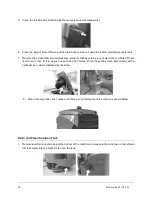
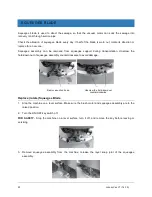
Cleaning pads must be fixed on the pad drive hubs before using. Pad holder is used to fix the pad.
Cleaning pads must be cleaned immediately with soap or water after using. Do not wash them with
pressure washer. Hand the pads or lay them flat to dry.
NOTE
: Replace the brushes and pads in whole sets; otherwise one brush or pad will be more aggressive
than the other.
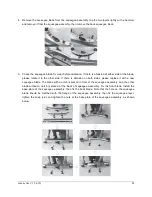
As shown in the figure above: the lower left two ones are for Model JVC110RIDER.


