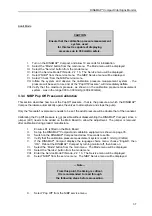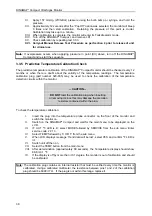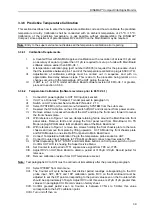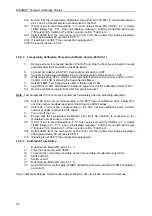
DINAMAP*
Compact
Vital Signs Monitor
43
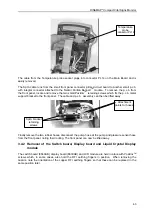
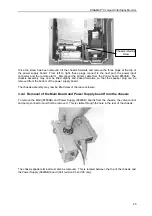
The cable from the Temperature probe socket plugs into connector PL14 on the Main Board and is
easily removed.
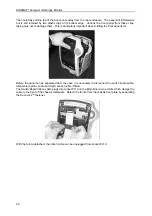
The SpO
2
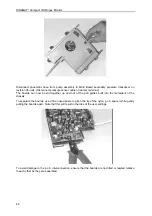
cable runs from the small front panel connector printed circuit board to another small p.c.b.
with integral connector attached to the Nellcor Puritan Bennett
TM
module. To remove the p.c.b. from
the front panel, locate and remove the two small Pozidriv
TM
retaining screws which fix the p.c.b. metal
support bracket to the front panel. The cable and p.c.b. assembly can then be lifted away.
Finally remove the two rubber hoses, disconnect the pump hose at the pump and pressure sensor hose
from the front panel, noting their routing. The front panel can now be lifted away.
3.4.2 Removal of the Switch board, Display board and Liquid Crystal Display
module
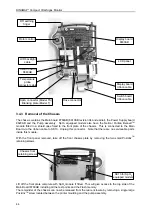
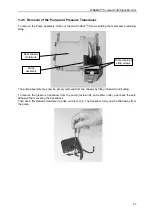
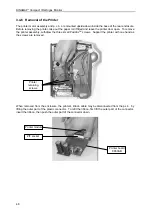
The switch board (8640AB), display board (8630AB) and LCD module are held in place with Pozidriv
TM
screws which, in some cases, also hold the RFI earthing fingers in position. When removing the
boards, note the orientation of the copper RFI earthing fingers so that these can be replaced in the
same position later.
SpO
2
bracket
retaining
screws
Temperature
probe
connector PL14
Attachment
points for hoses

