DINAMAP*
Compact
Vital Signs Monitor
44
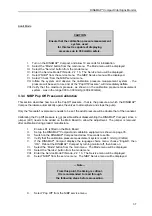
3.4.3 Removal of the Chassis
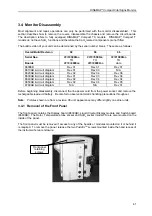
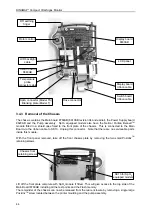
The chassis contains the Main board 8760AB (8610AB revision 04 and earlier), the Power Supply board
8620AB and the Pump assembly. SpO
2
equipped models also have the Nellcor Puritan Bennett
TM
module fitted in a shield case fixed to the front plate of the chassis. This is connected to the Main
Board via the ribbon cable to SK13. Unplug this connector. Note that there are no serviceable parts
inside this module.
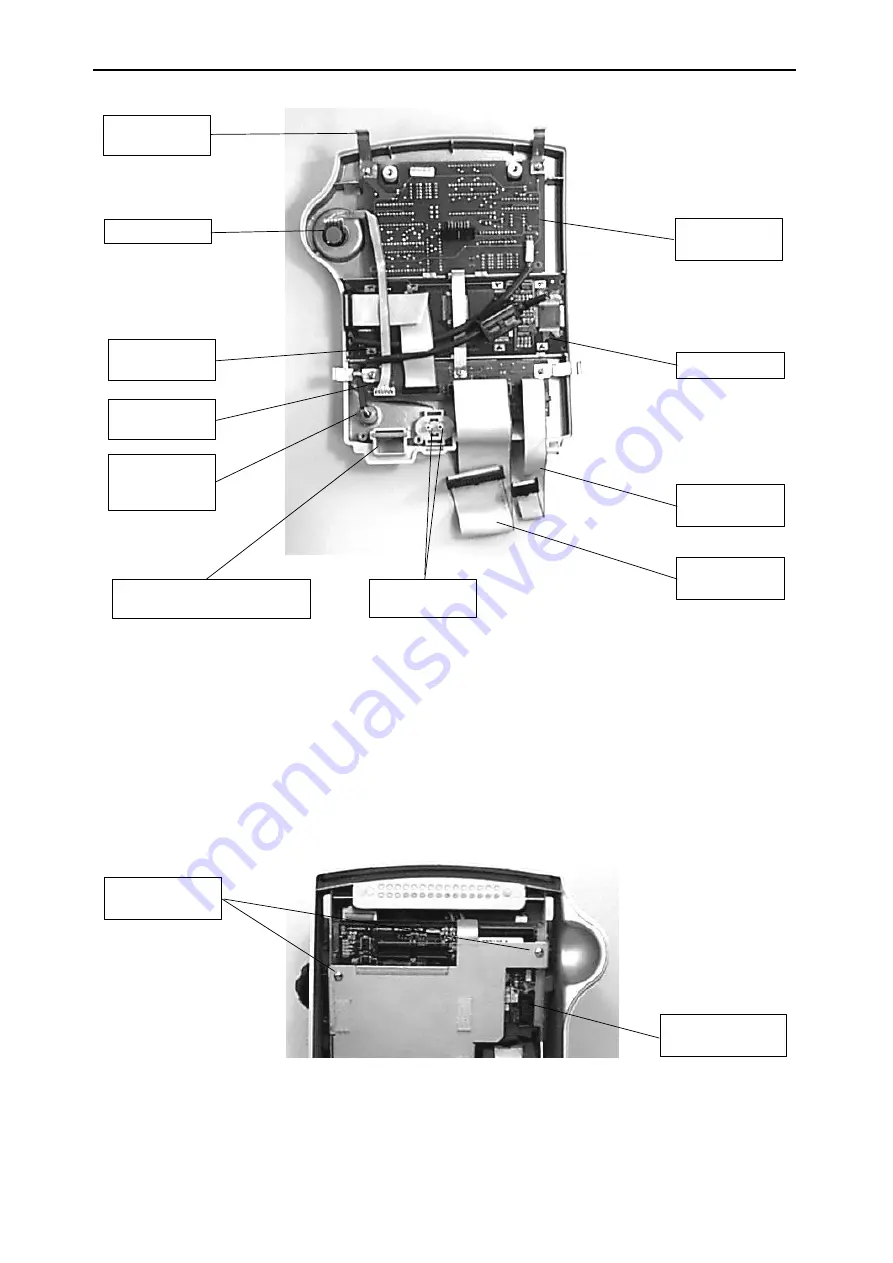
With the front panel removed, take off the front chassis plate by removing the two small Pozidriv
TM
retaining screws.
Lift off the front plate complete with SpO
2
module if fitted. This will give access to the top side of the
Main Board 8760AB including all the test points and the Flash memory.
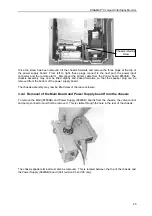
The remainder of the chassis can now be released from the rear enclosure by removing a single large
Pozidriv
TM
screw located between the printer moulding and the pump assembly.
Switch board
8640AB
Display board
8630AB
Chassis front
retaining screws
Rotor control
LCD panel
SpO
2
connector (Model TS)
Blanking plate (Model T)
Hose connector
SK13 for SpO
2
equipped models
Switch board
ribbon cable
Temperature
probe
connector cable
LCD backlight
cable
Display board
ribbon cable
RFI earthing
finger

