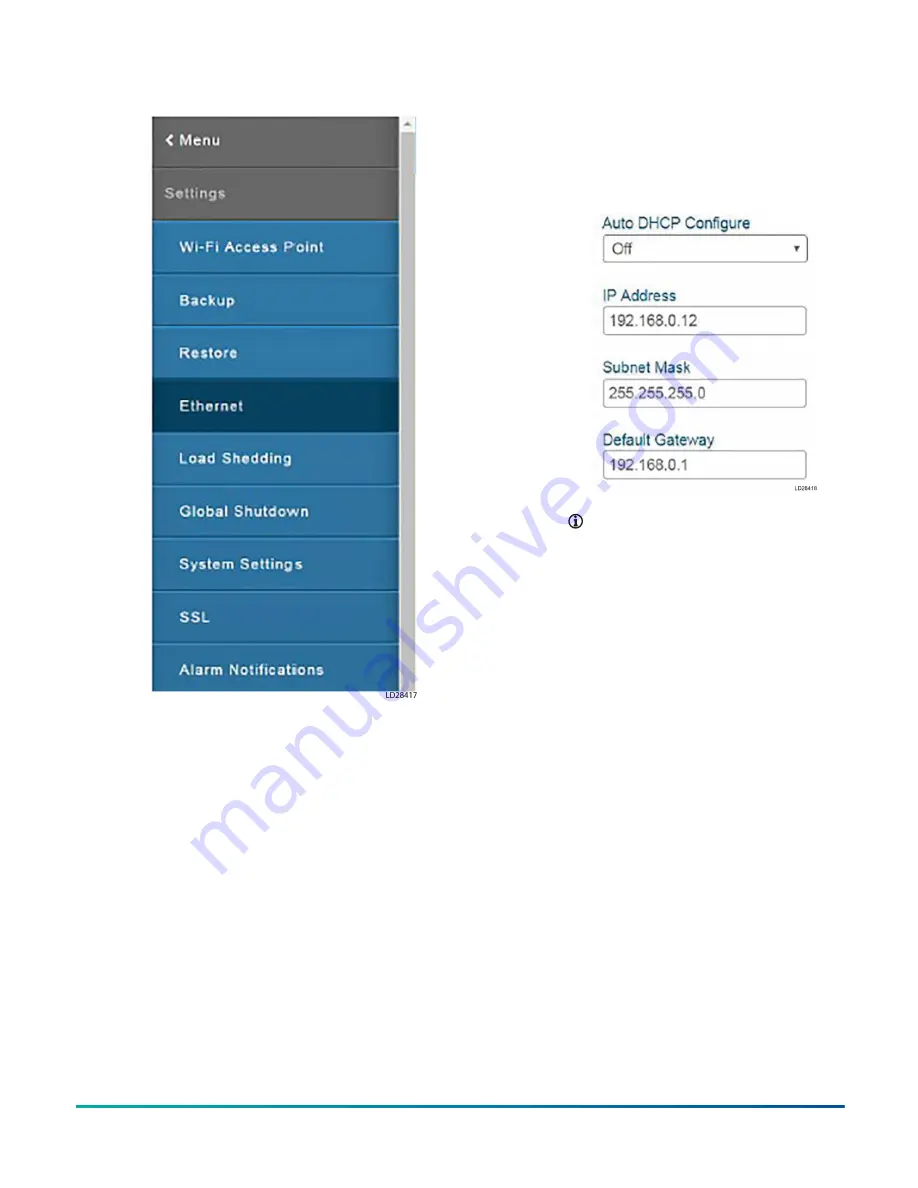
Figure 23: Ethernet tab
12. The Ethernet port is OFF by default. Using the
drop-down, change to ON. When the Ethernet
port is ON, the user can set up values for the
Auto DHCP Configure drop-down, IP address,
Subnet Mask, and Default Gateway.
13. Enter the following values in the newly
enabled fields. See Figure 24:
a. Auto DHCP Configure: OFF
b. IP Address: In the range of 192.168.0.x.
The value of x can be changed based
on other devices connected on the
network in order to avoid conflict. For
the purpose of these instructions, x is
represented as 12.
c. Subnet Mask: 255.255.255.0. Default
Gateway: 192.168.0.1. Keep the first
three fields (192.168.0) the same as
the IP Address, and enter 1 for the
fourth field.
Figure 24: Ethernet parameters
Note:
The previous parameters
may cause a conflict when the
cable connecting the MAP device
to the display is routed through
an Ethernet switch. Check with
Building IT management for
an available IP Address. For
questions related to MAP security
certificates, refer to the document
Installing and Using Private Keys
and Security Certificates
, see Table
14. After all of the configuration values are
entered, tap on
Save
. This generates the static
IP address for the MAP device.
15. To configure the MAP in the display, connect
the Ethernet cable from the MAP to the
display on the ETH2 port. Any of the three
ports (ETH0, ETH1, and ETH2) can be used.
Figure 25 shows an example using the ETH2
port.
16. Power up the display, and double tap on the
screen repeatedly until the TAP-TAP menu
displays at the top of the screen. Tap on the
System Settings
17. Select the Network option from the
System Settings
tab on the left of the screen. On the Network
page, tap on
Edit
located at the top-right corner. See Figure 25.
Advanced Graphic Touchscreen Display on 25 Ton to 80 Ton Johnson Controls Premier Rooftop Units
26
Johnson Controls


