8
P5417050-rev.1
3.1 Combinations of Outdoor Units and Indoor Units
The combination capacity of an indoor unit against an outdoor unit is selected depending on the outdoor
unit capacity. Refer to the "Installation and Maintenance Manual" for the outdoor unit to decide the required
combination of indoor and outdoor units, and the combination unit capacity.
3.2 Transportation and Handling
1. Transport the product as close to the installation location as possible before unpacking.
2. Do not lay any objects on the indoor unit.
3. The indoor unit comes crated upside-down with the foam polystyrene condensate pan positioned on
top.
Do not invert the unit until it is ready to be suspended above the floor. Inverting the unit while on the
floor will crush the condensate pan. Do not handle the unit by grabbing at the polystyrene pan and
other air outlets as they are fragile and will sustain damage.
4. The indoor unit handle is fabricated from foam polystyrene and is susceptible to breakage if any
excessive force is applied as a result of mishandling of the unit during installation.
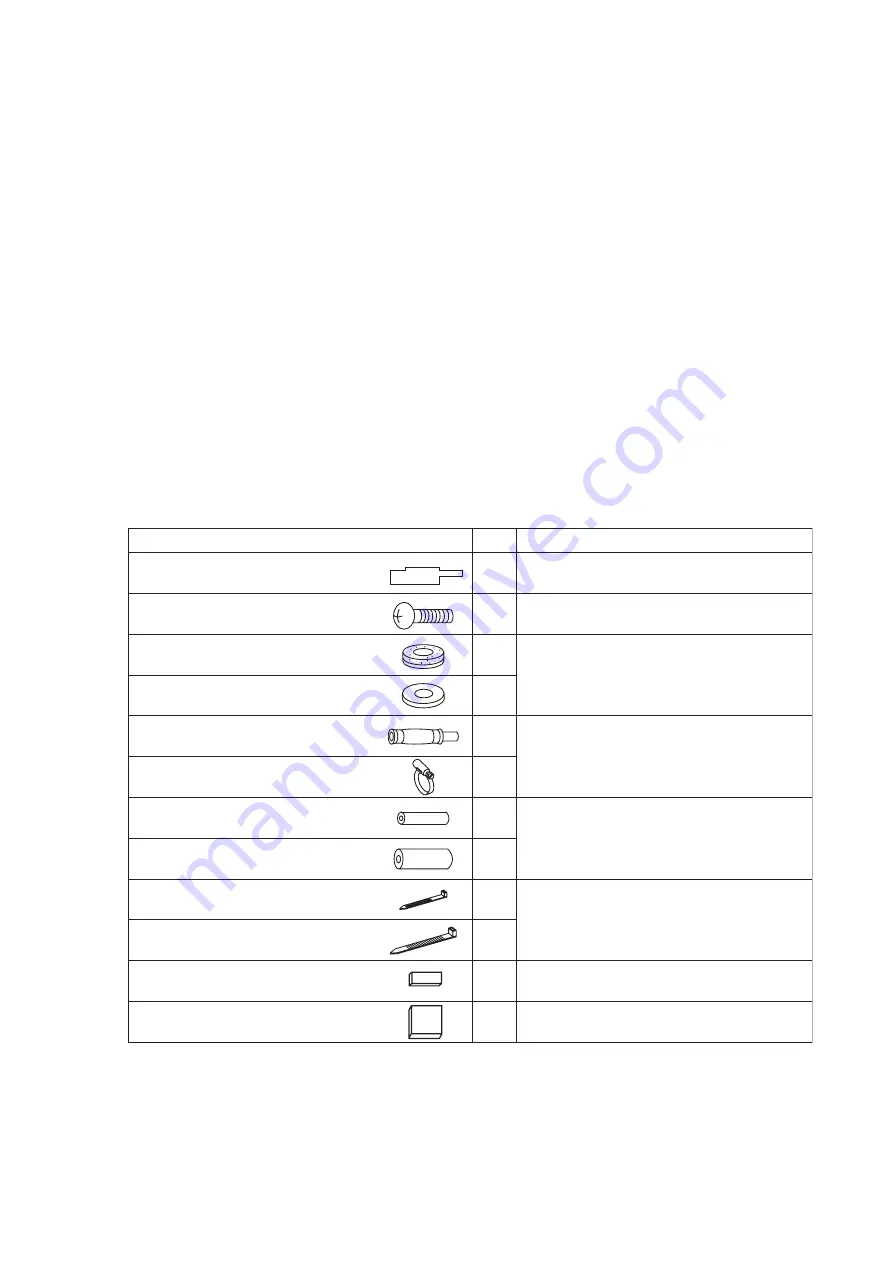
3.3 Factory-Supplied Accessories
1. Check to ensure that the following accessories are packed with the indoor unit.
The screws, washers, and flare nuts are packed in the pipe insulation.
3. Before Installation
Accessory
Qty.
Purpose
Unit: inch (mm)
Checking Scale
(Cut and Take Out it from Carton Board)
Cross Recessed
Head Screws (M6)
Washer with Insulation
Material (M10)
Washer (M10)
Condensate Hose
Hose Clamp
Pipe Insulation
Pipe Insulation
Cable Band
Cable Band
Insulation
3/16T x 1-15/16 x 7-7/8 (5T x 50 x 200)
Insulation
3/16T x 10-5/8 x 10-5/8 (5T x 270 x 270 )
4
4
4
2
6
1
1
1
1
1
1
1
For Adjusting Space of False Ceiling Opening
and Position of Unit
For Fitting Paper Pattern
For Unit Installation
For Refrigerant Piping Connection
For Condensate Pipe Connection
For Securing Wired Controller Cable,
Louver Sensor and Insulation of Piping
For Covering Condensate Connection
For Covering Wiring Connection


