3-13
johNSoN coNtroLS
ForM 102.20-N1 (1109)
3
10. Visually check that the high temperature safety
limit is set for a 200-230°F range. The limit switch
is typically mounted behind the burner control
panel.
11. Connect a 0-15"
gas pressure gauge or other suit-
able instrument to the gas manifold port. The gas
pressure will be measured when running (
refer to
step 4 of Burner Start-up Procedure).
On Powerflame burners this test port
is downstream of the main regulator,
typically on a standard tee fitting in the
main gas line.
On Eclipse burners, this test port is
located on the backside of the burner,
just below the spark igniter. A small
valve is provided at this test port.
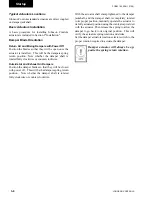
12. Connect a manometer or other suitable device to
the Heat Exchanger Draft Port located on the side
of the unit near the burner. The expected draft
should read slightly negative – about -.03
"
WC.
The draft port is typically made of ¾"
steel pipe
and may be plugged. Remove plug and add a small
stop valve and a nipple for a rubber tube
(see Fig.
3-15 and 3-17).
13. Install the Honeywell S7800 Test Module (display),
if available.
14. Connect signal generator (0-20mA) to terminals in
place of modulation control signal (for 2-10 VDC
signal add a 500 Ω resistor in series).
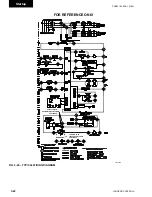
See Fig.
3-24.
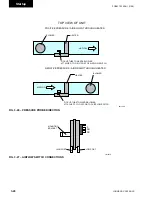
15. Visually check that the flue (stack) is secure and
connected properly. Typical connections are shown
at the end of this guideline
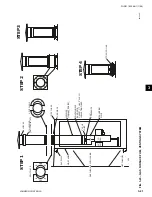
(see Fig.’s 3-22 and
3-23).
16. Burner panel off/on switch should be “off”
System is now ready for start up.
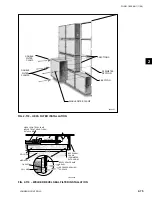
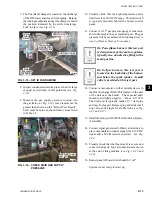
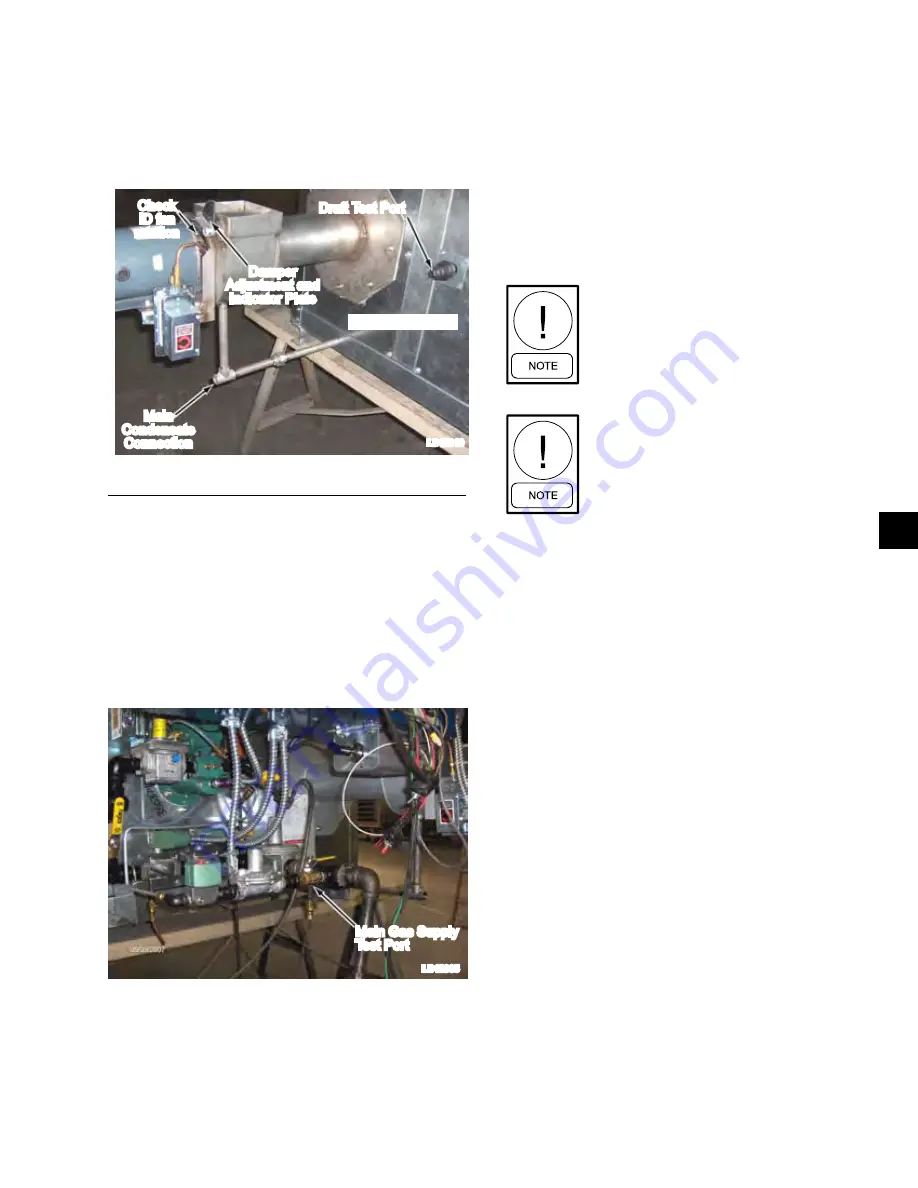
7. The flue (stack) damper is located at the discharge
of the ID blower and closed for shipping. Release
the locking mechanism and set the damper to match
the position indicated by the scribed markings.
Lock in place
(see Fig. 3-15).
Fig. 3-15 – SEt id FAn dAMPER
8. Inspect condensate drain trap to see that it is large
enough, as described in this guideline
(see Fig.
3-21).
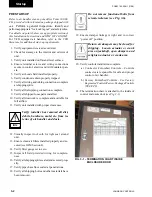
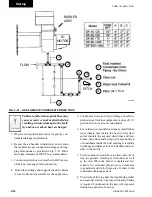
9. Measure the gas supply pressure coming into
the gas train
(see Fig. 3-16).
Gas pressure can be
greater than shown on the “Burner Test Report”,
but it must be between the min/max values listed
in Table 3-2.
Fig. 3-16 – ChECK MAin gAS SuPPlY
PRESSuRE
ld12910
Burner panel
Check
iD fan
rotation
draft test port
Damper
adjustment and
indicator plate
Main
condensate
connection
ld12905
main gas Supply
test port
Summary of Contents for YORK SOLUTION LD09624
Page 4: ...johnson controls 4 FORM 102 20 N1 1109 THIS PAGE INTENTIONALLY LEFT BLANK ...
Page 10: ...johnson controls 10 FORM 102 20 N1 1109 THIS PAGE INTENTIONALLY LEFT BLANK ...
Page 16: ...johnson controls 16 FORM 102 20 N1 1109 THIS PAGE INTENTIONALLY LEFT BLANK ...
Page 30: ...johnson controls 1 8 FORM 102 20 N1 1109 THIS PAGE INTENTIONALLY LEFT BLANK ...
Page 106: ...johnson controls 2 76 FORM 102 20 N1 1109 THIS PAGE INTENTIONALLY LEFT BLANK ...

