28
P5417009-rev.6
Cautions for Piping Connection Work
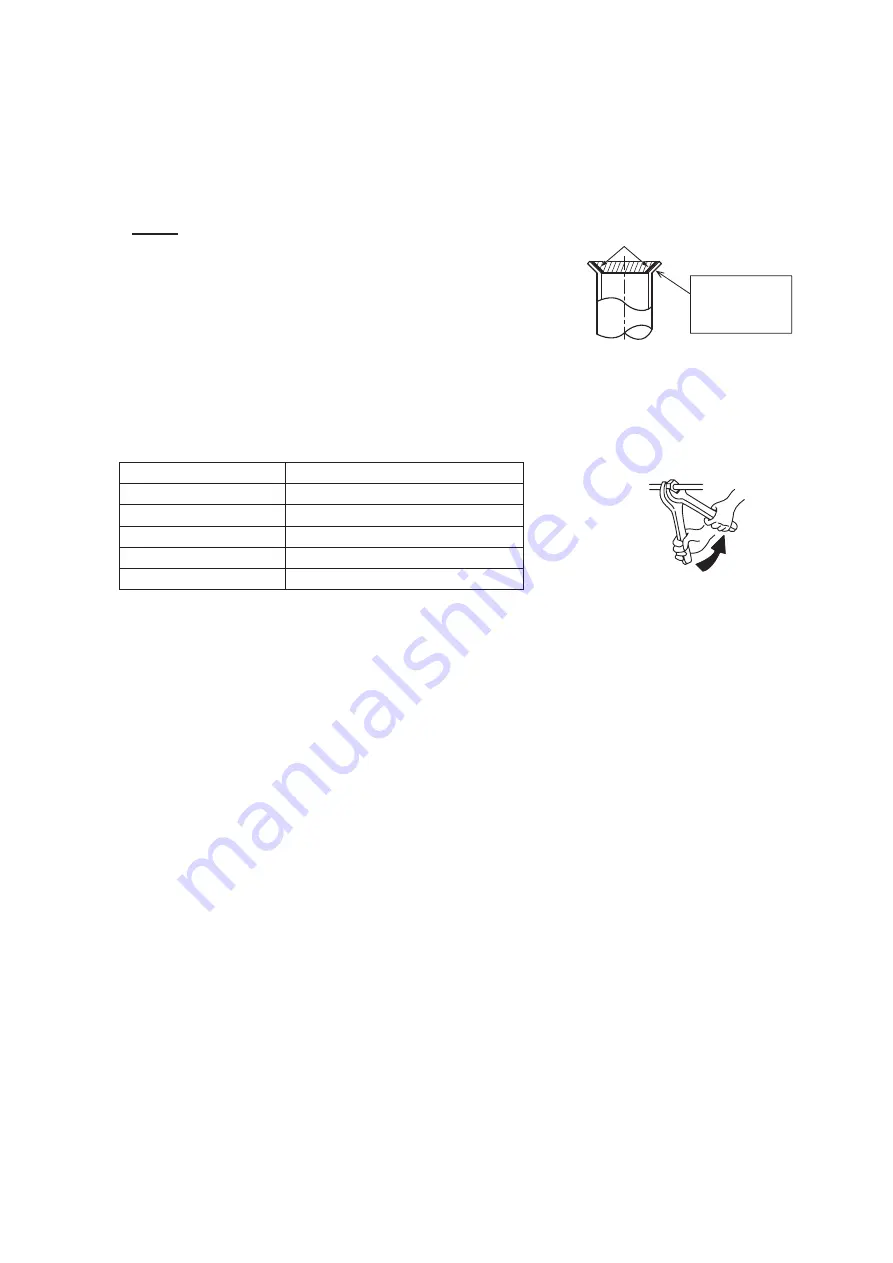
(1) Verify that there are no scratches, metal shavings, gaps, or deformations at the flared end before
connecting pipe to the system.
(2) Before tightening the flare nut, apply a small amount of oil (field-supplied) to the outside of the flare.
(Do not apply any oil to the flare face or the threads.) Tighten the liquid pipe flare nut to the specified
torque while using a back-up wrench to prevent damage to the unit. Ensure that the flare connections
are leak free upon completion of the work.
NOTE:
Refrigerant oil is field-supplied.
[Ethereal Oil: FVC68D (Idemitsu Kousan Co. Ltd.)]
(3) Be sure to use the accessory flare nuts for indoor unit connections.
To tighten the torque for liquid stop valve, refer to Section 6.2.1 “Stop Valve” of the tightening torque
table.
Required Tightening Torque
Pipe Size
Tightening Torque
1/4 inch (6.35 mm)
10.3 - 13.3 ft·lbs (14 - 18 N·m)
3/8 inch (9.52 mm)
25.1 - 31.0 ft·lbs (34 - 42 N·m)
1/2 inch (12.7 mm)
36.1 - 45.0 ft·lbs (49 - 61 N·m)
5/8 inch (15.88 mm)
50.2 - 60.5 ft·lbs (68 - 82 N·m)
3/4 inch (19.05 mm)
73.8 - 88.5 ft·lbs (100 - 120 N·m)
(4) When the temperature and humidity inside the ceiling exceed 80
o
F (27
o
C)/RH80%, apply additional
insulation of approximately 3/8 inch (10mm) in thickness to the accessory insulation. The insulation
prevents the formation of condensation on the surface of the insulation (refrigerant pipe only).
(5) Perform the airtight test at (601 psi (4.15MPa) for the test pressure).
(6) Perform cold insulation work by wrapping tape around flared and reducer connections. Also, insulate
all the refrigerant pipes.
(7) Connect the indoor/outdoor units with refrigerant pipe. Secure the pipe to prevent it from coming into
contact with weak structures such as a wall or ceiling. Otherwise, noise will occur due to vibration of
the pipe.
Use two wrenches as shown.
Apply Refrigerant Oil.
Do not apply
refrigerant oil to
exterior flared
surfaces.


