i-Pilot rev 04/21
7
Part II. Miscellaneous System Information
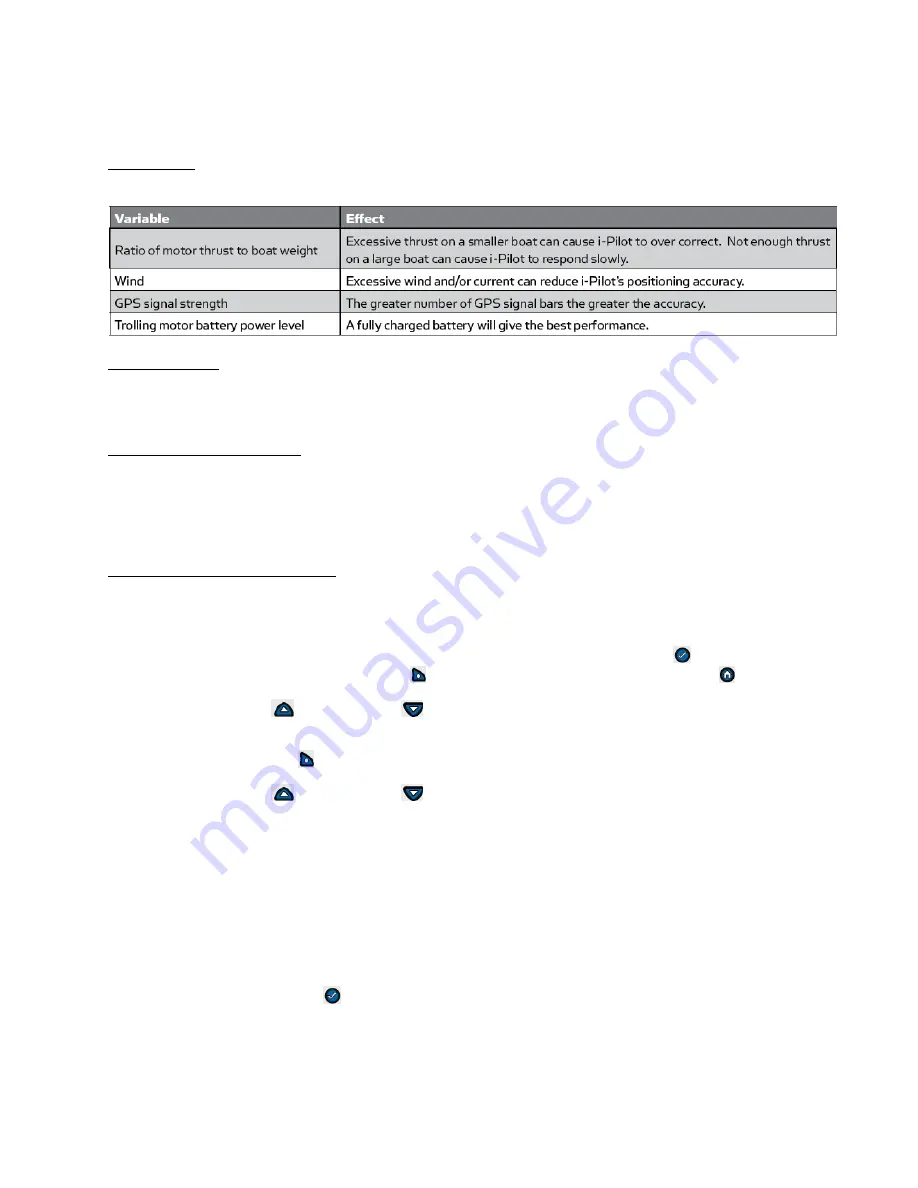
ACCURACY
The accuracy and responsiveness with which i-Pilot controls your boat is highly dependent upon many variables. A few
of these variables and their general effects on responsiveness and accuracy are given below:
BATTERY LIFE
Remote battery life is subject to frequency of use and is especially impacted by how often and bright the LCD backlight
is used. When the remote battery is low, the “
Remote Battery Low
” icon will appear on the remote LCD. The
“
Backlight
” button will be disabled when the “
Remote Battery Low
” icon is displayed to conserve battery power.
BATTERY REPLACEMENT
For i-Pilot 1.6:
The Remote is powered by three alkaline AAA batteries.
For i-Pilot 1.0 & 1.5 systems: NOTE
: Panasonic brand batteries will not work with the version 1.0 i-Pilot remote!
Make sure hands are clean, dry and static free. Discharge any static electricity by touching a metal object that is
grounded. Replace with a new CR2450 coin cell battery.
REMOTE PAIRING / LEARNING
For i-Pilot 1.6 systems:
An i-Pilot controller may pair up to 5 remotes. These 5 remotes can be a combination is
standard i-Pilot Link remotes and Micro remotes. Any additional remotes can be paired using the following steps. Once
the maximum number of remotes have been paired, the controller will start replacing the oldest paired remote in memory
with the new remote.
Step 1.
Power up the trolling motor. Then turn the remote ON by pressing and releasing the
button. Agree to the
disclaimer by pressing the Right Softkey
. If the remote was already ON, press the Home
button.
Step 2.
Use the Menu Up
and Menu Down
buttons to find the System menu at the bottom of the display screen.
NOTE: Make sure the remote stays within range of the Control head during the pairing process.
Step 3.
Use the Right Softkey
to select the System menu.
Step 4.
Use the Menu Up
and Menu Down
buttons to find the Pair option.
Step 5.
Before selecting the Pair Option, locate the Pair Button on the top of the Control Head. Press and hold the Pair
button. A consistent tone will be emitted from the Control Head.
A.
If no tone is emitted, ensure motor is connected to appropriate voltage and powered ON, if applicable.
A-1.
Test the system with a known good footpedal (on PowerDrive systems this means un-
installing the i-Pilot system).
a.
If the system works with the footpedal, replace the i-Pilot Controller (head
assembly).
b.
If the system does not work with the footpedal, review the specific chapter of the
repair manual regarding the specific model you are servicing.
Step 6.
On the remote, use the Ok
button to select the Pair option from the System menu. The Remote will scan for
the motor. Once successfully paired, 3 longer beeps will be emitted from the Control head and the remote will
be paired.
A.
If the Pair process does not complete, redo procedure with a known good Remote.
A-1.
If the known good remote successfully Pairs with the Controller, replace consumer’s remote
A-2.
If the known good remote does not successfully Pair with the Controller, replace Controller.
©Johnson Outdoors 2021
Summary of Contents for i-Pilot
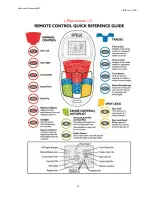
Page 14: ...i Pilot rev 04 21 11 Quick Reference Guide 1 6 Johnson Outdoors 2021 ...
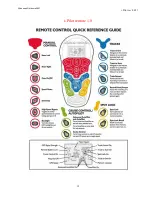
Page 15: ...i Pilot rev 04 21 12 Quick Reference Guide 1 6 Johnson Outdoors 2021 ...
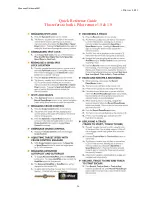
Page 16: ...i Pilot rev 04 21 13 Quick Reference Guide 1 6 Johnson Outdoors 2021 ...
Page 17: ...i Pilot rev 04 21 14 i Pilot remote 1 5 Johnson Outdoors 2021 ...
Page 18: ...i Pilot rev 04 21 15 i Pilot remote 1 0 Johnson Outdoors 2021 ...


