©2016 Johnson Level & Tool - Rev. 2
21
8. Calibration
IMPORTANT:
It is the responsibility of the user to verify the
calibration of the instrument before each use.
X-Direction Accuracy Check
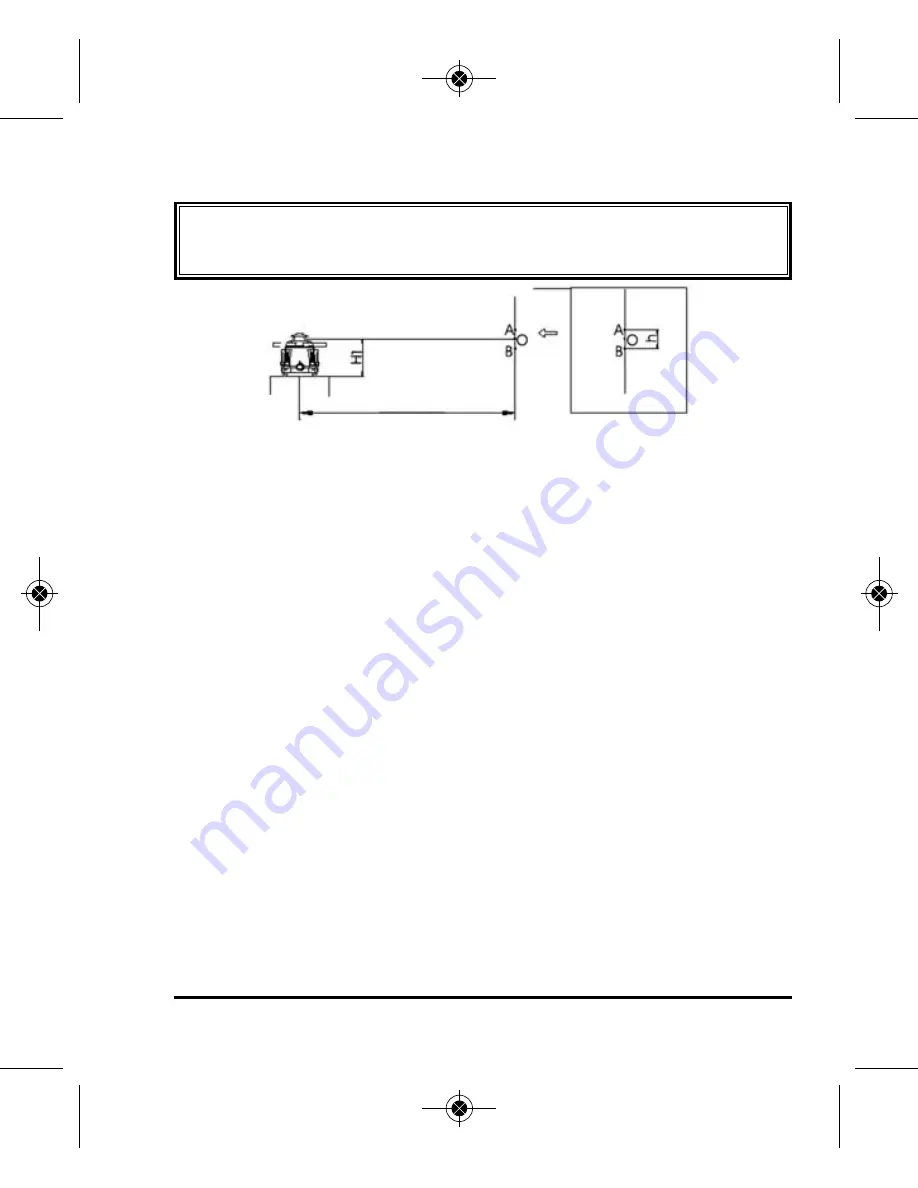
1. Place the unit on a platform that is 30 feet away from a wall, with
the battery case facing towards the wall. Turn the locking knob to
“ON”, power on the unit in the high-speed rotating status.
2. Draw a vertical line on the wall, and mark the intersection
between the laser line and the vertical line as point A. Note
this test should be done indoors with dim lighting. Its critical
that the laser beam is easily seen.
3. Turn the instrument 180 degrees, mark point B on the wall at the
intersection of the laser beam and vertical line. Also mark the center
between point A and point B as point O.
4. Measure the vertical distance (h) between point A and point B.
5. If h
≤
1/16", accuracy is within specification. If not, the accuracy
is beyond the specification. If beyond the specification, the unit
can be calibrated as follows.
30’
1625i-English_Manuals 12/28/16 9:41 AM Page 21


