background image

14

15

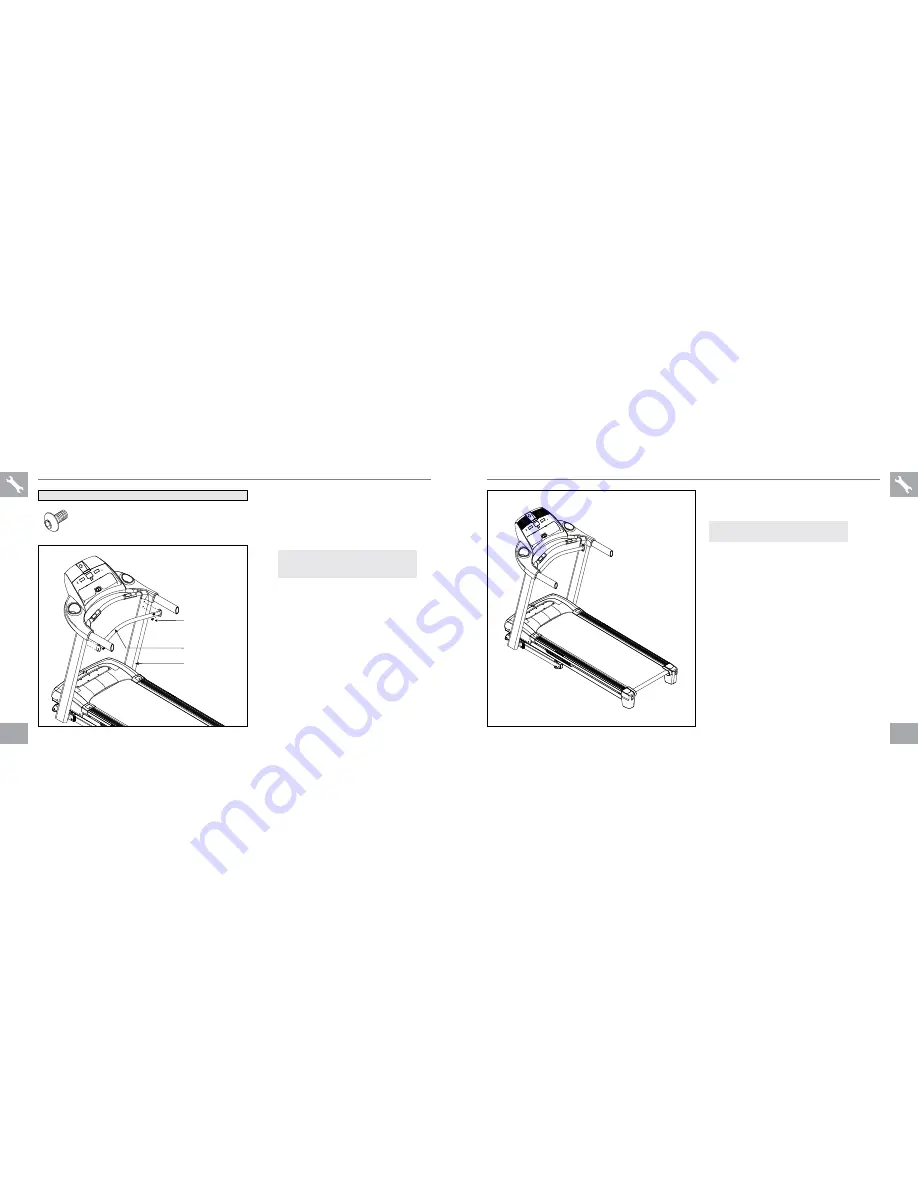
ASSEMBLY 

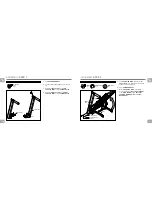
STEp 5

Open 

hardware bag 5

.

Align 

SuppOrT bar

 with holes in 

COnSOLe 

maSTS

.

Insert 

bOLTS (h)

 into all 4 holes of the 

SuppOrT bar.


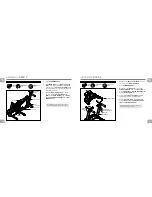
Tighten all console bolts (Step 4) and support 
bar bolts (Step C above) completely

HARdWARE bAG 3

 CONTENTS :

BOLTS (H)

SUPPORT BAR

CONSOLE MAST

ASSEMBLY 

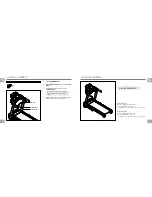
STEp 6

YOU ARE FINISHED!

BOLT (H)
15 mm
Qty: 4

NOTE: Look into holes in the right mast 
before inserting bolts to avoid pinching 
cables.

adventure 2 plus

Max. User Weight: 125 kg / 275 lbs.
Product Weight: 85 kg / 187 lbs
Overall Dimension: 181 x 86 x 137 cm / 71” x 34” x 54”

adventure 3 plus

Max. User Weight: 135 kg / 300 lbs.
Product Weight: 86.5 kg / 190 lbs
Overall Dimension: 181 x 86 x 137 cm / 71” x 34” x 54”

Summary of Contents for 6.0T

Page 1: ...TREADMILL OWNER S MANUAL Read the treadmill guide before using this owner s manual 6 0T...

Page 2: ...uctions before using this treadmill It is the responsibility of the owner to ensure that all users of this treadmill are adequately informed of all warnings and precautions If you have any questions a...

Page 3: ...e undertaking an exercise program particularly if the user has a family history of heart disease or high blood pressure or smokes or is pregnant or is over the age of 45 has high cholesterol is obese...

Page 4: ...nductor and a grounding plug The plug must be plugged into an appropriate outlet that is properly installed and grounded in accordance with local codes and ordinances Connect this exercise product to...

Page 5: ...stic wrap from console masts WARNING UNPACKING Place the treadmill carton on a level flat surface It is recommended that you place a protective covering on your floor Take CAUTION when handling and tr...

Page 6: ...LE MAST SOCKET ASSEMBLY STEP 2 A Lift the running deck upward until the foot latch locks Remove all contents from underneath the running deck B Open hardware bag 2 C With the running deck in the raise...

Page 7: ...B FLAT WASHERS C RIGHT CONSOLE MAST CONSOLE CABLE LEAD WIRE CONSOLE CABLE BASE FRAME RUNNING DECK ASSEMBLY STEP 4 SPRING WASHER B 15 mm Qty 6 FLAT WASHER C 15 mm Qty 6 BOLT D 15 mm Qty 6 HARDWARE BAG...

Page 8: ...3 CONTENTS BOLTS H SUPPORT BAR CONSOLE MAST ASSEMBLY STEP 6 YOU ARE FINISHED BOLT H 15 mm Qty 4 Note Look into holes in the right mast before inserting bolts to avoid pinching cables Adventure 2 Plus...

Page 9: ...amming The BASIC OPERATION section in the treadmill guide has instructions for the following LOCATION OF THE TREADMILL Using the SAFETY KEY FOLDING the treadmill MOVING the treadmill LEVELING the trea...

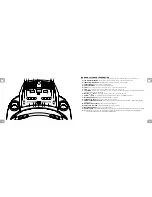
Page 10: ...sired target D Select workout press to select your desired workout E START press to begin exercising start your workout or resume exercising after pause F Stop press to pause end your workout Hold for...

Page 11: ...workout press the SELECT TARGET key until you have selected the new TARGET you would like Use the or keys to enter in the value of your new TARGET and press enter All previous workout statistics will...

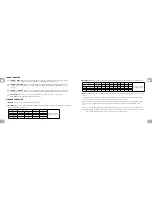
Page 12: ...d British 1 1 5 2 4 Speed Metric 1 6 2 4 3 2 6 4 3 weight loss Promotes weight loss by increasing and decreasing the speed while keeping you in your fat burning zone Segment Warm Up 1 2 3 4 5 6 7 8 Se...

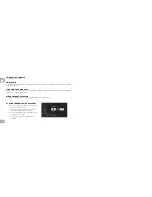
Page 13: ...n will stay displayed on the console for 30 45 seconds and then reset Clear current selection To clear the current program selection or screen hold the stop button for 3 5 seconds SYNCING TREADMILL WI...

Page 14: ......

Page 15: ...Johnson 6 0T TREADMILL Owner s Manual 081712 Rev 1 0 2012 Johnson...

Reviews: