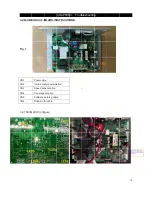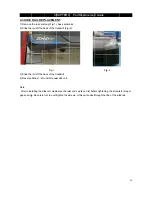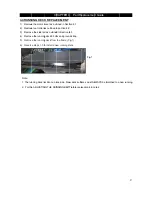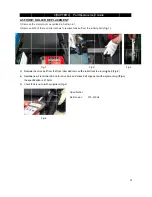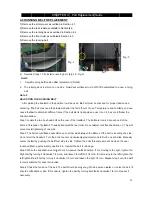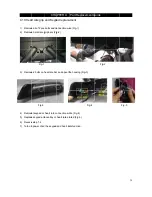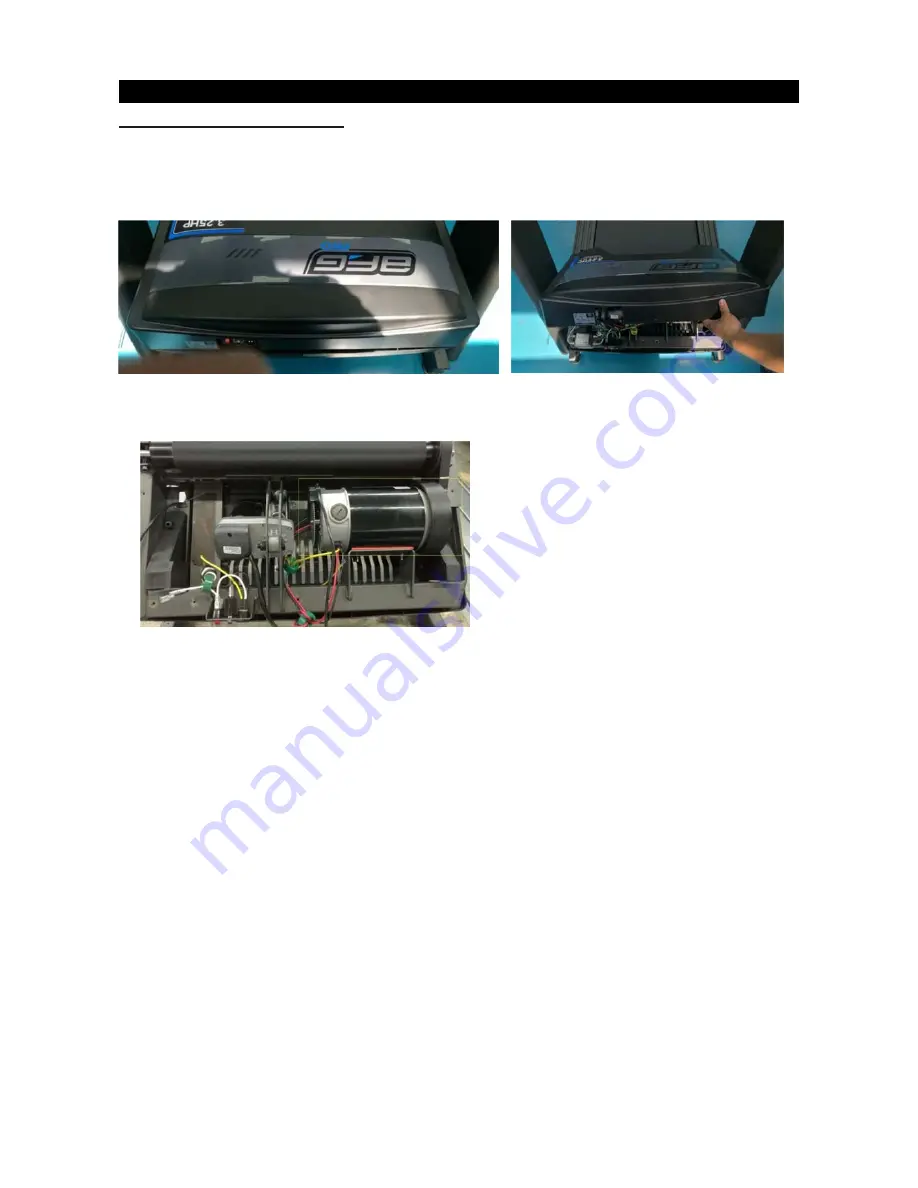
4.1 MOTO
1)
Discon
2) Remov
3) The cov
4) shows th
5) Reverse
6) Confirm d
7) Unplug th
8) Remove
9) Remove
10) To reins
drive belt on
slipping off
11) Reverse
12) Test at v
OR REPLA
nnect power
e the 2 screw
ver is secure
e motor area
Steps 1-3 to
drive belt ten
he motor con
drive belt by
the four mot
stall motor, ti
n front roller
mounting stu
e steps 1-4 to
various spee
CH
ACEMENT
cord.
ws holding th
ed to the fram
Fig-
a with the mo
o install a new
nsion is corre
nnector from
y walking belt
tor bolts and
lt motor towa
and motor p
uds. Fix mo
o complete.
eds.
HAPTER 4
T
he motor cov
me. So you w
-1
otor cover re
w motor cove
ect after repla
LCB, speed
t off as movi
remove mot
ards front rol
ulley. With
ounting bolts
Replace an
4: Part Re
ver to the fram
will have to p
emoved.(Fig-
er.
acing motor
d sensor, cut
ng running b
tor.
ller with moto
force, draw
s.
ny wire ties r
eplacemen
me (Fig-1)
ull up with so
3)
Fig-3
(see section
any wire ties
belt and push
or base plate
the motor ba
removed.
nt Guide
ome force (F
Fig-
4.5)
s as needed.
hing a side dr
e on front mo
ack, firmly sta
Fig-2)
-2
.
rive belt.
ounting studs
abilizing the
24
s. Place
motor from
4
Summary of Contents for AFG Pro 7.2AT
Page 2: ...Prod duct Br rowse 2 2...
Page 5: ...1 1 Serial SERIAL N l Number NUMBER CHAP Location PTER 1 S Serial Number Locatio on 5 5...
Page 9: ...CONSOLE E ELECTRIC CAL DIAGR CHAPTER RAM R 3 Troubleshooting 9 9...
Page 12: ...3 2 2 Engineering Mo ode CHAPTER R3 Troub bleshooting g 12 2...
Page 13: ...13 3...

