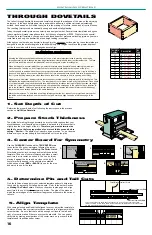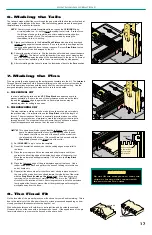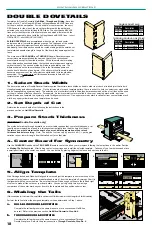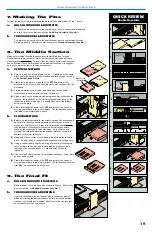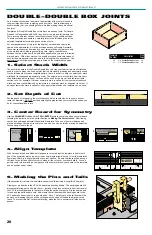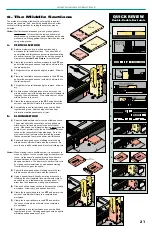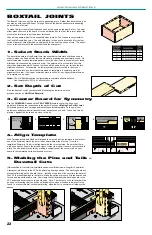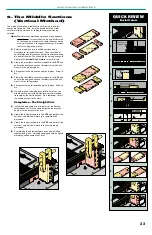
JOINT MAKING OPERATIONS
QUICK REVIEW
Half Blind Dovetails
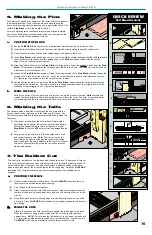
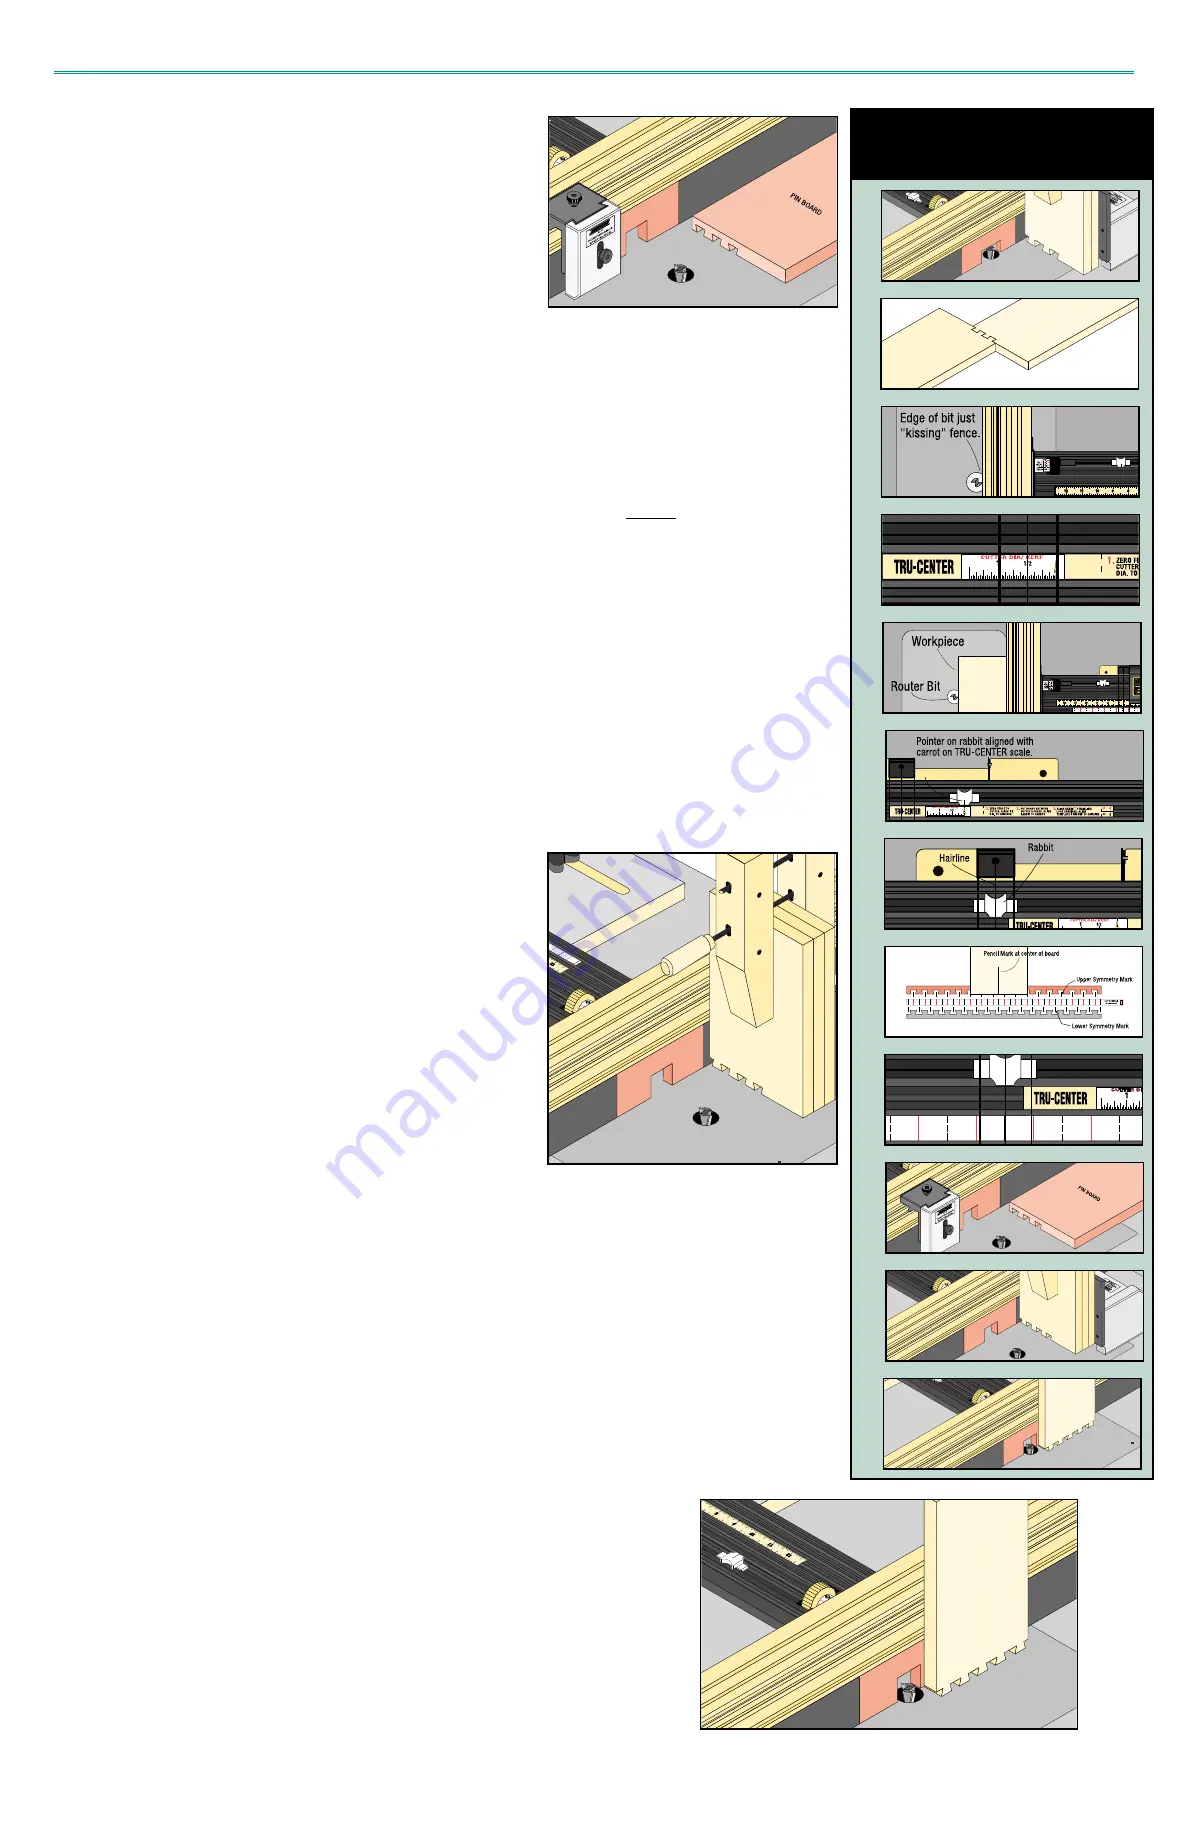
5. Making the Pins
Pins are cut by passing the board over the router bit with the board in
a horizontal position. Use a rubber-soled push block to keep the
board firmly down against the table top and in against the fence. Use
the X-Y Stop Block to limit the length of the cut.
After you have centered your board for symmetry, aligned template
and set the bit height as previously described, you will make the Pin
cuts with the series of lines assigned for them.
a.
POSITION STOP BLOCK
(1) Set the CLINCHER to the first pin cut on the template which places the bit in front of fence.
(2) Insert the fence Outfeed Scale into the fence slot with the arrow pointing toward the outfeed end.
(3) Orient the dovetail bit so that its outer cutting edges run parallel to the fence.
(4) Insert Stop Block on the infeed side of fence. Lower the sliding vertical section and slide the Stop toward
the outfeed side of the fence until the leading edge of the Stop just makes contact with the cutting
edge of the bit. Tighten the thumbscrew.
(5) Slide the Outfeed Scale under the Stop Block and align its zero line to the outfeed side edge of the Stop
Block. This procedure calibrates the cutting edge of the bit to the Scale. The Scale can now be used as
a reference to set the length of cut.
(6) Loosen both Stop Block thumbscrews. Raise the vertical section of the Stop Block and slide toward the
outfeed side. Place it over the router bit. Lower the vertical section to allow a small clearance over the
bit. Tighten the thumbscrew to lock the vertical section in place.
(7) Set the desired length of the pin cut by sliding the Stop Block further toward the outfeed side and read
the Scale at the infeed side. As a rule of thumb, this setting should be equal to or slightly less than the
thickness of the mating tail piece. Tighten top thumbscrew.
b.
MAKE THE CUTS
Perform the series of cuts on each end of the piece, turning the piece end for end.
Note that with this
method the fence reference side is alternating from one side to the other. Any error in centering will be
compounding when the joint is assembled. Take extra care when making your initial setups.
6. Making the Tails
The tails are made with all the cuts through the end grain with the
boards vertical and at right angles to the table and the fence. Use
the following procedure and the assigned template lines to make the
tail pieces.
(1) Clamp your tail boards to the Vertical Push Fixture with a
backing board as shown. Be sure the work is down against
the top and against the fence to keep it square. Set your
Stop Block to stop the VPF before it can be damaged by the
bit.
(2) Perform the series of tail cuts. Flip the boards end for end
and repeat the same cuts. Note: The first cut on the tail
board will be an open cut meaning that you will be cutting
away the edge of the board adjacent to the fence. To prevent
this first cut from splintering, make the cut in several small
side by side passes.
7. The Rabbet Cut
The final cut is the rabbet cut on the back side of each tail piece. The purpose of this cut
is to cover the rounded groove ends of the pins inside the joint while achieving a flush fit
on the outside face of the joint. The rabbet will require a negative setting of the fence
which means that most of the bit will be inside the fence opening. Using the CLINCHER
thumbwheel for micro adjustments, a perfect fit requiring little or no sanding can be
achieved.
a.
POSITION THE FENCE
(1)
Orient dovetail cutter edge toward fence. Move CLINCHER to position fence so
that router bit is entirely inside fence opening.
(2)
Fit a tail and a pin workpiece together.
(3)
Place the assembled joint onto table with the face of the pin workpiece down and
the face of tail piece up and against fence with one of the outside tail cuts in line
with bit.
(4)
Move fence back until outer cutting edge of router bit just touches the end of the
pin board. Place CLINCHER Cam Handle in micro-adjust position to achieve your
final setting.
b
b..
MAKE THE CUTS
Stand a tail piece on end with its inside face against the infeed side of the fence.
Make the rabbet cut using a rubber-soled push block to firmly hold the piece
against fence.
NOTE: Do not make the full rabbet cut in one pass. Instead use 2
or 3 small side by side passes to sneak up to your final setting. You can use the
CLINCHER Inch Scale as a reference to make this sequence of cuts.
15
A.
B.
C.
D.
E.
F.
G.
H.
I.
J.
K.
L.


