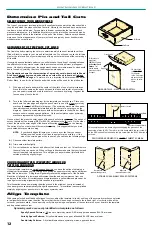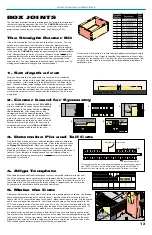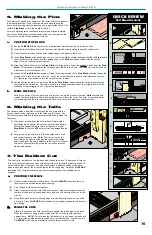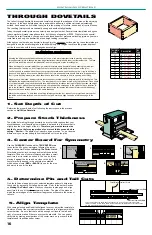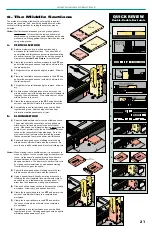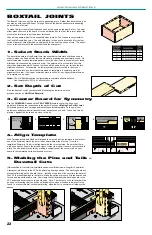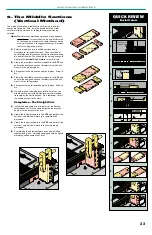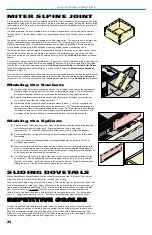
JOINT MAKING OPERATIONS
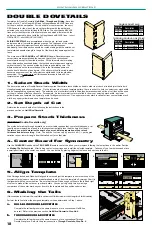
DOU B LE DOVETAI LS
Templates for Double Dovetails, Half-Blind, Through and Sliding, have four
series of cuts. The full length RED and full-length dashed BLACK lines are
for the pin and tail workpieces. For the middle, or center section, the short
RED lines are for the side of the piece that will mate with the workpiece
selected to be cut with the full length RED lines. The short dashed BLACK
lines are for the other side of the center piece and which will mate with the
workpiece selected to be cut with the full length dashed BLACK lines. (
short
RED to RED ... short BLACK to BLACK).
SLIDING DOVETAILS are accomplished when the pin, tail and center
workpieces are all cut with lengthwise grooves. The thickness of the middle
section is especially important to achieve uniform wall thicknesses.
Additionally, the middle section should be routed starting with the outside cut
to maintain adequate strength in the part of the board that bears against the
fence.
The more useful HALF-BLIND and THROUGH Double-Dovetail versions for
corner joints are accomplished the same as that of their conventional
counterparts except for the middle section. Of the two methods for making
the middle section described below, the first and simpler approach employs
vertical cuts only. The second method will also require sliding cuts. The
difference between the two methods will be in the finished appearance
results due to direction of wood grain.
With either method, the middle piece
becomes an extension of the tail workpiece which adds to its length when
assembled. This approximate wall thickness dimension is listed on the
template plan page.
1. Select Stock Width
The decorative nature of Double-Dovetail Joints requires that certain stock widths be used in order to produce a finished joint that is both
visually pleasing and structurally sound. On the full-size plan for each template pattern, there is a chart to help you select your stock width
and its corresponding
symmetry mark. The selection of a stock width from this chart then determines which series of cut lines will be used
for the pin, tail and middle section cuts. For example, if a lower symmetry mark is called for from your selected stock width, any lower
yellow diamond on template is a symmetry mark for alignment to cursor. If an upper symmetry mark is called for from your selected stock
width, any upper yellow diamond on template can be used.
2. Set Depth of Cut
Determine the proper depth of cut following the instructions in the
previous section on
Half Blind Dovetails.
3. Prepare Stock Thickness
(THROUGH Double-Dovetails only)
The method of making through dovetails on a router table requires that your stock thickness, or at
least the pin workpiece, be planed to a thickness that is slightly less than the height of the bit.
Therefore, you must determine the depth of your cut before preparation of your stock
thickness and before cutting.
Note: The depth of cut can vary by as much as
1
/
16”
per degree
variation in your router bit angle from that called out for on that plan.
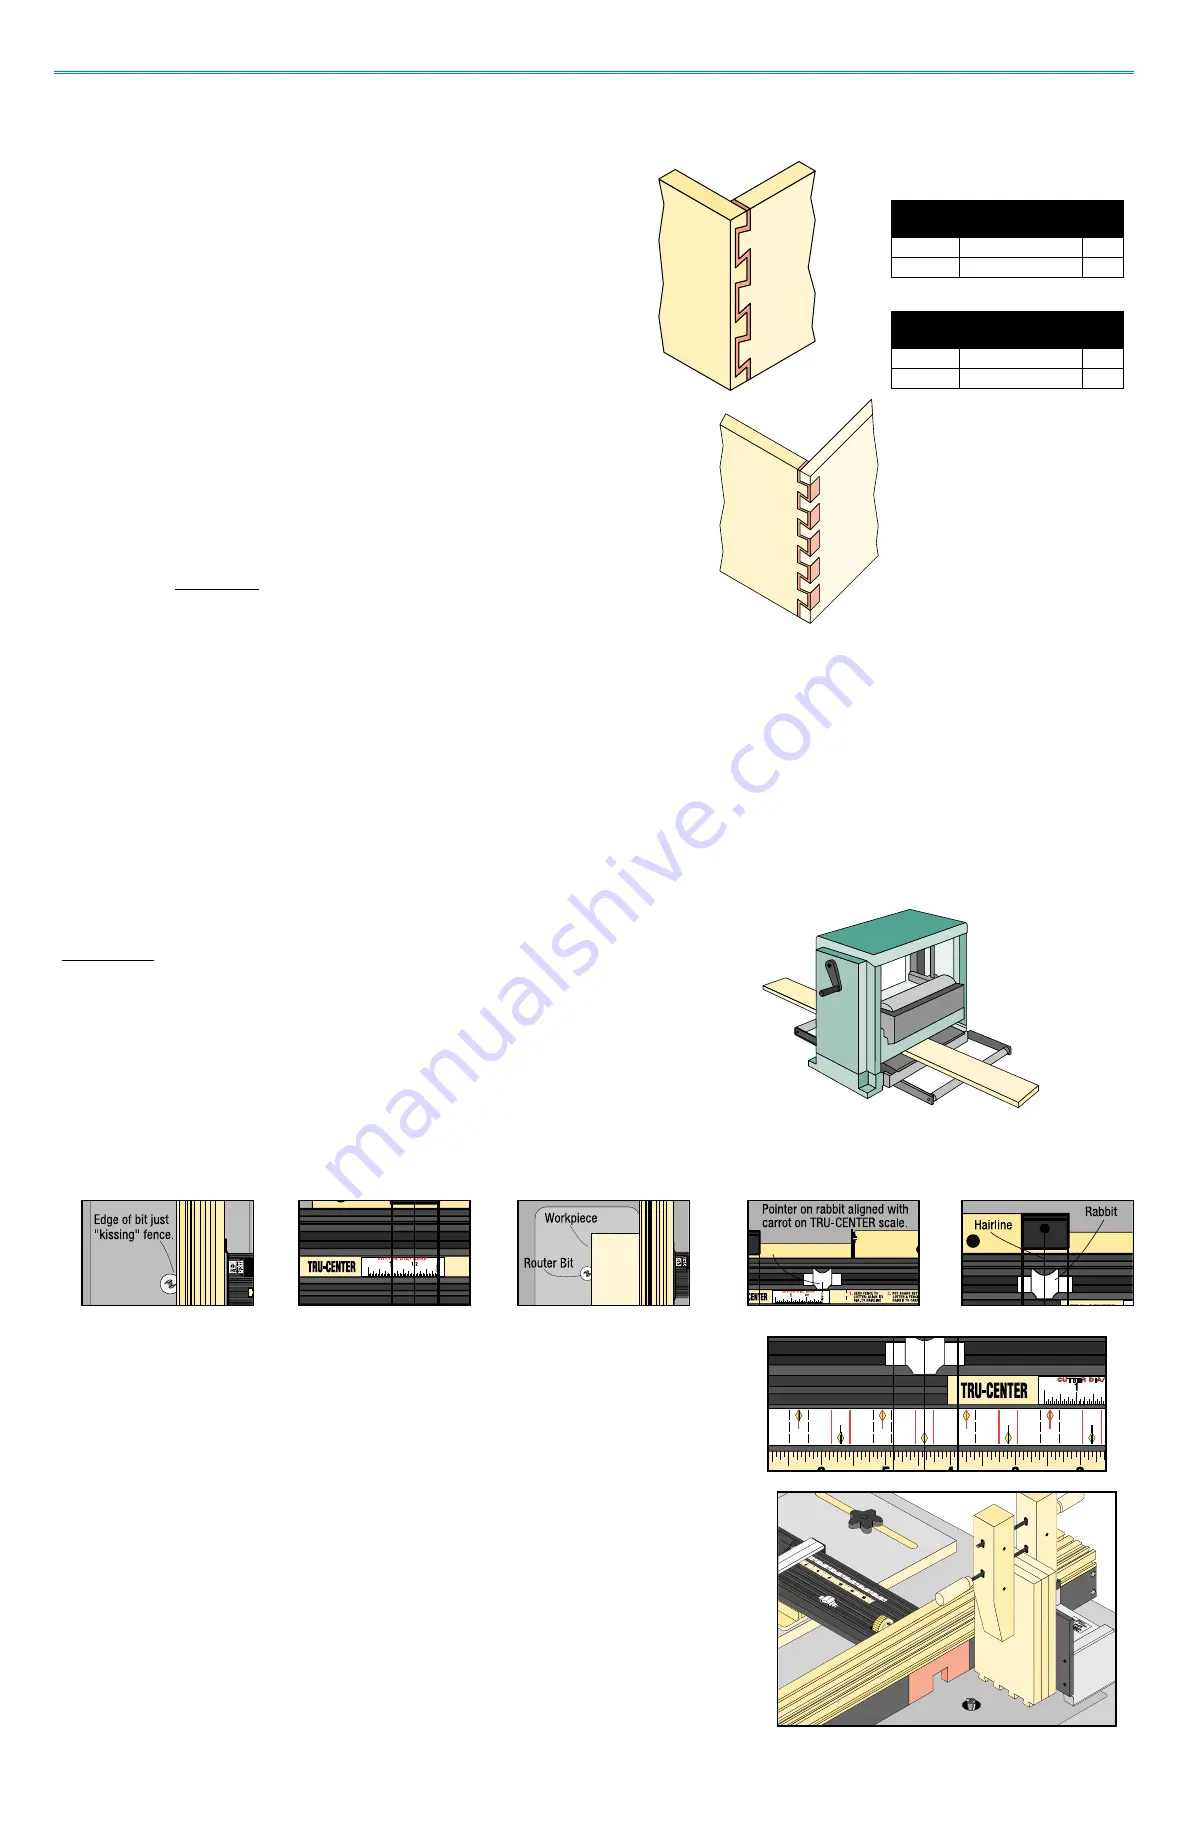
4. Center Board For Symmetry
Use the CLINCHER
Rabbit and the TRU-CENTER scale to center the bit on your workpiece following the instructions in the earlier Section
on
Making The Perfect Joint. After finding center, lock carriage and install the selected template. Take one of your workpieces and place
a small pencil mark at its center on one end. You can do this by placing it against the fence and up close to the bit.
5. Align Template
With Carriage locked and
Rabbit still aligned to cursor, adjust the template in its slot until one of the
symmetry marks (upper or lower as pre-determined in step 1 from the template’s Symmetry Chart) is
in alignment with the cursor hairline. Be sure that there will be enough cut lines to the left and right
of cursor to make all the cuts over your board width. You can quickly verify this by making a
comparison of the center mark on your board to the template and its position under cursor.
6. Making the Tails
(Remember to include the middle-section wall thickness in total length of tail boards)
Perform the tail cuts from the assigned template cut lines determined in Step 1 above.
a.
HALF-BLIND DOUBLE-DOVETAILS
Complete the tail workpiece in the same manner as for a conventional Half-Blind
dovetail. Refer to the previous section,
Half-Blind Dovetails, Step No. 6.
b.
THROUGH DOUBLE-DOVETAILS
Complete the tail workpiece in the same manner as for a conventional Through
Dovetail tail piece. Refer to the previous section,
Through Dovetails, Step No. 6.
Template
Number
Description
3/8" Equally Spaced
16
32
Plan
Page
1/2" Equally Spaced
17
33
DOUBLE DOVETAILS
Template
Number
Description
1/2" Equally Spaced
42
47
Plan
Page
3/4" Equally Spaced
48
52
THROUGH DOUBLE-DOVETAILS
1.
2.
3.
5.
4.
18

