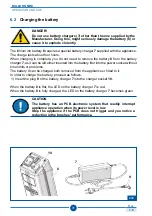
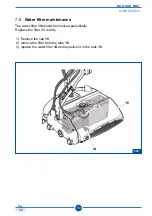
F.48
BULLDOG MINI
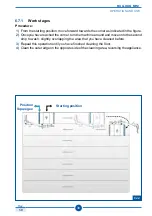
1.0
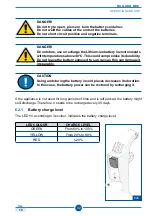
43
23
23
22
13
A
B
Rev.
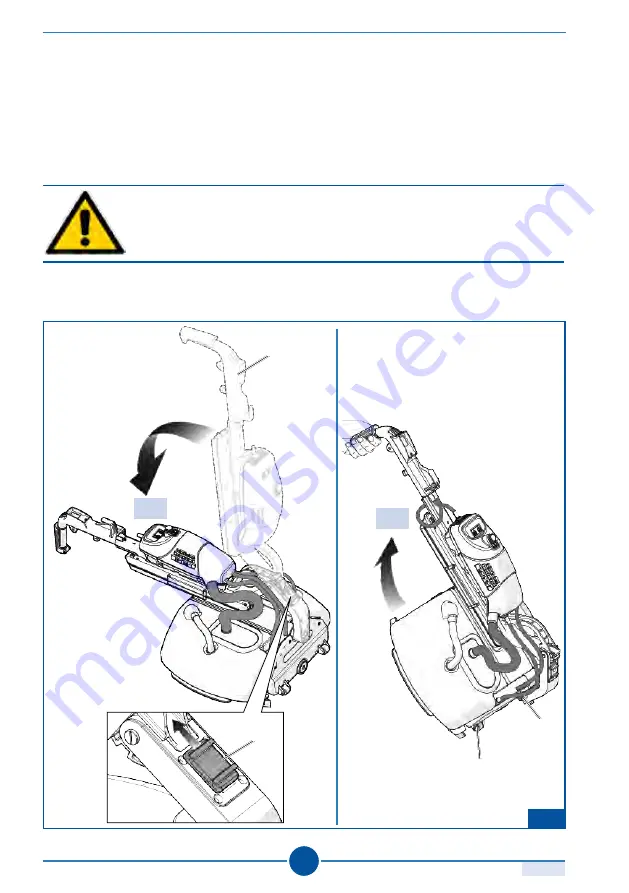
OPERATION AND USE
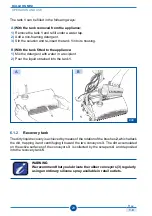
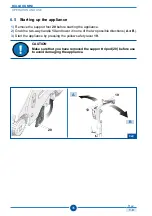
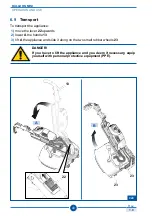
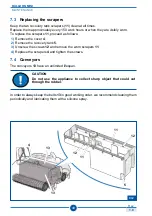
6.9
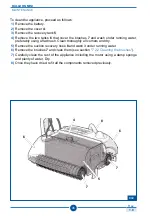
Transport
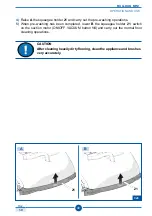
To transport the appliance:
1)
move the lever
22
upwards
2)
lower
A
the handle
13
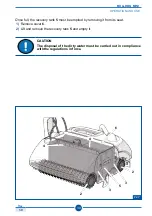
3)
lift
A
the appliance and slide it along on the two small rubber wheels
23
DANGER!
If you have to lift the appliance and you deem it necessary, equip
yourself with personal protective equipment (PPE).


